
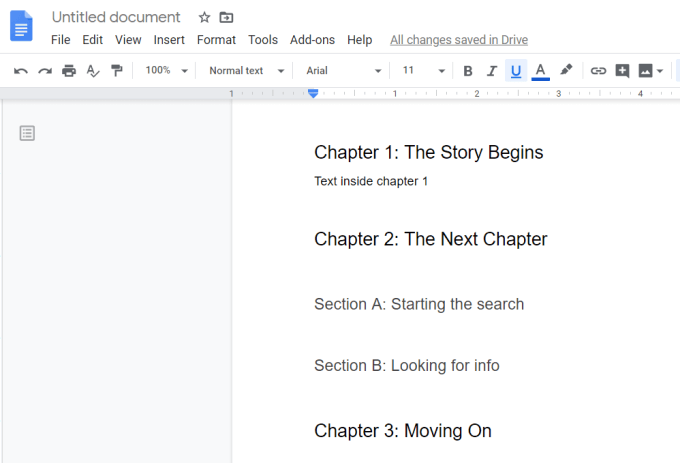
All you have to do to get started is create the first header, highlight it, and then select the Normal text dropdown to choose your top level header style.

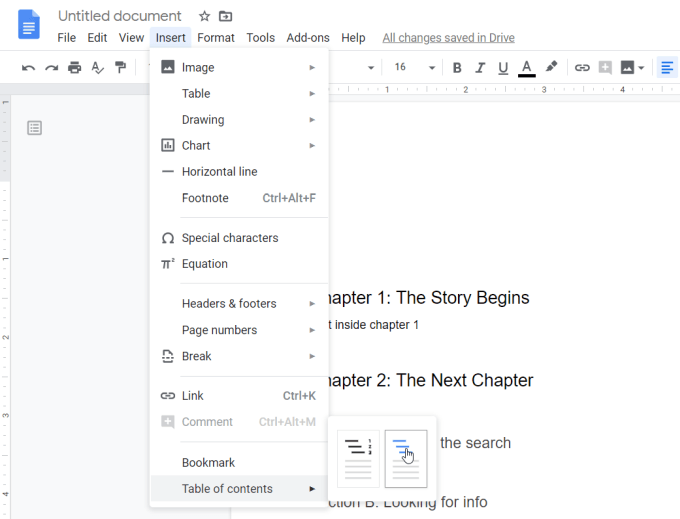
In the submenu that comes up, you’ll see two choices.
- With page numbers : This will display each line of your TOC with the page number where each header and subheader is located.
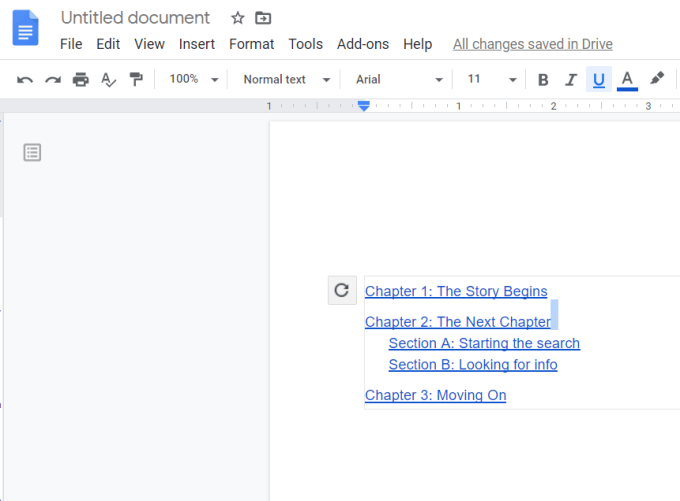
- With blue links : This will display each line of your TOC as a link that, when clicked, will navigate to the section of the document where that header is located.
How do you choose? If you’re planning on delivering your document in printed format, then you should opt for the page numbers option. If you’re sending it or sharing it electronically, then the blue links option is the way to go.
Top level headers (whether you start with H1 or H2) are flush with the left margin. Next level headers will be indented, and so on.
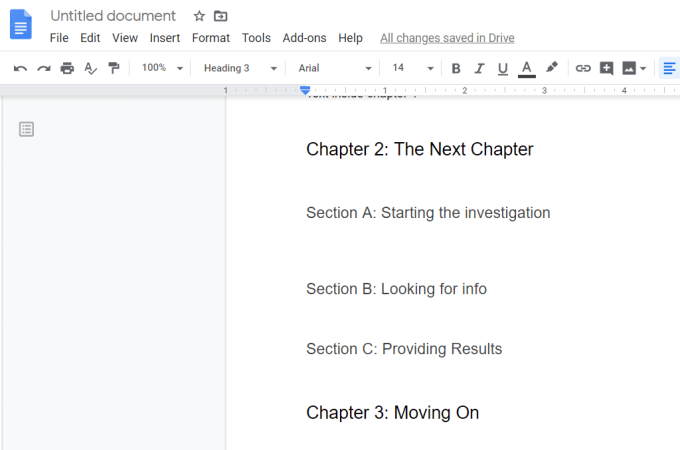
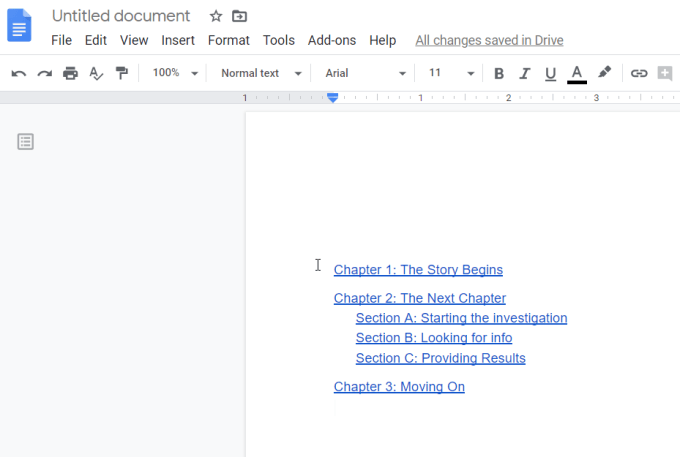
Either method makes your TOC match the current structure of your working document.
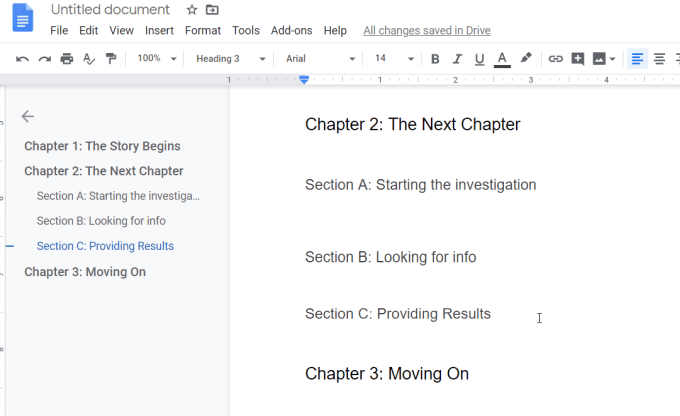
This will display the document outline on the left even as you’re scrolling through your document. You can select any section (header) in this outline to jump to that section of the document.
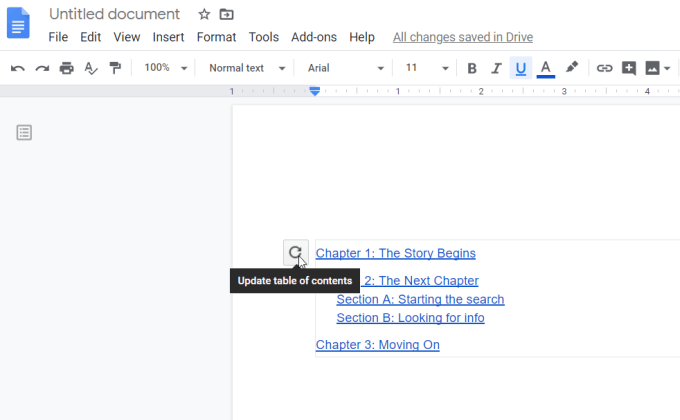
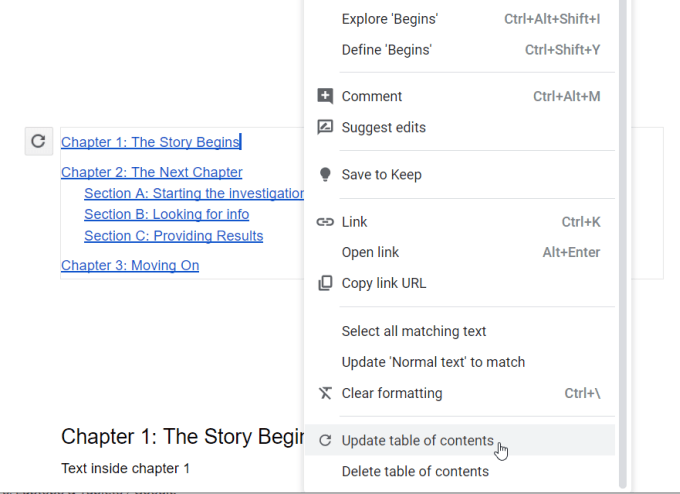
While the Google Docs TOC is inserted using the standard text format of your document, you can update it if you want to.
From the submenu, you can choose to either select Increase font size or Decrease font size .
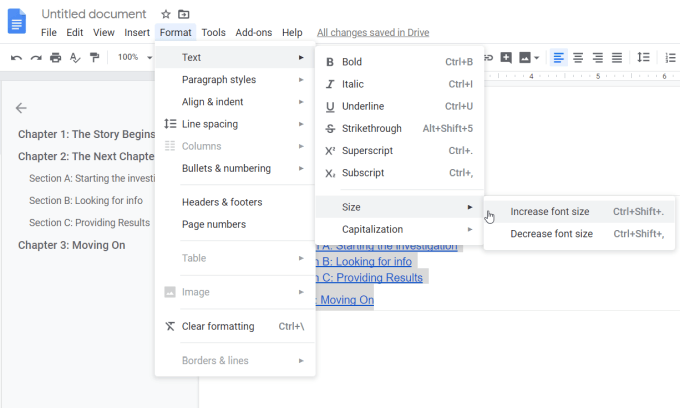
This will update the entire TOC to the new formatting setting you’ve selected.
The Search & Navigate Add-On
Another way to navigate your document using headers (but also bookmarks, phrases, and more) is through the Search & Navigate Google Docs addon .
Once you’ve installed the addon, select Add-ons from the menu, select Search & Navigate , and select Start .
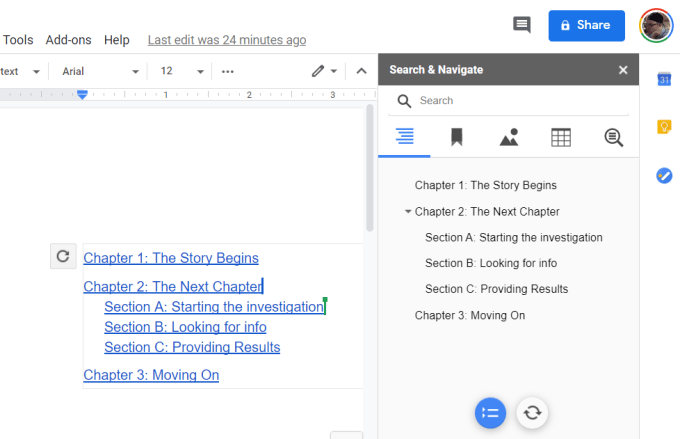
The reason this is a bit more useful than the regular TOC navigation panel is that there are other search features available.
- Bookmarks : Find any bookmarks you’ve created throughout your document.
- Images : Browse all images that you’ve included in the document.
- Tables : Scroll through all of the tables you’ve added.
- Search : Search your entire document using any search terms or phrases.
In Settings , you can enable the add-on to auto-start any time the document is opened. You can also enable the Case sensitive search feature.
- How to Check for Plagiarism in Google Docs
- Google Docs Voice Typing Not Working? 6 Fixes to Try
- How to Create a Hanging Indent in Google Docs
- How to Change Background Color on Google Docs
- How to Add a Gantt Chart in Google Docs
Ryan has been writing how-to and other technology-based articles online since 2007. He has a BSc degree in Electrical Engineering and he’s worked 13 years in automation engineering, 5 years in IT, and now is an Apps Engineer. Read Ryan’s Full Bio
