One of the first things you’ll want to do with a new 3D printer is learn how to change the filament. This step-by-step guide teaches you how to swap filament spools without damaging or clogging the extruder nozzle.
These instructions will work for most FDM printers—from the Creality Ender 3 to the Voxelab Aquila S2 to the Anycubic Kobra. That said, it’s always good to read the manual for your 3D printer, especially if you’re new to 3D printing or you’re using a model you’ve never used before.
How to Change the Filament on Your 3D Printer
There are several common reasons to change filaments.
- You’ve reached the end of the filament on the spool.
- You want to use a different type of filament.
- You want to change the filament mid-print to achieve an effect.
- The current filament is damaged.
Whatever the reason you want to change filaments, the steps are essentially the same.
1. Power Up Your Printer

Make sure your printer is on. The nozzle has to be hot to change the filament. If it’s not, you might not be able to purge the old filament, and you’ll be unable to load the new filament all the way to the tip of the nozzle.
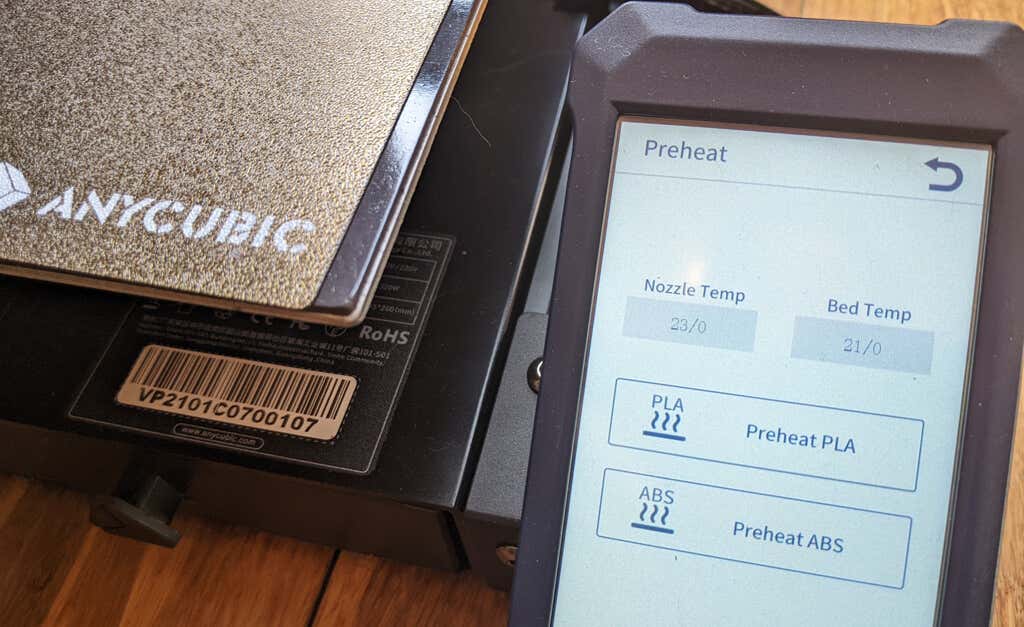
2. Set the Desired Temperature of the Hot End
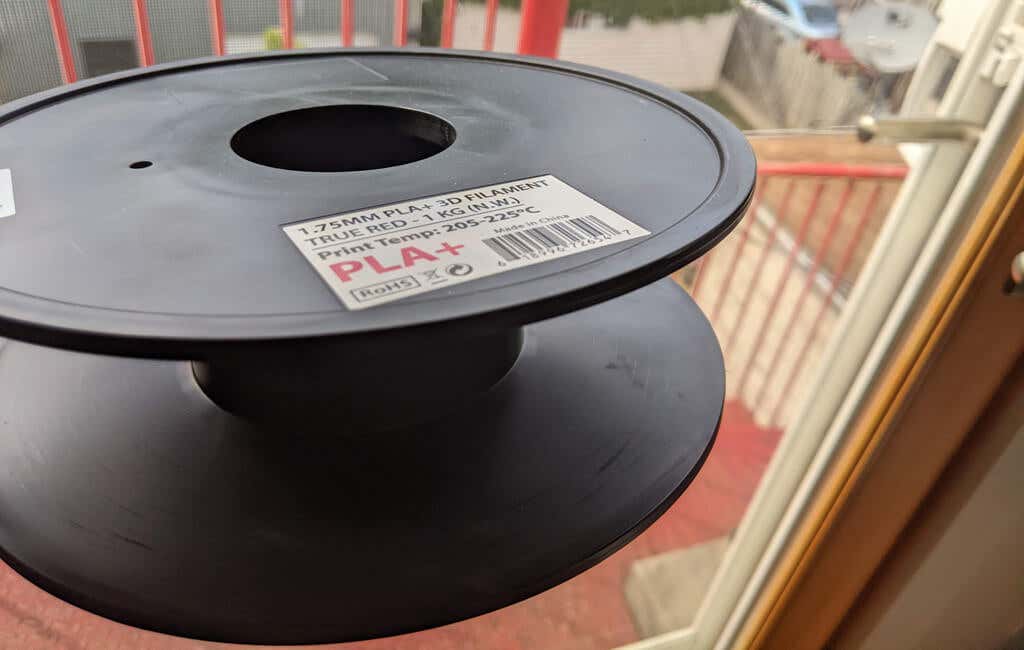
You need to know the recommended printing temperature range for the filament already loaded into the printer (if any) and the recommended temperature for the filament you want to load. Preheat the hot end to the higher of those two temperatures. This will prevent extrusion problems later.
Here’s why. While you’re loading the new filament, there may be two different types of filament in the nozzle at the same time—a little bit of the old filament as well as the new filament you’re loading. The nozzle temperature needs to be high enough to melt both types. Otherwise, you might wind up with a clogged nozzle.
For example, imagine you are printing with PETG, and you want to switch to PLA filament. Because PETG melts at a higher temperature, if you were to set the temperature for PLA, the PETG might not fully melt and may not be fully purged during the filament change. This is the most common mistake people make when changing filaments.
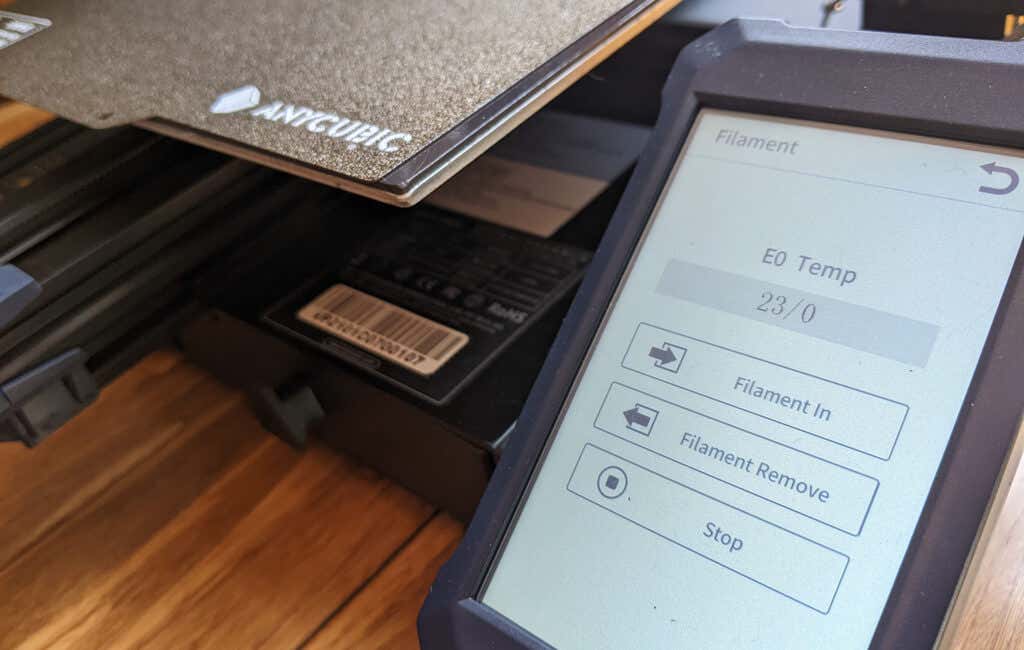
3. Remove the Old Filament
Some printers will have a menu option on the printer’s LCD screen to unload the existing filament. On other printers, this might be a completely manual process. Refer to your printer’s documentation. If it’s automatic, use that option and follow the on-screen instructions.
When manually removing the old filament, if the nozzle is too close to the printer bed for you to get your fingers under it, find your printer’s Move axis command and raise the z-axis about 50mm.
Next, disable the stepper motors. That’s usually in the control settings. Alternatively, you can send a g-code command, m18 .
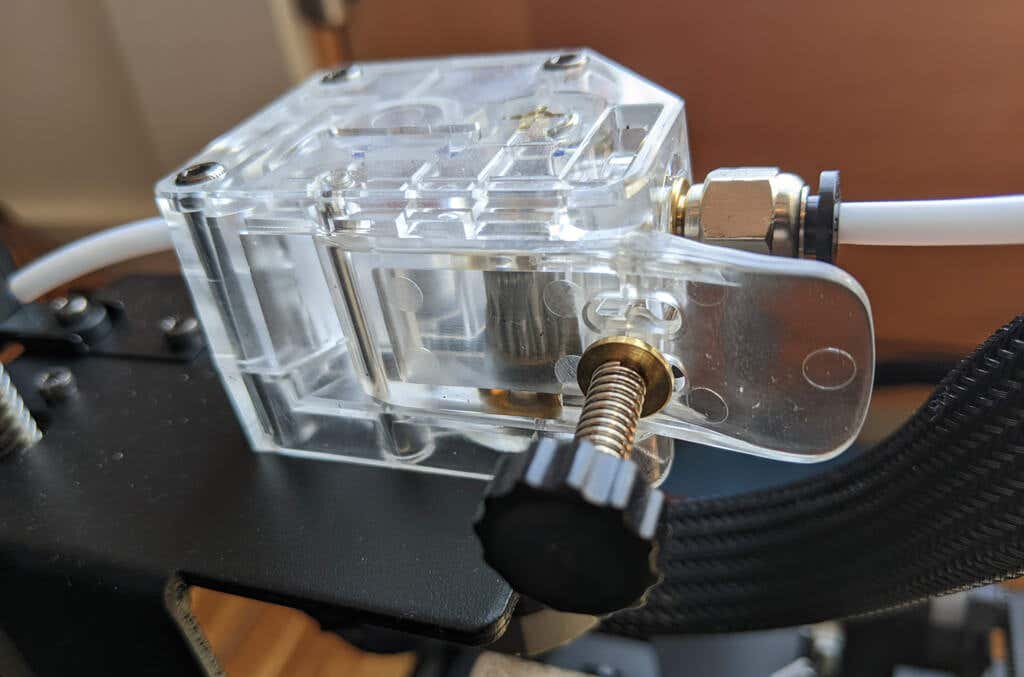
Some Bowden tube printers, like the Ender 3 Pro, have a manual extruder lever to release the filament from the stepper motor. Very gently pull the filament until it’s completely separated from the printer. Be careful not to pull too hard. You might break the filament.
If there’s a lot of resistance, double-check the hot end temperature; make sure the stepper motors are off, and, if you have a Bowden extruder, ensure that you’re using the manual extruder lever if necessary.
After you’ve removed the filament, consider blowing some compressed air into the extruder gear to remove any plastic flakes that might have accumulated.
4. Prepare and Load the New Filament
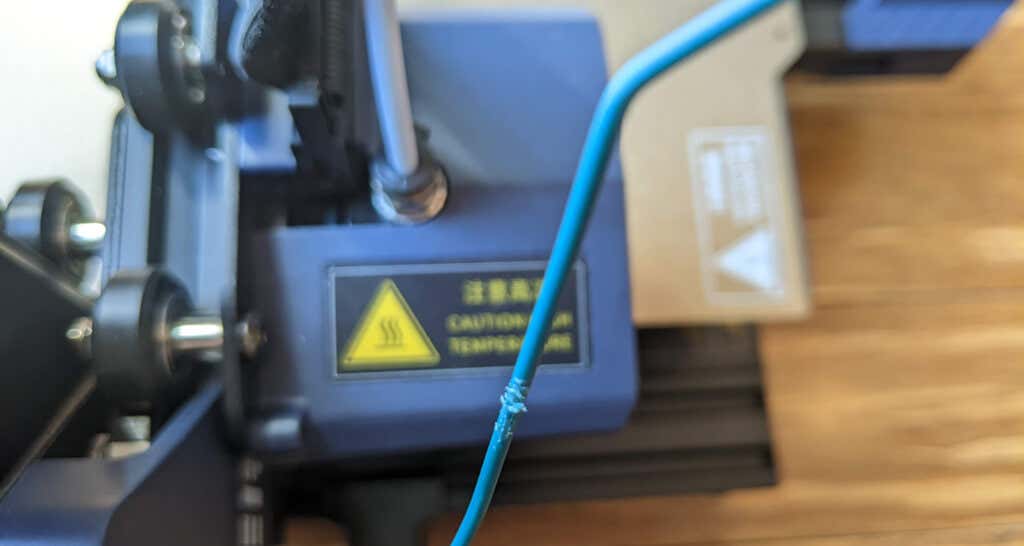
Inspect the new filament. Make sure there aren’t any bends, weak spots, or gouged areas. You want the filament to look and feel pristine. Fingertips are very sensitive, so run your fingers along a few feet of the filament to see if you can feel any flaws. If you do, cut that part of the filament off and discard it.
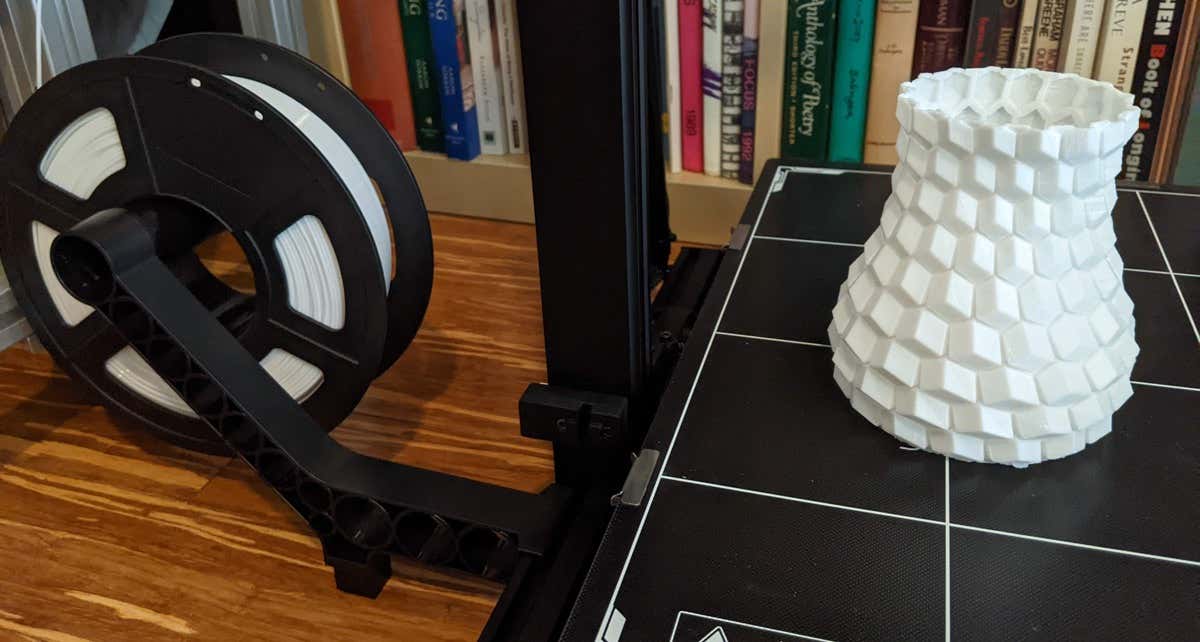
While you’re inspecting the filament, make sure it doesn’t unwind from the spool. You don’t want the filament to get crossed or tangled.
To prepare the new filament, use a wire snip or razor blade to cut the filament at a 45-degree angle. It should feel sharp at the tip. This ensures that it easily slides into the printer. Put the filament spool on the spool holder before you continue.
If your printer has a menu option for loading filament, find it, and follow the on-screen instructions. If it does not and is a Bowden printer, make sure you use the manual release as you thread the new filament through the Bowden tube.
If your printer has a filament runout detector, make sure you load filament through it. Push the filament through until purging is complete, and you see melted filament coming out of the nozzle. Confirm that the color matches the color of the new filament you’re loading.

After you’ve changed the filament, make sure your hot end temperature is set to the recommended temperature for your newly-loaded filament. If you loaded it manually, once it has hit the target temperature, push a little more filament through. If the hot end temperature is set higher than the filament you’re loading, you’ll want to load the new filament quickly and adjust the hot end temperature right away so the filament doesn’t get too hot.
Remove any filament that has been extruded. Make sure the nozzle is clean and ready to go.
What to Do If You Run Out of Filament in the Middle of a Print
If you have a filament run-out detector, your printer will alert you that you’ve run out of filament. Follow the steps above for removing the old filament and loading the new filament.

In general, you want to load a new spool of filament before the existing filament completely runs out. If the filament is so short that it moves past the extruder gear, you might have to take your hot-end apart to get it out. A filament run-out sensor is a must-have, in our opinion. If your printer doesn’t have one, consider adding one.
If replacing the filament with the same type, you can leave the hot end temperature as-is. Otherwise, follow the instructions above.
If your printer doesn’t have a settings menu option to change filament, you can send an m600 g-code to the printer. That will pause the print and move the print head out of the way so it’s not touching your print. Now you can load the new filament as described above. Send the m602 g-code to resume the print.
To troubleshoot any other problems, refer to our troubleshooting tips for 3D filament prints gone awry .
- Tribit StormBox 2: The Under $70 Portable Speaker that Stands Out
- ENGWE L20 2.0 Review: The Best Budget-Friendly Foldable E-Bike?
- TopDon TC004 – a Thermal Imaging Camera That Will Give You Predator Vision
- Newyes Portable Wireless Thermal A4 Printer Review
- Eskute Star Folding Fat Tire Electric Bike Review
In this 3D printer review, we’ll let you know what you get when you buy an Aquila S2, what it’s like to build it, and our first impressions about its quality and usability.
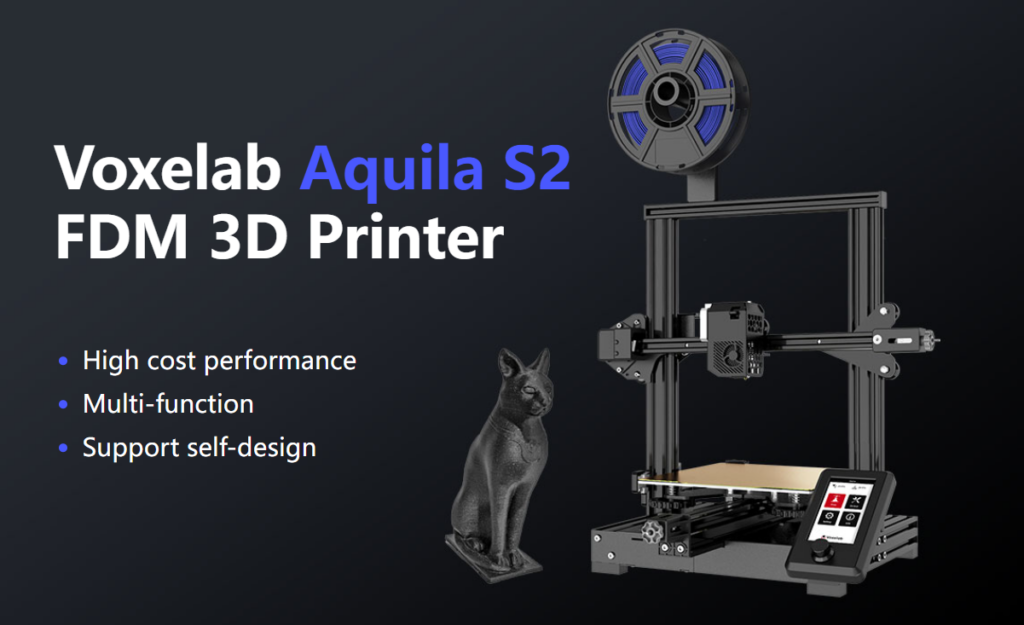
Features of the Voxelab Aquila S2 by Flashforge
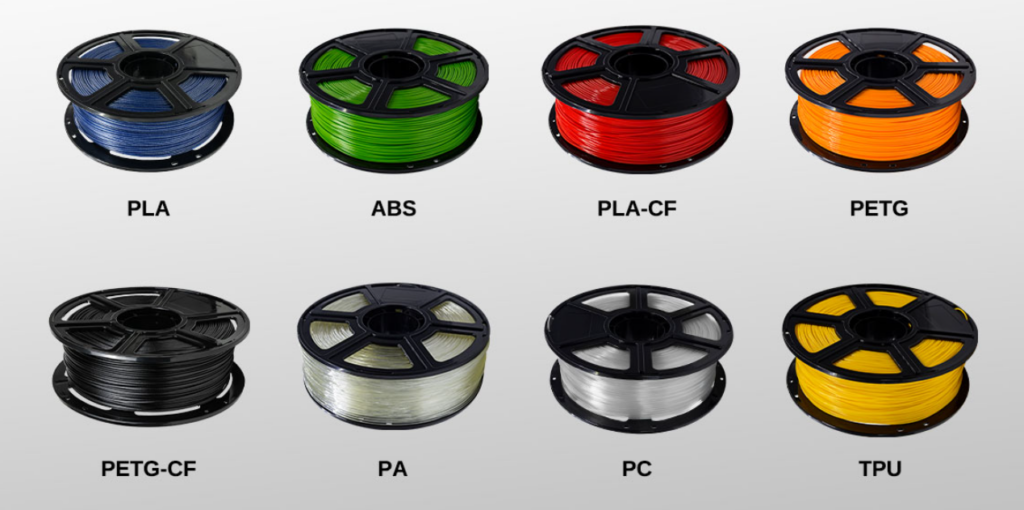
The Voxelab Aquila S2 is an FDM filament printer that will print with PLA filament as well as PETG, PETG-CF, TPU, and ABS filaments and more. FDM is an additive process, making these some of the most versatile and easy-to-use 3D printers, especially compared to resin printers , which are amazing , but are more difficult to use and can be quite messy.
The build volume is a generous 8.7 x 8.7 x 9.4 inches (220mm x 220mm x 240mm), quite similar to the print volume of the Creality Ender 3 V2. Earlier models came with glass beds coated in Carborundum, which is also similar to the Ender. Ours came with a magnetic print bed, which we loved.
We’ll discuss the magnetic bed more below, but suffice it to say, it’s one of the best features of this printer or any printer.
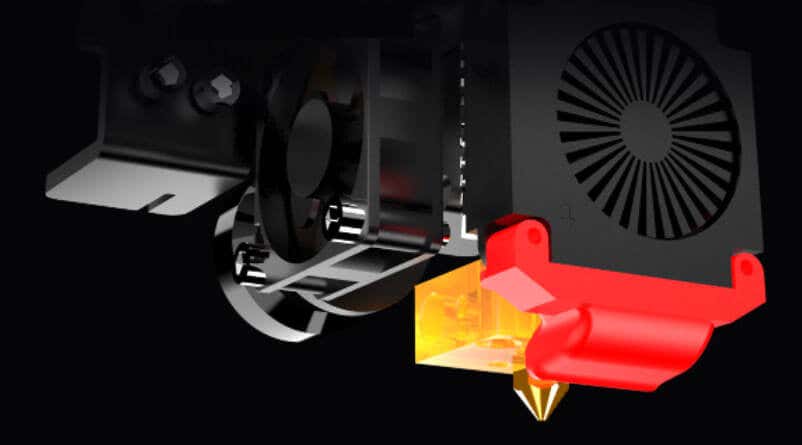
The Aquila is very quiet. The fan is the loudest part. Additionally, it has a hot end with an unusually high temperature for an entry-level printer—up to 300 degrees Celsius, allowing you to use all common filament types.
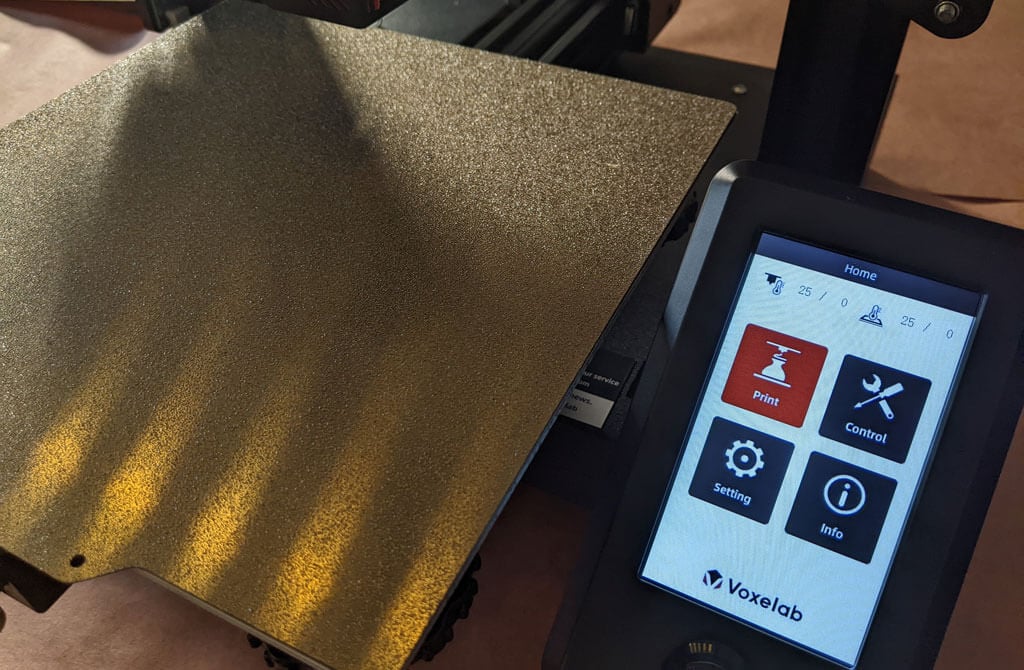
It has a fantastic LED display, quite like the display on the AnyCubic Vyper. It’s big. It’s clear and colorful. Despite the fact that it’s not a touch-screen, it’s intuitive to use. It has a rotary knob control that you push to make a selection.
A few other observations about the Aquila’s features:
- If you have frequent power outages in your area, you’ll be happy to know that the Aquila can resume printing after a power interruption.
- The Aquila runs a fork of Marlin, probably the most popular open-source 3D printing firmware available.
- You can load files to print via the MicroSD card reader or you can use a serial interface like Pronterface.
- Since most models of the Aquila include the N32 chip, that means you could run OctoPrint and all of the great OctoPrint plug-ins on this printer.
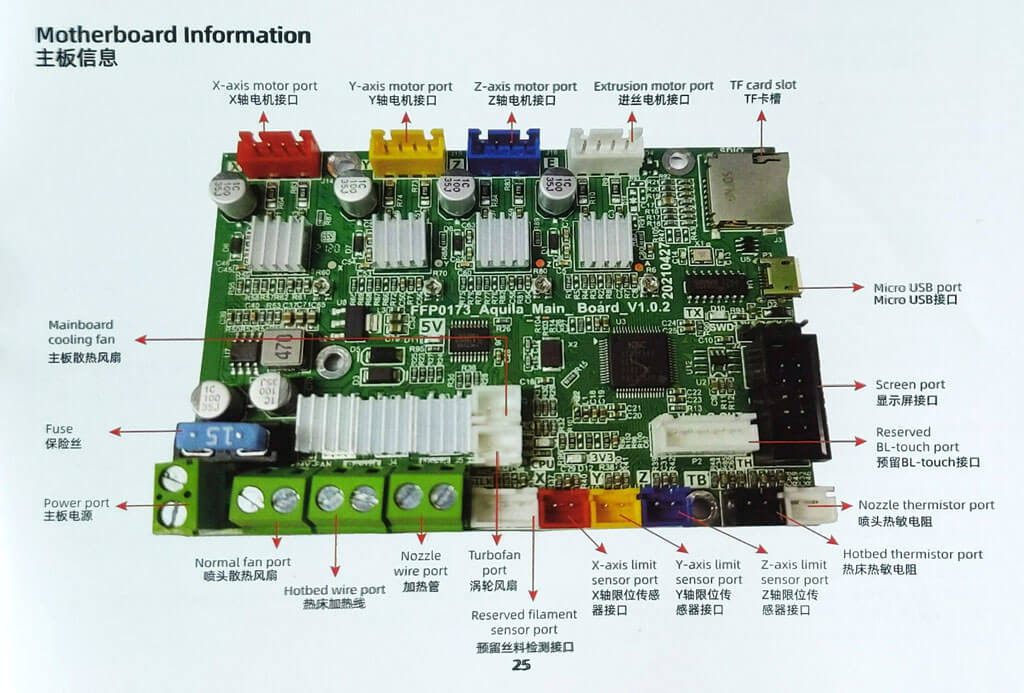
The user manual includes a full schematic of the motherboard, which will come in handy when you inevitably mod your printer.
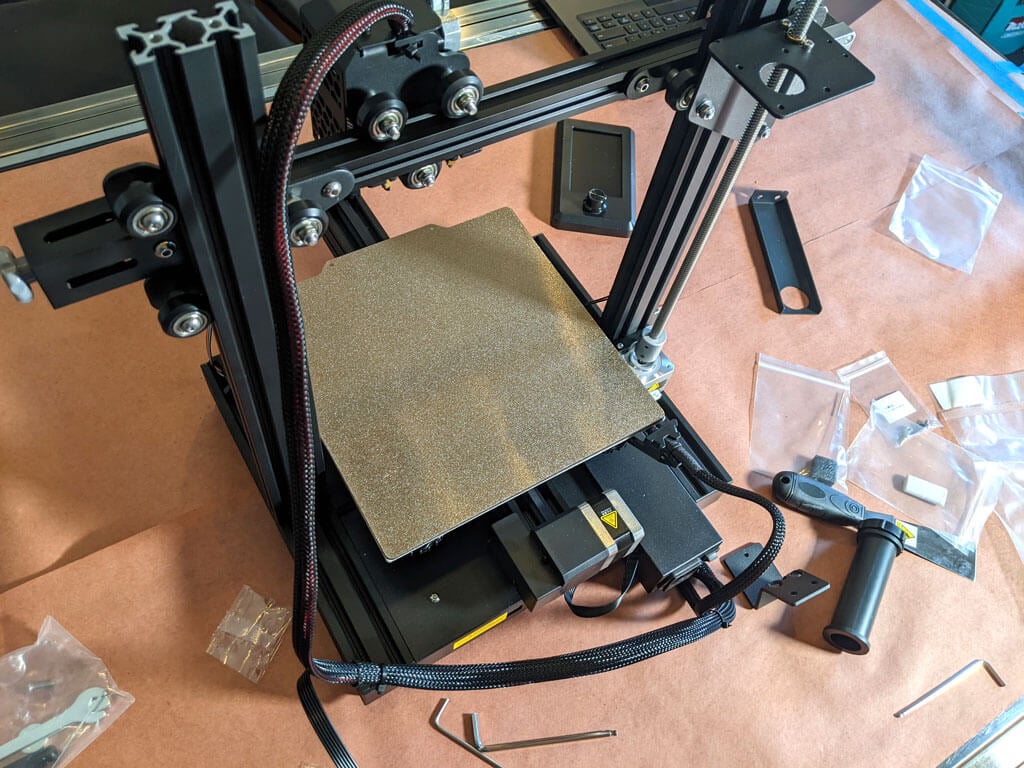
Assembling the Voxelab Aquila S2 3D Printer
If you have any experience with 3D printing, you know to expect a certain amount of frustration when assembling your new printer.
There are a lot of typos and confusing language in the manual. We muddled through, and everything turned out fine.
Beginners will find this printer is easier to build with two people. Also, 3D printers need maintenance. Putting it together yourself will give you the confidence you need to do that maintenance. The included tools are all good quality. You’ll want to keep the particularly good Allen wrenches.
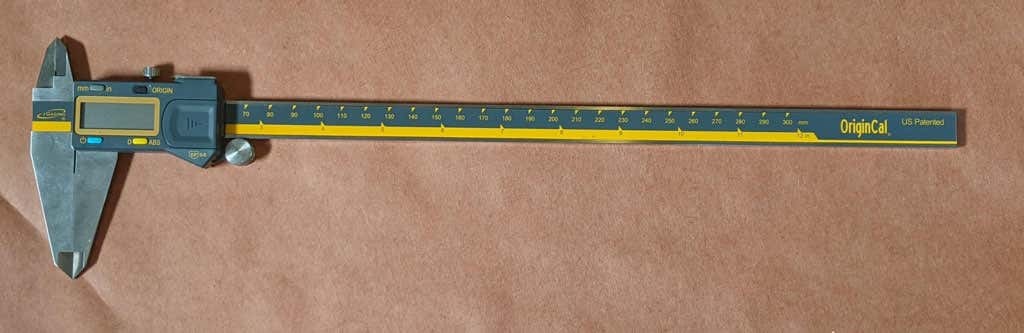
The bolts weren’t labeled, so you might want to use a pair of calipers to figure out which ones are which. It’s not difficult to figure that out, but it would have been nice if they had been labeled.
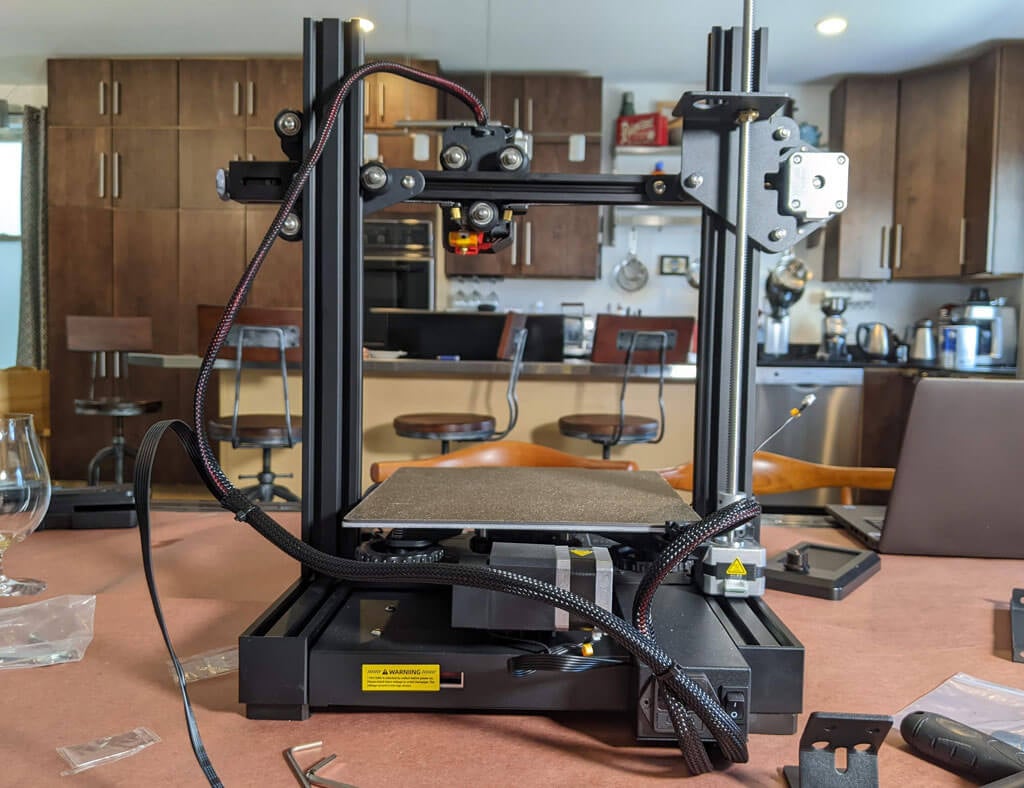
A beginner might get stuck trying to put this printer together using only the included user manual. It took about an hour to build the printer. They do have a YouTube video that will straighten out any confusion.
Build Quality of the Voxelab Aquila S2
This is a very well put together entry-level printer. It has a direct-drive extruder. It has aluminum extrusions for the x, y, and z axes. The only thing that makes this an entry-level printer vs. a high-end printer is the lack of auto-bed-leveling and the fact that it only has one z-axis screw.
The removable, magnetic PEI bed is something we’d never go without. It’ll save you a lot of grief, time, and scratches.
The belt-tensioners are a great feature that are often lacking in other printers—even some much more expensive printers. Belts need occasional tightening, and it’s nice to be able to do that without disassembling your printer.
The Aquila comes with a spool holder, but that’s the first thing you’ll want to replace and move. You’ll want to take the weight off the top of the printer. It’s a right of passage to print your own spool holder, and one is even included in the sample files that come on the SD card.
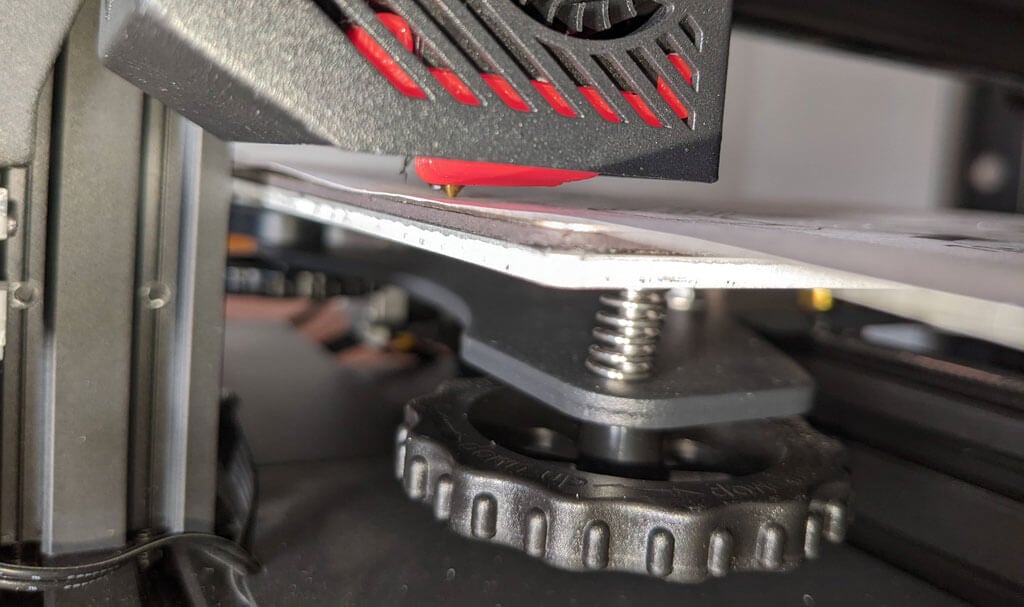
Calibration
All printers with manual bed-leveling have a learning curve because the threads are upside-down, so it’s easy to get confused. You could add your own auto-bed-leveling kit to it. That would be a nice project once you get the basics of 3D printing down. To be fair, leveling the bed manually only took about five minutes. If this is your first 3D printer, it might take you a little longer.
Once your bed is level, and you’ve successfully printed the test print, you’ll want to print your own models. Voxelab has a profile you can import into Cura, a free, open-source slicer that can convert STL 3D model files and other formats into instructions your printer understands (gcode). You can use any slicer you want; however, VoxelMaker slicing software is included on the SD card that comes with the printer.
First Print
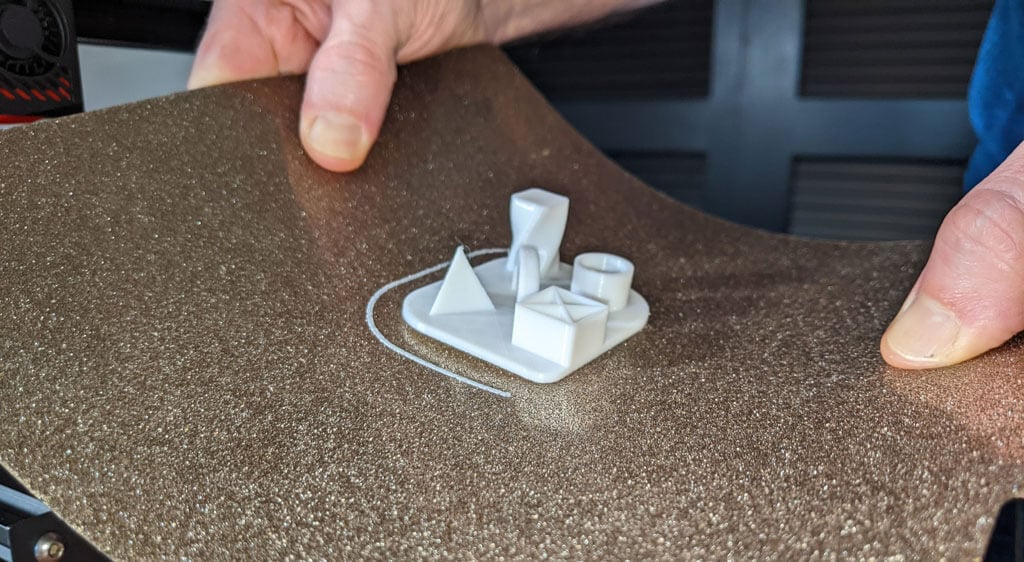
We recommend starting with the included test model because it’s already calibrated for the printer. It’s on the MicroSD card, and you can access it via the LCD panel. There were no adhesion problems while it was printing, and the print popped off the build plate on its own as it cooled—exactly what you want.
The print speed of the sample file is clearly slower than the printer is capable of, which makes sense for a test print. We did not experience any stringing, and we found the print quality to be impressive given the cost of the printer.
We started printing at a .2mm layer height. The minimum layer thickness is .1mm. If you want higher resolution than that, you may want to consider a resin printer.
Cut to the Chase
This printer is very similar to the Ender 3, and:
- It’s cheaper.
- It has a removable magnetic bed.
- The LCD screen is better.
We recommend the Voxelab Aquila S2 for users who want to save some money and still get some of the features of pricier, high-end printers. We wish it had auto-bed-leveling, but at this price point, we have to say the Aquila S2 exceeded our expectations.
*Special thanks to FormerLurker for help in reviewing the Voxelab Aquila S2 3D printer from Flashforge.
- Tribit StormBox 2: The Under $70 Portable Speaker that Stands Out
- ENGWE L20 2.0 Review: The Best Budget-Friendly Foldable E-Bike?
- TopDon TC004 – a Thermal Imaging Camera That Will Give You Predator Vision
- Newyes Portable Wireless Thermal A4 Printer Review
- Eskute Star Folding Fat Tire Electric Bike Review
ÿØÿà JFIF ÿÛ C !$( %2%(,-/0/#484.7./.ÿÛ C ……………………………………………ÿ Š ÿÄ ÿÄ ÿÚ ÕÁ¡Q :Rð~©z>f‡£â: ÂP×~w“óSk̃8 ¦õ<
