Windows 11 users can add multiple accounts to their PC through an official Microsoft online account or by creating local offline accounts. But what are local accounts in Windows? And why are they so useful?
In this tutorial, we’ll discuss six methods you can use to create a Windows 11 local account and how to give them admin permissions.
What Is a Local User Account?
Local user accounts allow Windows 11 (and Windows 10) users to create separate accounts on the same device. Their primary purpose is to enable different users to use the same machine with their own settings and without having access to other users’ files.
Local user accounts also allow you to use multiple accounts to utilize different settings for different purposes. For example, you can have an account for your personal files and another for work files.
Finally, local user accounts have the benefit of being more private, as none of your data is required to be transmitted to a server. They also do not need an internet connection or email address to set up.
1. Create a Local User Account Using Windows 11 Setup
If you are in the process of Windows 11 activation for the first time , you can create a local user account instead of using your Microsoft account.
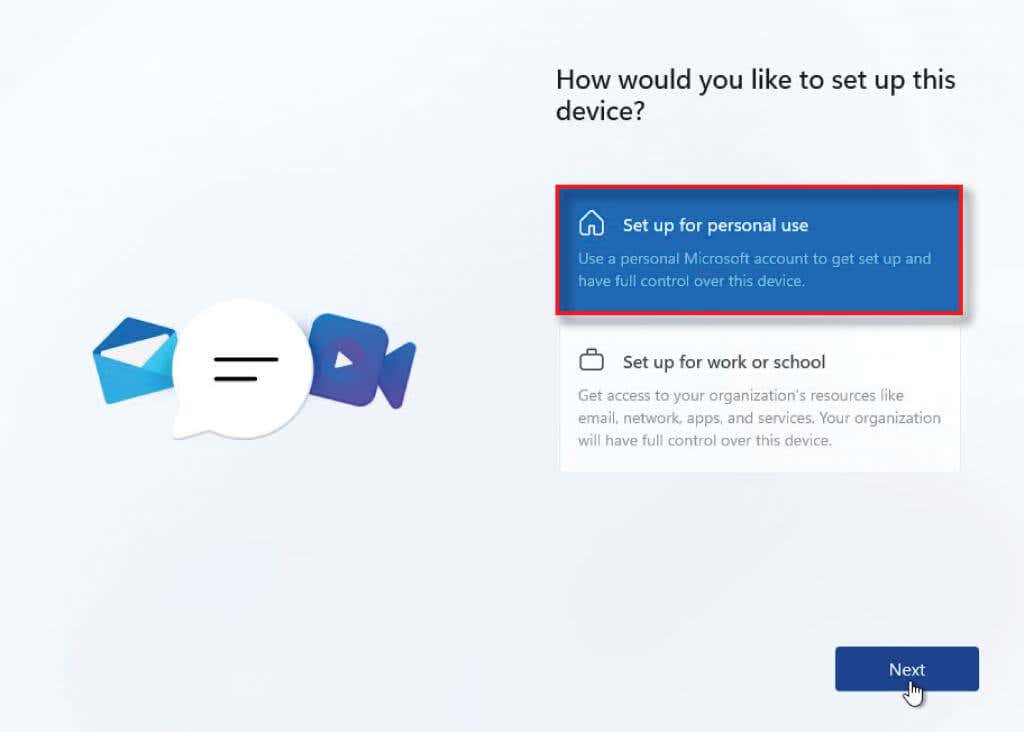
- In the setup process, choose Personal Use when asked whether you want to set up the PC for personal use or a work or school account.
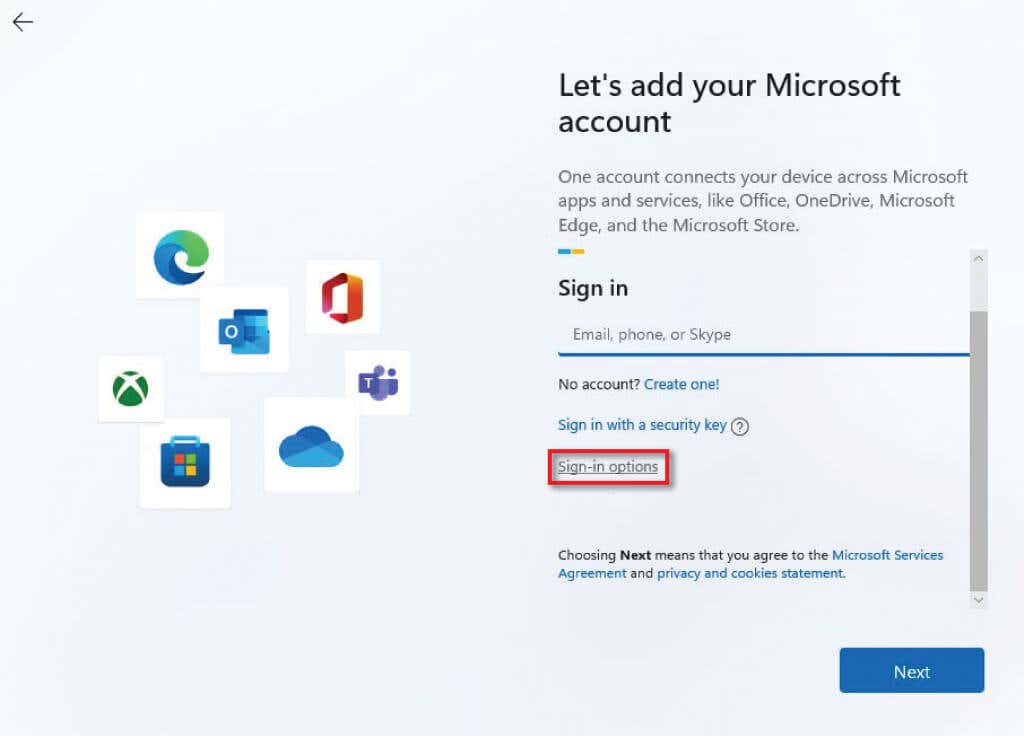
- Instead of signing in with a Microsoft account, select Sign-in options .
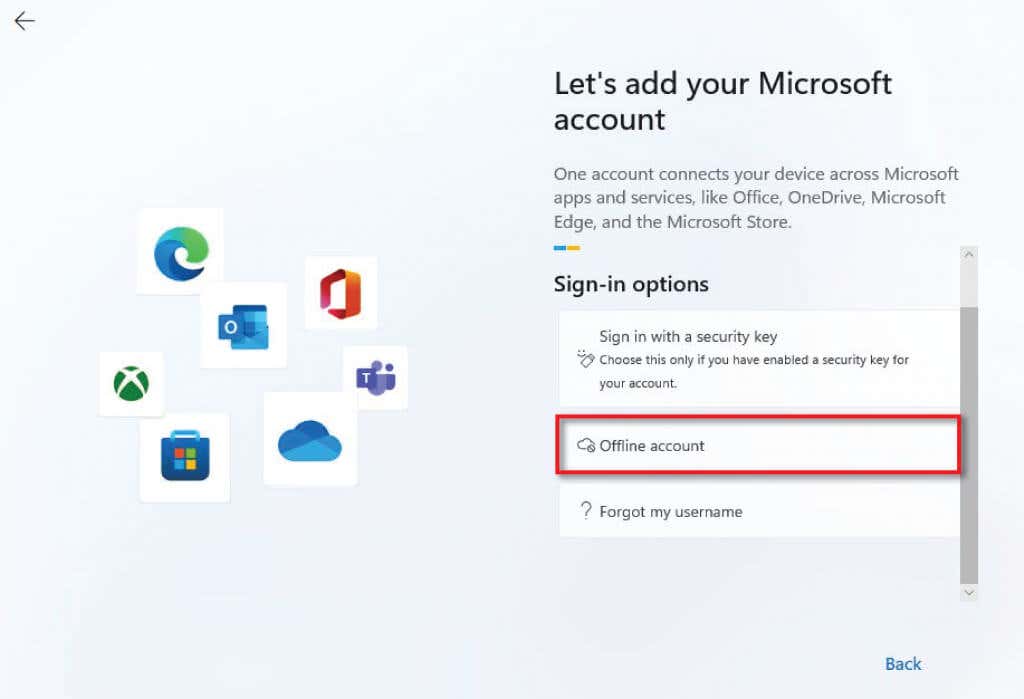
- Choose Offline account , then select Skip for now when prompted to go back.
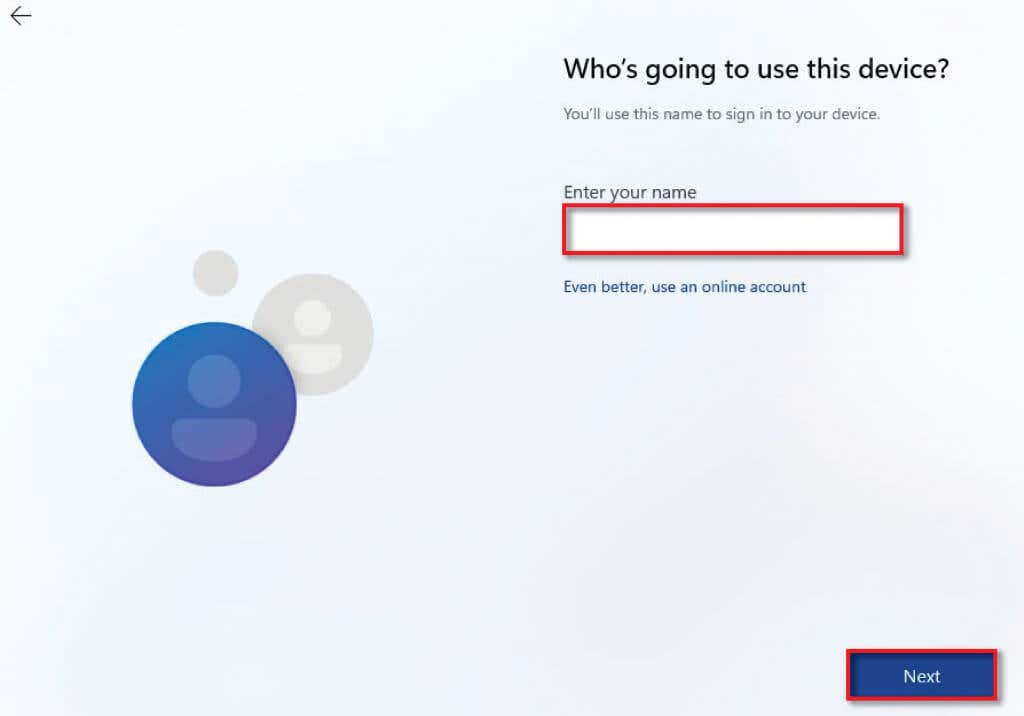
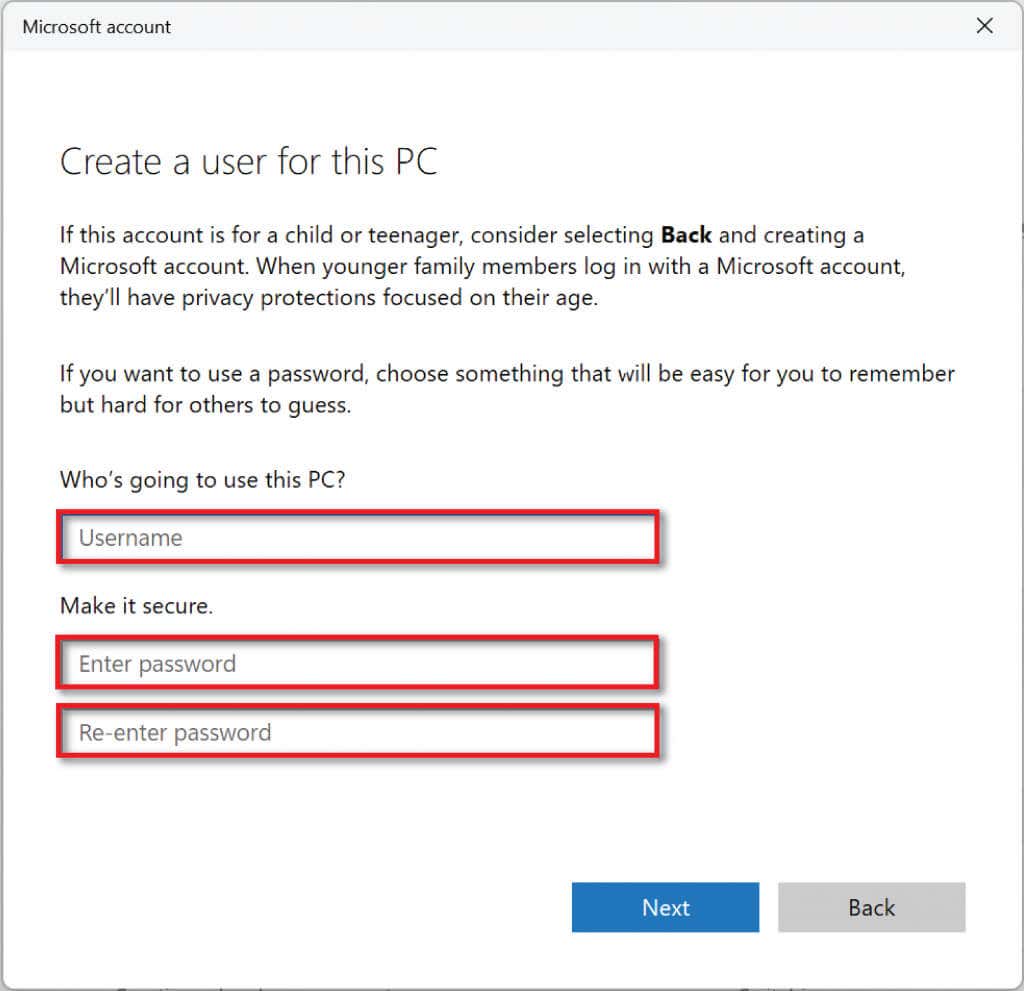
- Enter the username of your choice and select Next .
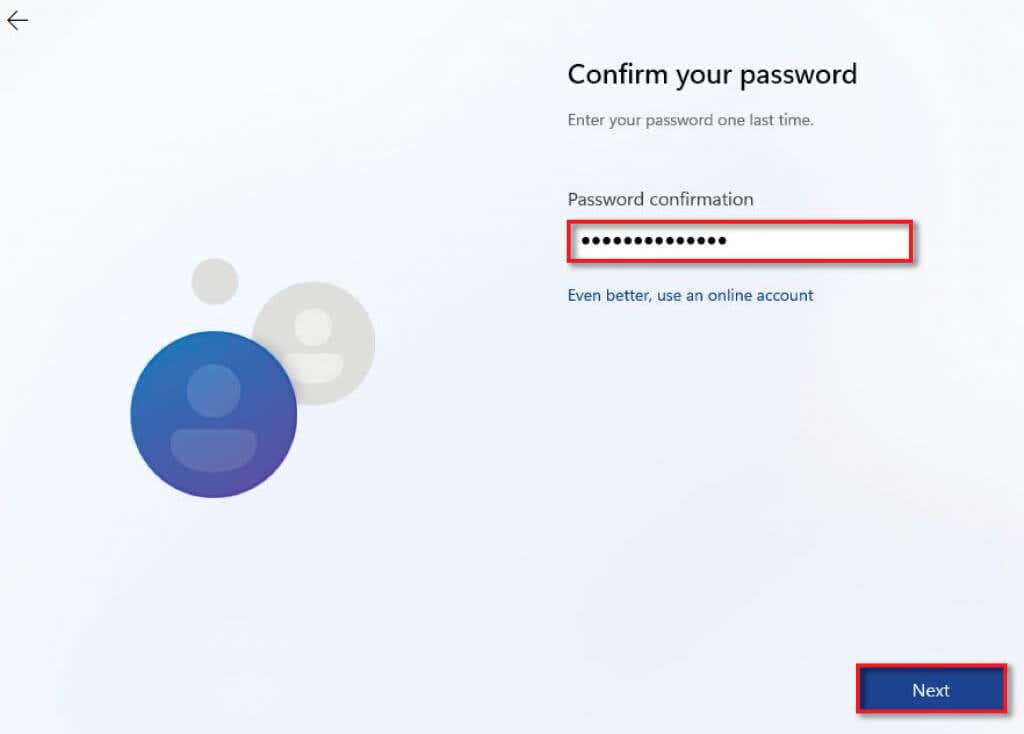
- Enter the password of your choice and select Next .
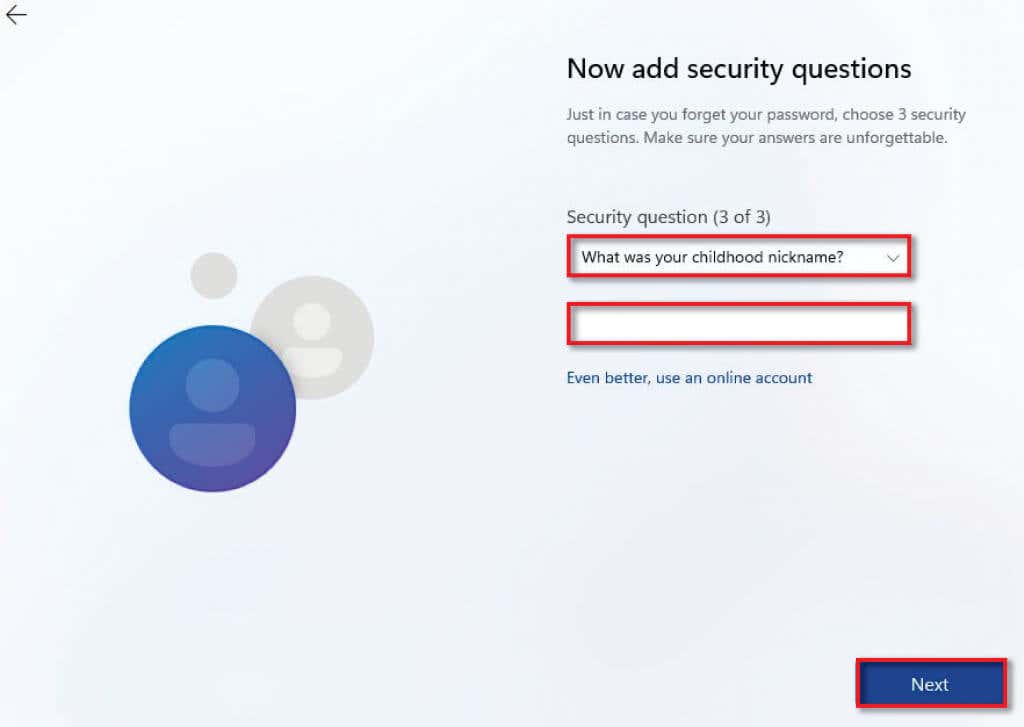
- Now choose a security question and input the answer. Select Next .
- Finish the Windows Setup as prompted.
2. Use Windows Settings to Create a Local Account
If you’ve already set up your PC, you can create local user accounts via the Windows settings.
- Type settings into the Start menu and select the Settings app.
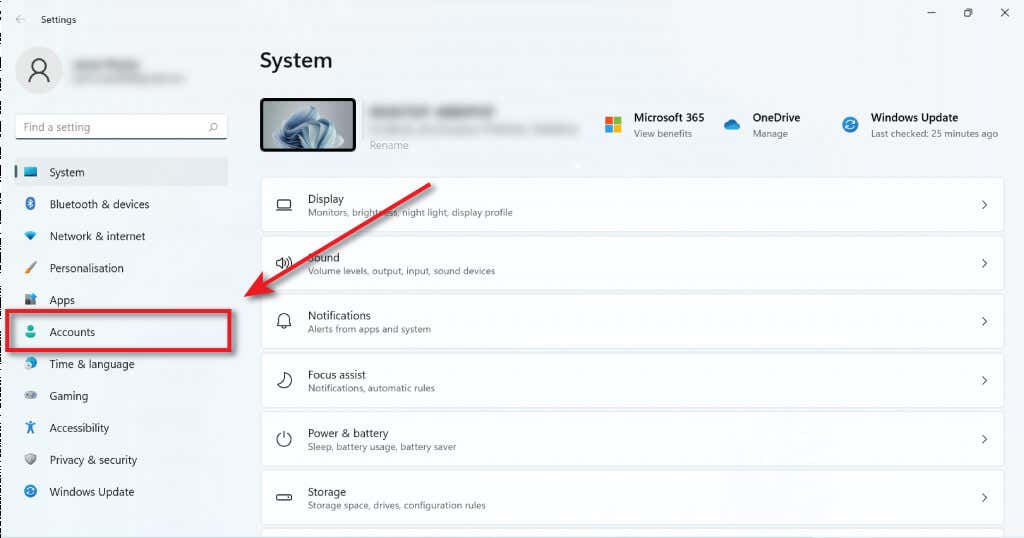
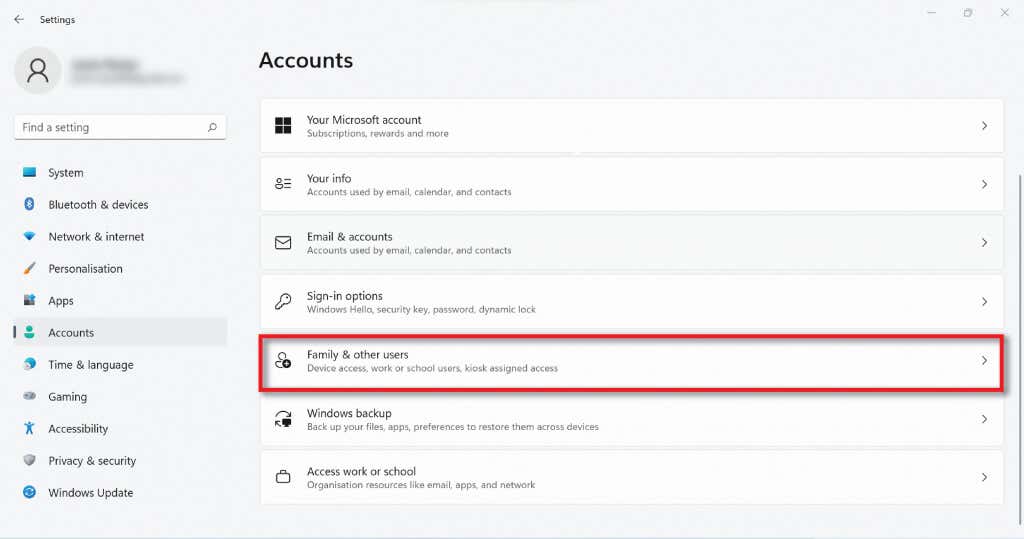
- Navigate to Accounts .
- Select Family & other users .
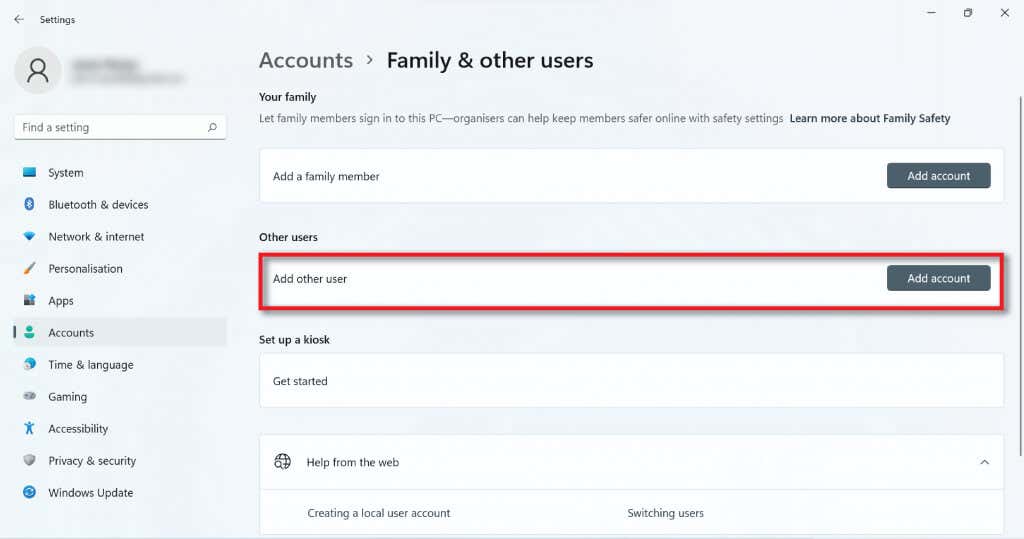
- Select the Add account button under Other Users .
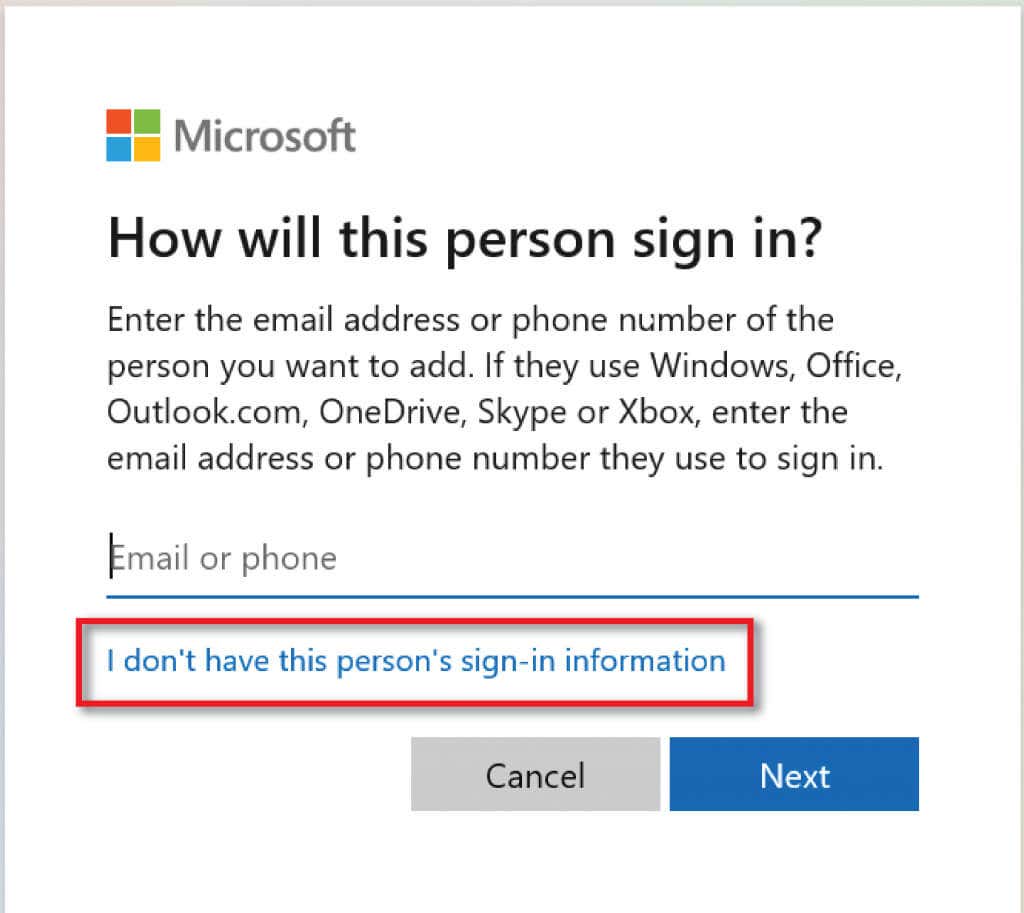
- In the dialog box, select I don’t have this person’s sign-in information .
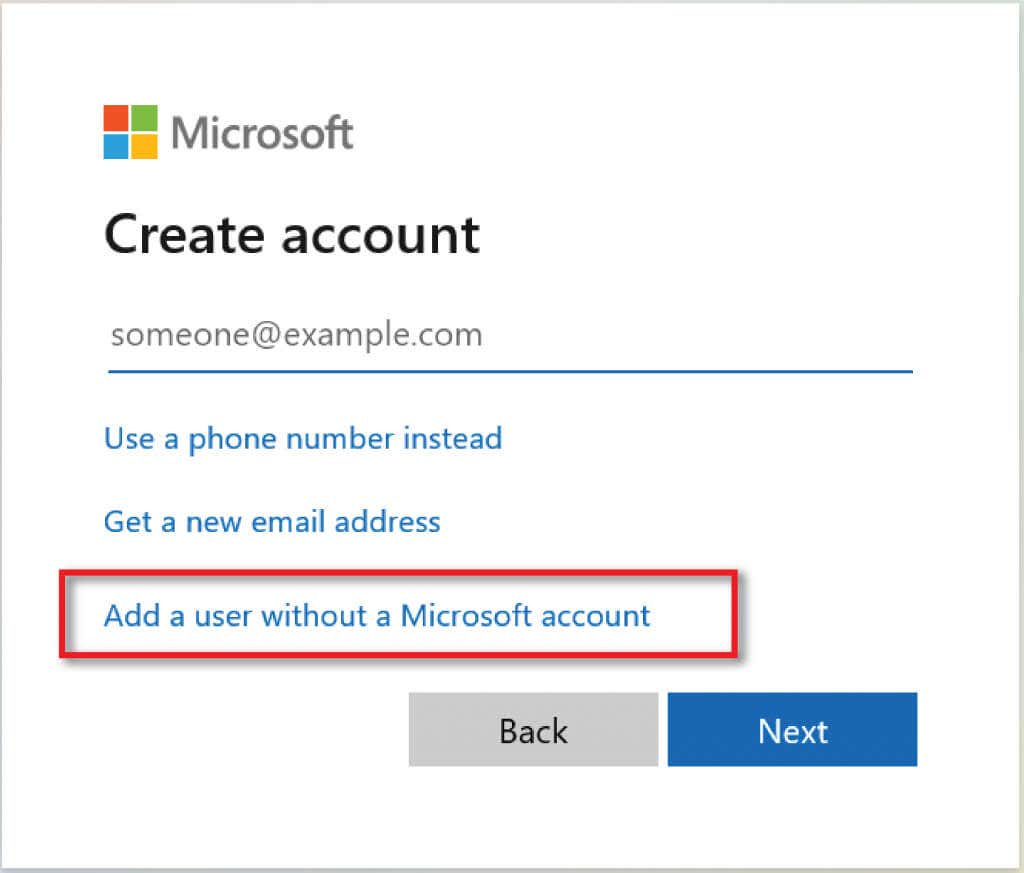
- Select Add a user without a Microsoft account and select Next .
- Enter a username and password of your choice.
- Once you have chosen a password, scroll down and set up security questions for password retrieval.
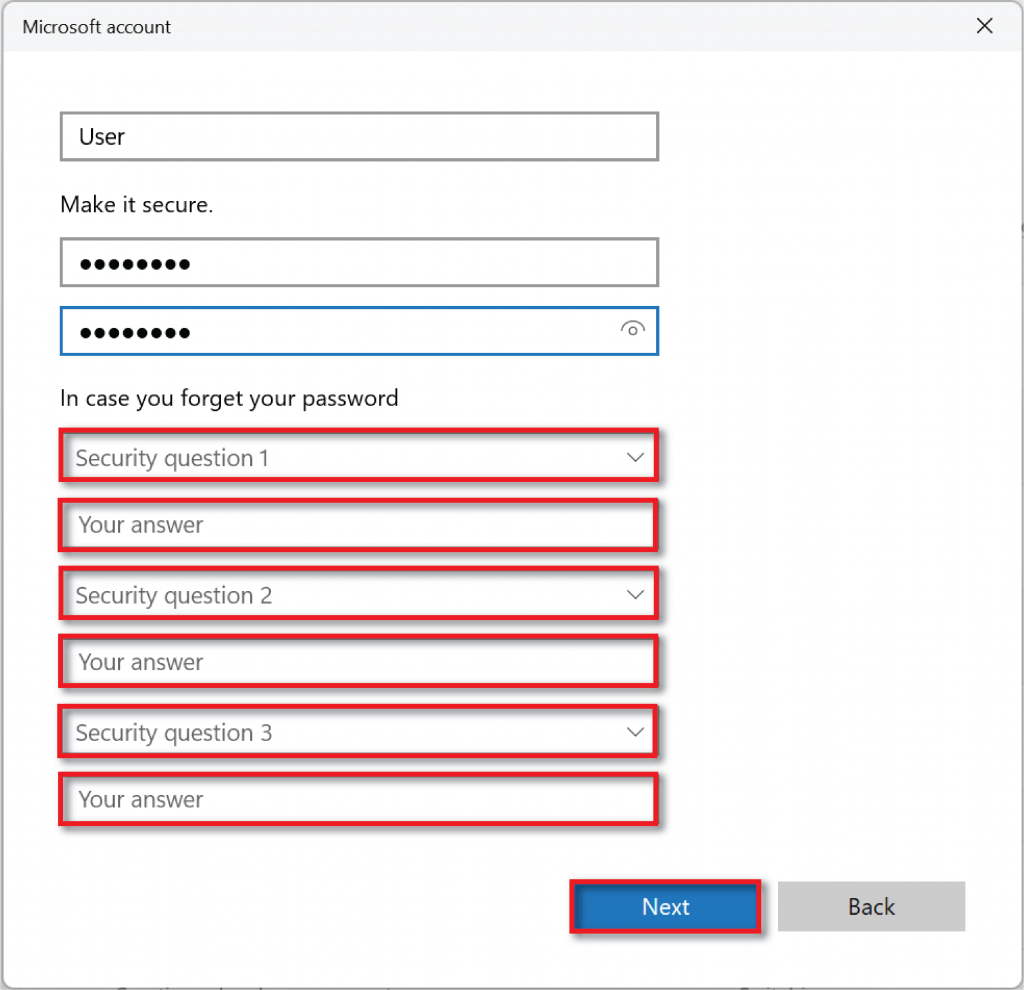
- Select Next to create your account.
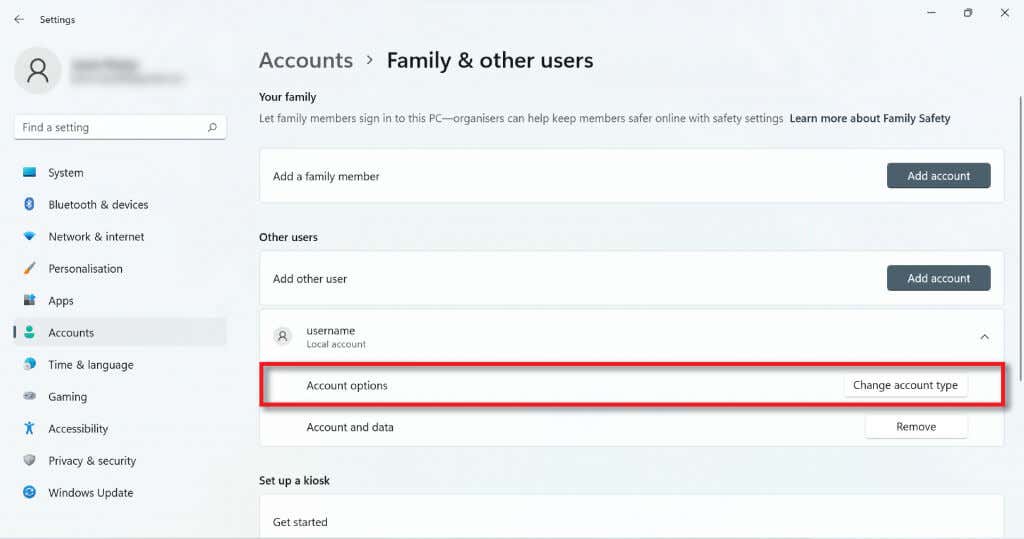
- To turn the new local account into an administrator account, return to Accounts > Family & other users and find the account under Other Users.
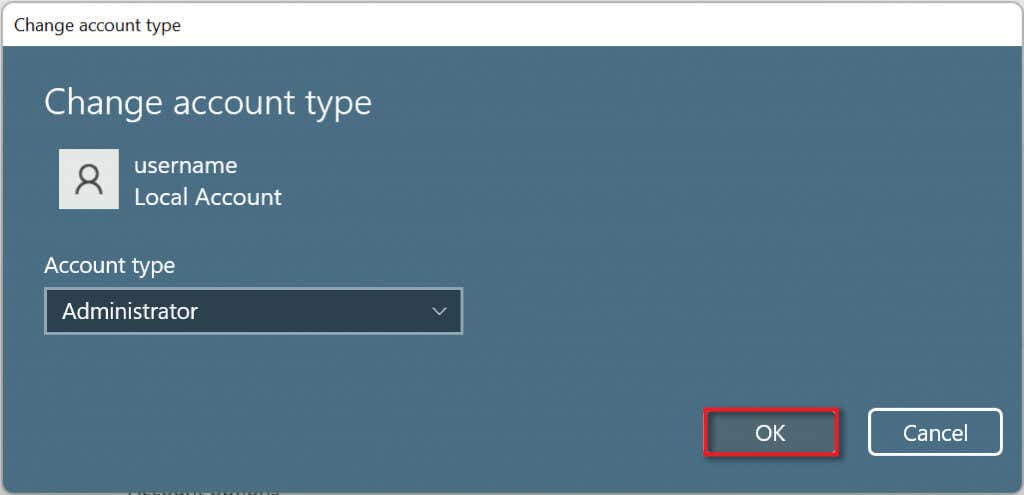
- Press the drop-down arrow on the right-hand side and select the Change account type button. In the new dialog box, change Standard User to Administrator and select OK .
3. Use Netplwiz to create a Local User Account
You can also use Netplwiz to create a local user account. To do so:
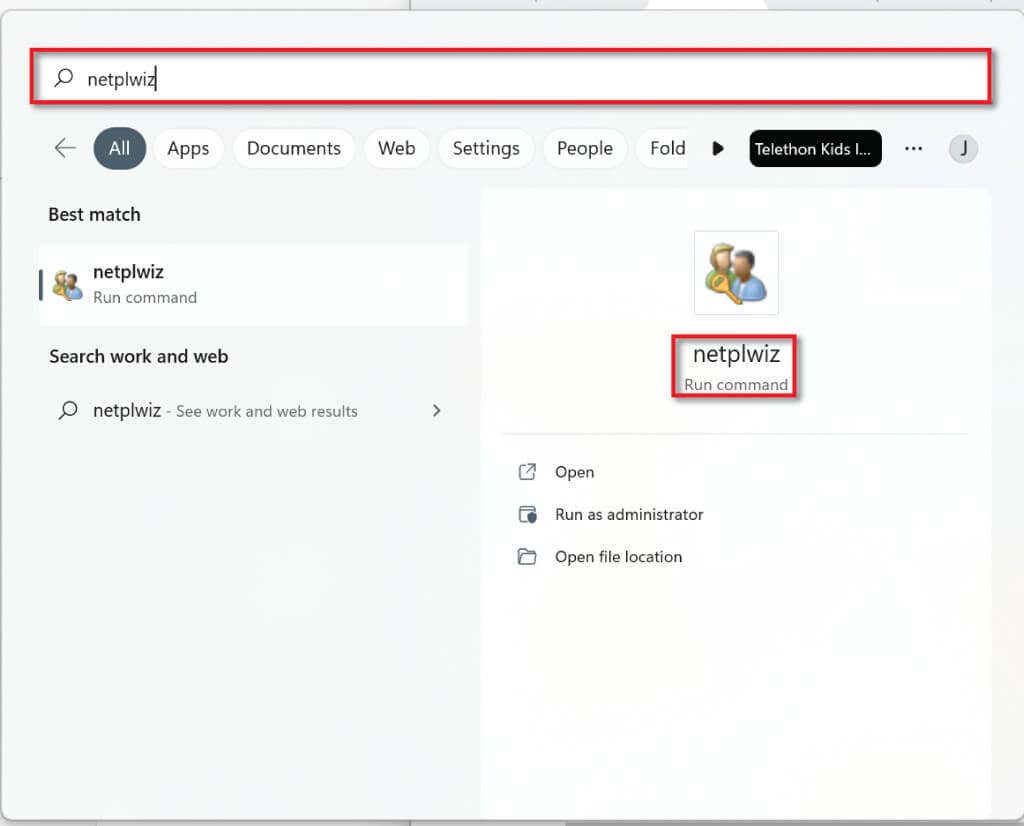
- In the Taskbar search bar , type Netplwiz, and select Run Command .
- In the User Accounts window, select Add (under the list of users for this computer).
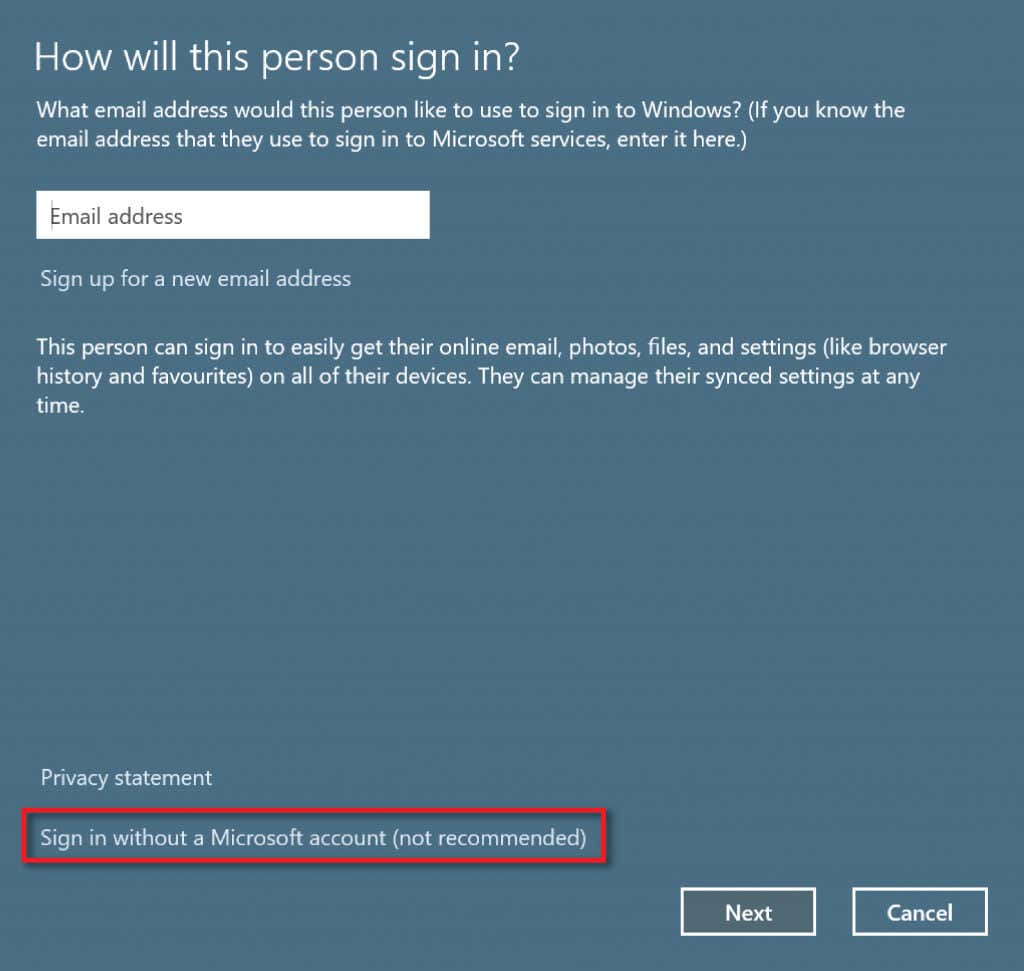
- Select Sign in without a Microsoft account (non-recommended) .
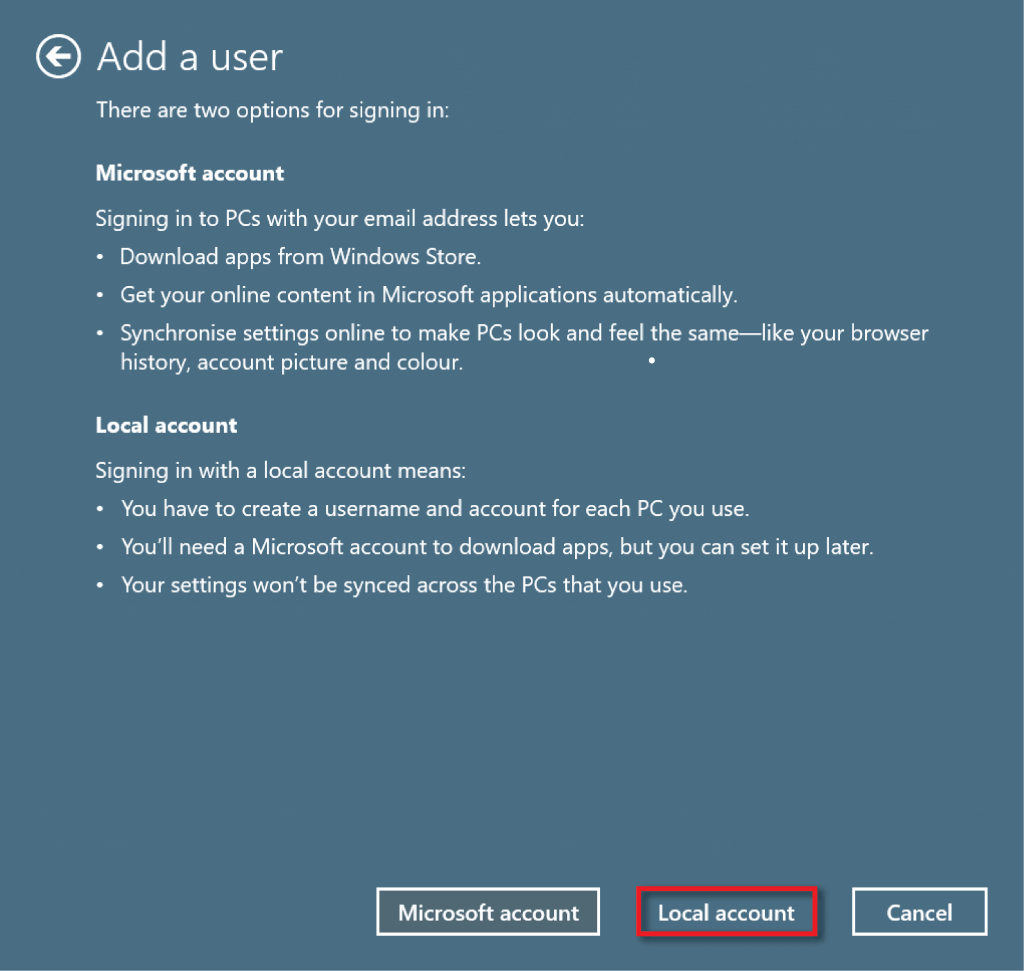
- Select Local account .
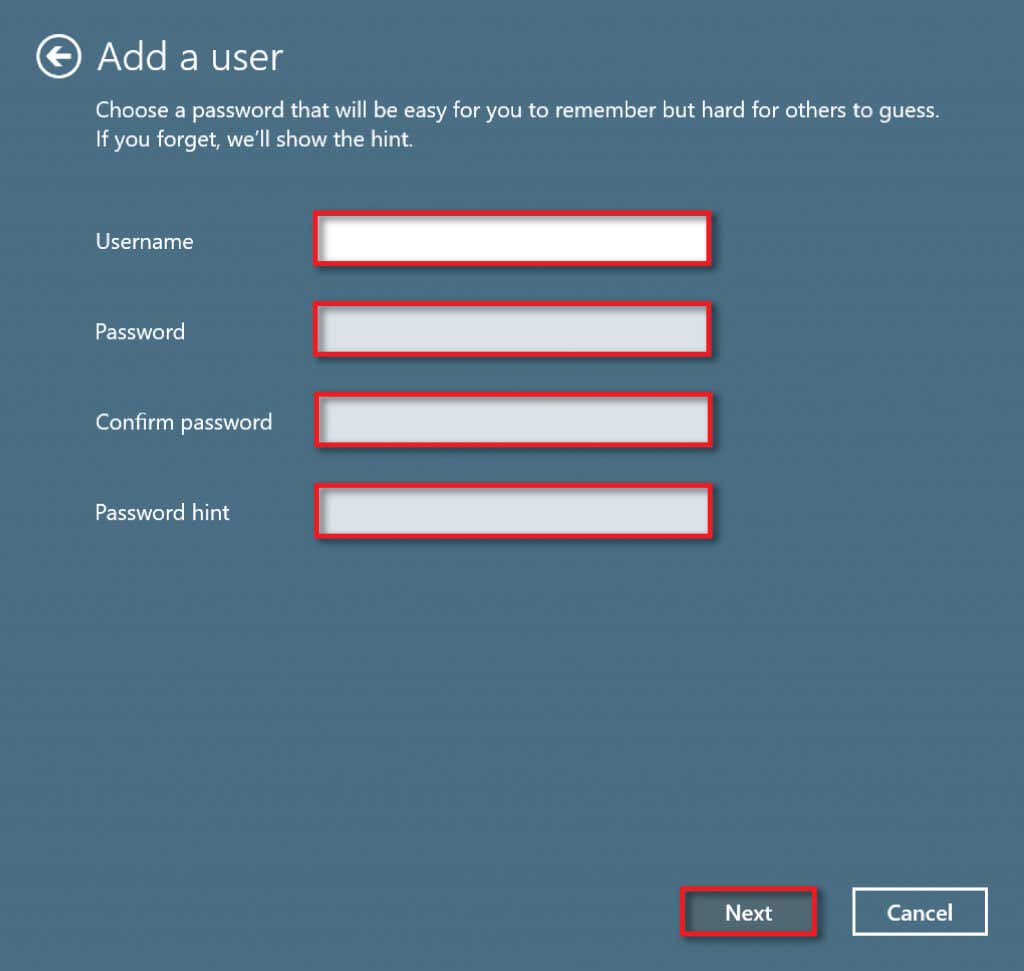
- Enter a username and password. Enter a password hint that only you will recognize, then select Next .
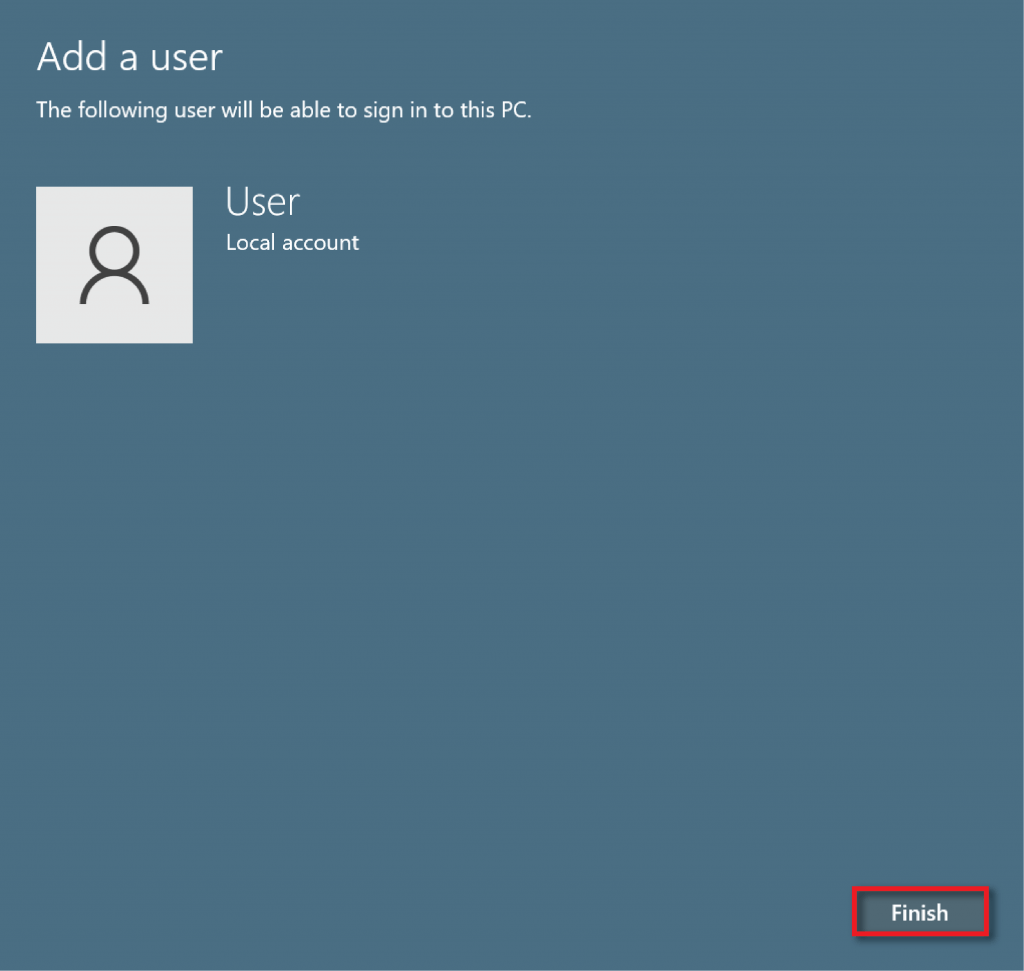
- Select Finish to finalize account creation.
4. Use the Command Prompt to Create a Local User Account
To create a local account using Command Prompt :
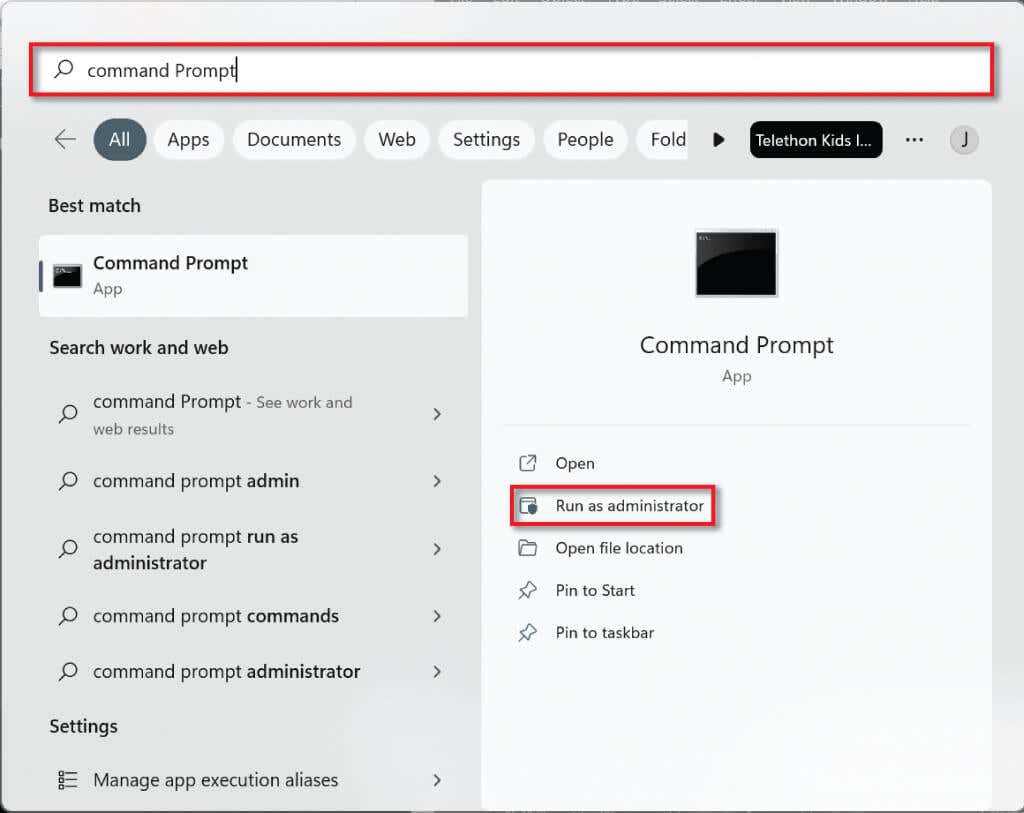
- In the Start menu search bar, type cmd. Then, under Command Prompt, select Run as administrator .
- Type the following command in the command line “net user username password /add”, replacing username with your chosen username and password with a strong password. Take note that because you do not get to add security questions with this method, if you forget the password, you cannot recover it.
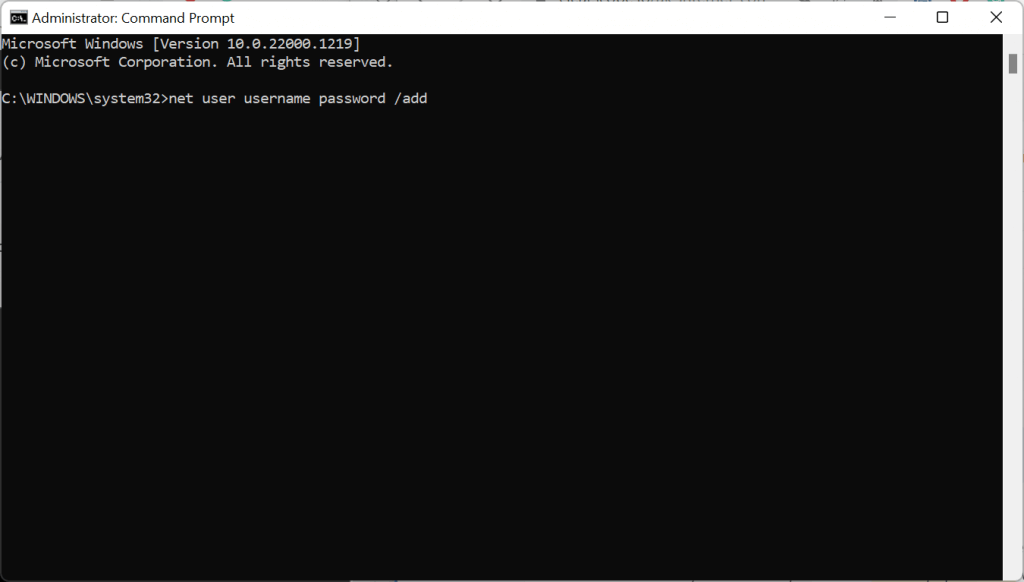
- Press Enter .
- To make the account an administrator account type the following command into the command line, replacing USER-ACCOUNT with the username you selected for the local account. Press Enter . net localgroup administrators USER-ACCOUNT /add
- To make sure the account has been created, go to the Start menu and select your profile. Your new account should be listed.

5. Use Powershell to Create a Local User Account
To create a local user account using Powershell:
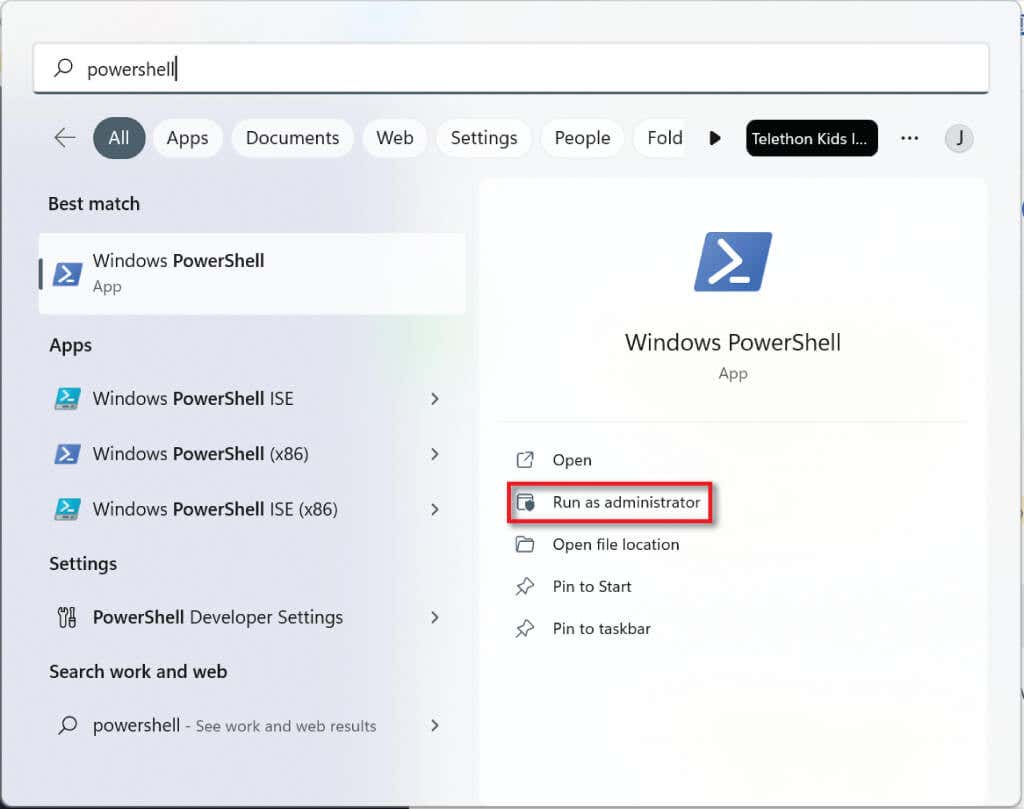
- Type PowerShell into the Taskbar search bar and select Run as administrator .
- Type the following command into the command line and press Enter :
$Password = Read-Host -AsSecureString
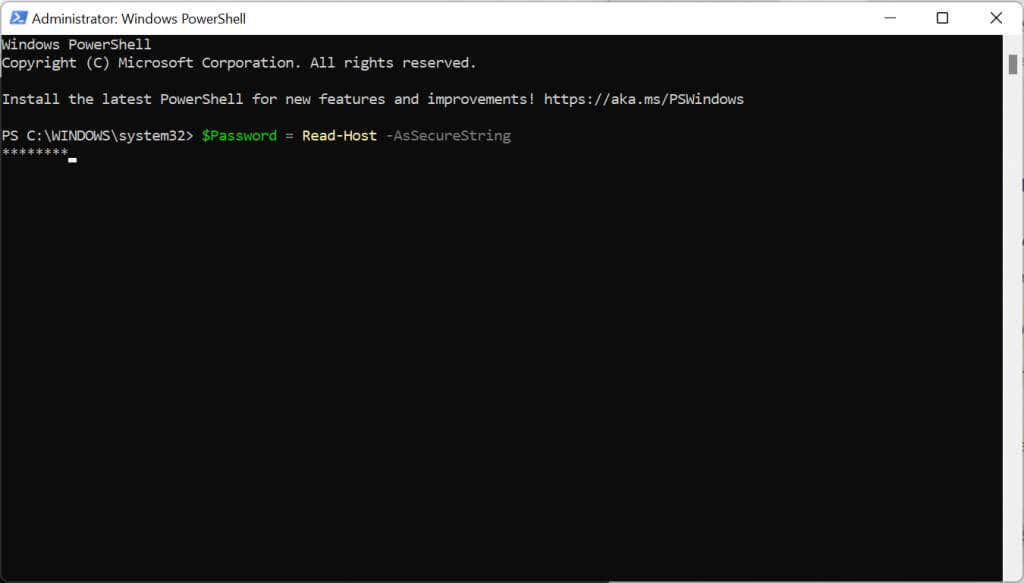
- Type the password you want for your new Windows 11 local user account and press Enter .
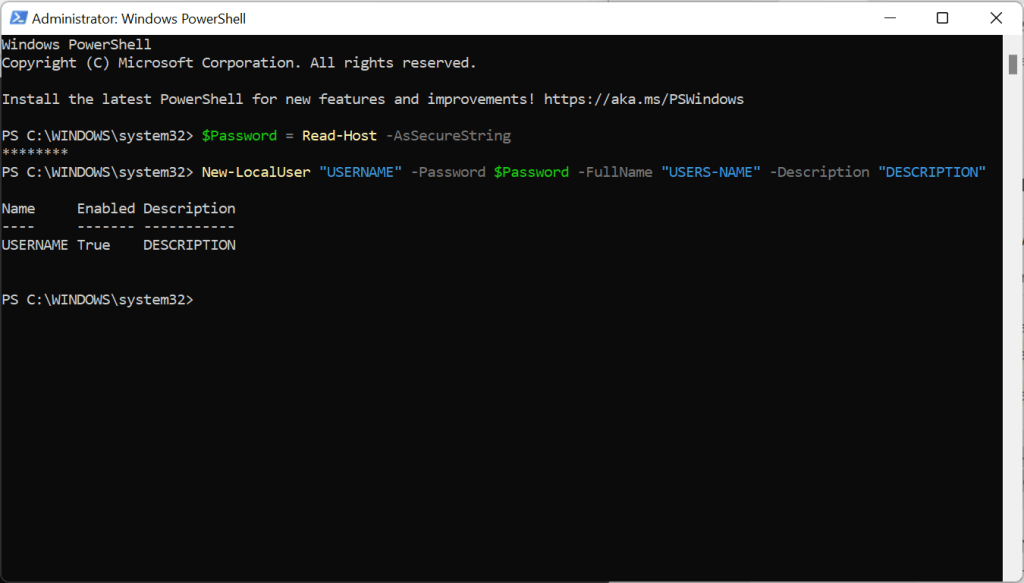
- Type the following code, replacing USERNAME with the account name, USERS-NAME with the full name of the user, and DESCRIPTION with a description of the account. Keep the quotation marks.
New-LocalUser “USERNAME” -Password $Password -FullName “USERS-NAME” -Description “DESCRIPTION”
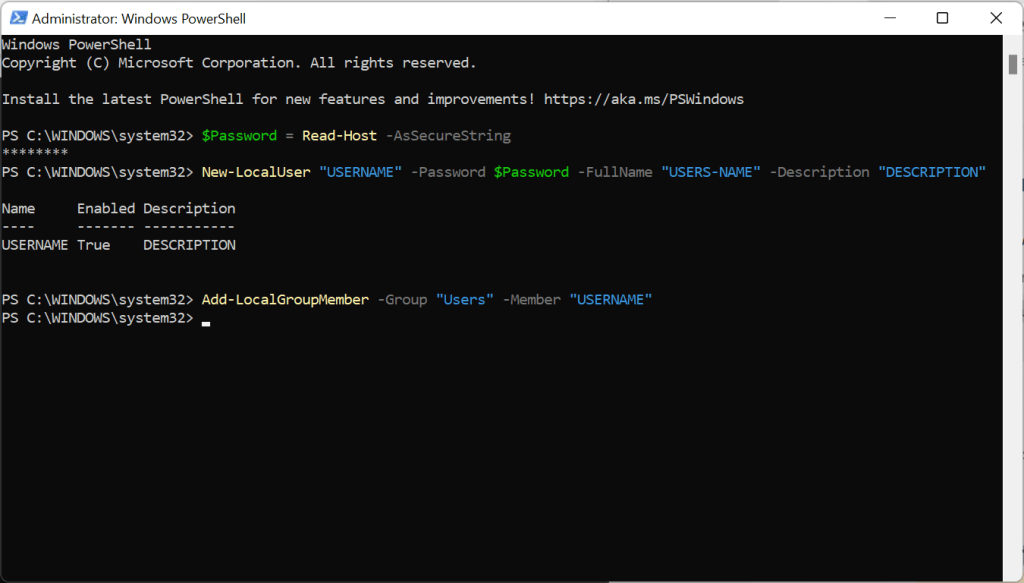
- Type the following command, changing USERNAME to the username you chose and ACCOUNT-TYPE to Users if you want the account to be standard or Administrators if you want the account to have admin permissions.
Add-LocalGroupMember -Group “ACCOUNT-TYPE” -Member “USERNAME”
6. Use the Computer Manager to Create a Local User Account (Pro Only)
Windows 11 Pro users can create local user accounts through the Computer Manager. This method will not work if you are running Windows 11 Home.
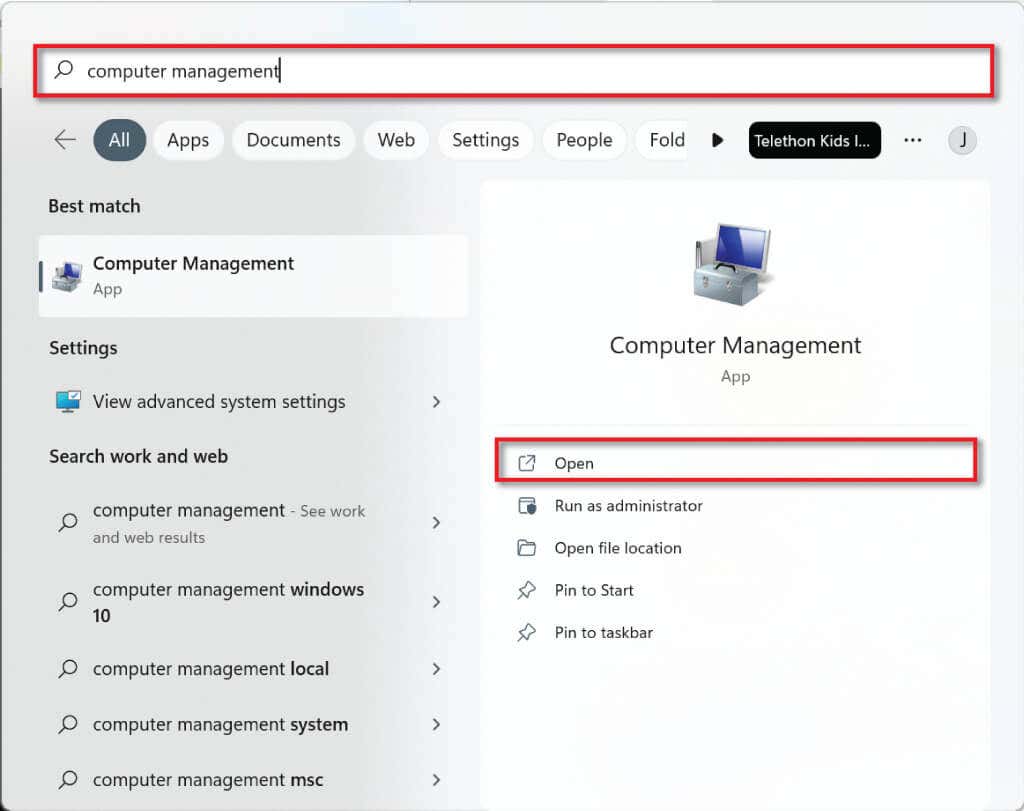
- Go to the Start menu search bar, type in computer management, and select Computer Management .
- Select System Tools in the top left corner and then Local Users and Groups .
- Now right-click on Users and select New User .
- Choose a username and password to create a new local account.
Creating Local User Accounts on Windows 11
As you can see, it’s relatively easy to create a local user account on Windows 11. You can create as many of these accounts as you like and use them to separate work and private use or even let your family members use your PC without accessing your files. The choice is yours!
- Sluggish Windows 11 PC? Try These 5 Windows 11 Tricks to Free up Virtual Memory
- How To Turn Off Notifications On Windows 11?
- How to Fix Windows 11 Boot Loops After Jan 2026 Update
- How to Remove Copilot AI in Window 11? New Update Available in Beta
- January 2026 Patch Tuesday: 7 Things Windows Users Should Do Before and After Updating
Jake Harfield is an Australian freelance writer whose passion is finding out how different technologies work. He has written for several online publications, focusing on explaining what he has learned to help others with their tech problems. He’s an avid hiker and birder, and in his spare time you’ll find him in the Aussie bush listening to the birdsong. Read Jake’s Full Bio
