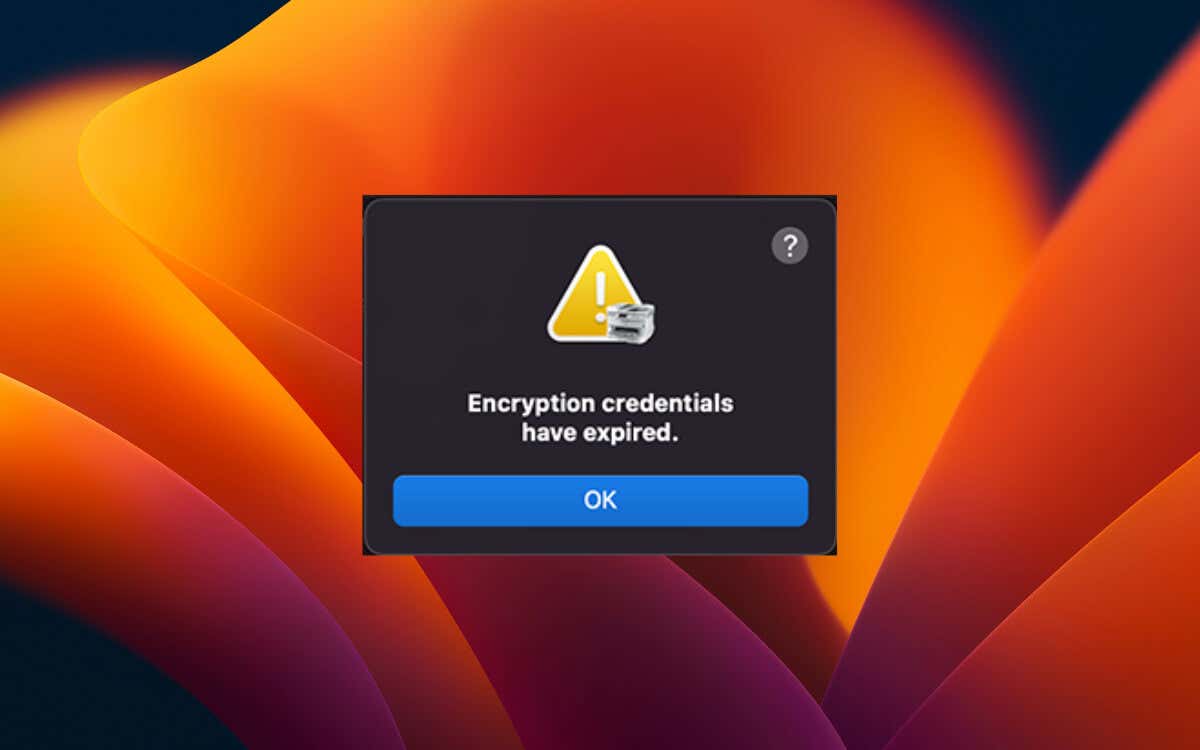
Do you receive an “Encryption credentials have expired” pop-up error immediately after initiating a network print job in macOS? According to the message, it’s because of an expired printer security certificate. However, there are other reasons that can cause it to pop up, such as corrupt printer-related network settings and outdated support software and firmware.
The good news is you have several solutions and workarounds to tackle this problem and get your printer working smoothly again. This troubleshooting guide will explore common causes behind the “Encryption credentials have expired” error and provide instructions to resolve it on your MacBook, iMac, or Mac mini.
Note : You’ll need your printer’s local IP address to work on the fixes below. If you don’t know it, you should be able to get the information through the printer itself—look around its network settings screen or print a network configuration page.
Update the Printer’s Encryption Credentials
Your printer uses a security certificate to transmit data securely with your Mac over wireless networks, and the “Encryption credentials have expired” error appears when it’s no longer valid. Since the certificate is likely self-signed (as in, issued by the printer itself), you can update it to resolve the issue.
You can use your printer’s Embedded Web Server (EWS)—accessible through Safari, Chrome, or any other browser in macOS—to update its self-signed certificate.
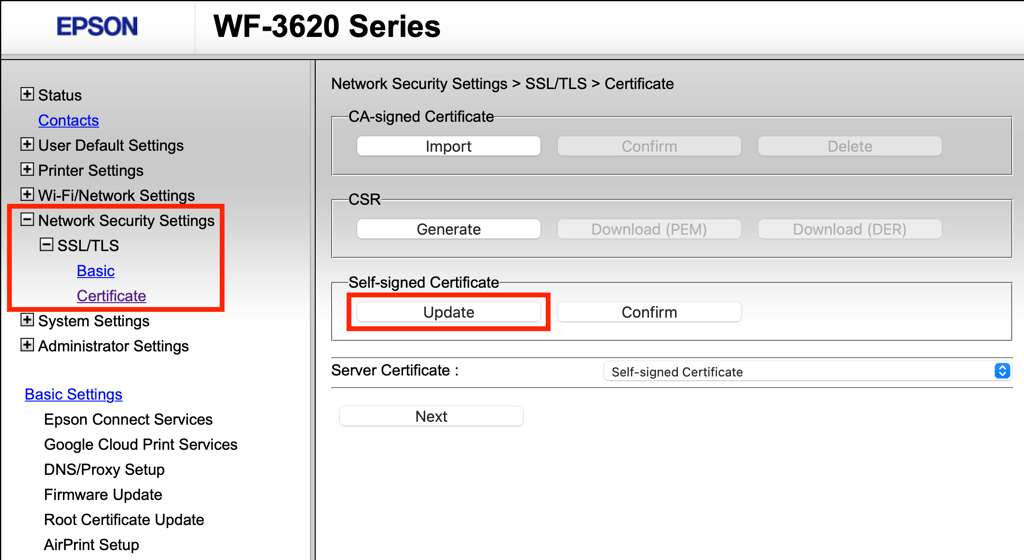
As an example, to renew the expired certificate on an Epson printer:
- Type your printer’s IP address into the address bar of a new browser tab and press Enter . If you encounter a security warning stating the connection is not secure, dismiss it to proceed.

- Once the printer’s Web Config page finishes loading, switch to the Network Security Settings tab and go to SSL/ TLS > Certificate .
- Select Update under Self-signed Certificate .
- Specify a validity period for the certificate—e.g., 5 years .
- Select Next , then OK to finish updating the certificate.
Note : If the option to update the self-signed encryption credentials is absent, select the Create button and follow the on-screen instructions to set up a new certificate.
Remove and Re-add the Printer
If the “Encryption credentials have expired” error persists despite updating your printer’s network certificate, you must delete and re-add the peripheral device to your Mac. This process refreshes the printer connection and security credentials, potentially resolving random conflicts behind the problem.
Additionally, if the printer was initially set up using Secure Internet Printing Protocol (IPPs), use AirPrint or LPD (Line Printer Daemon) instead to avoid running into the same error again.
To remove and re-add a printer on a Mac running macOS Ventura and later:
- Open the Apple menu and select System Settings .
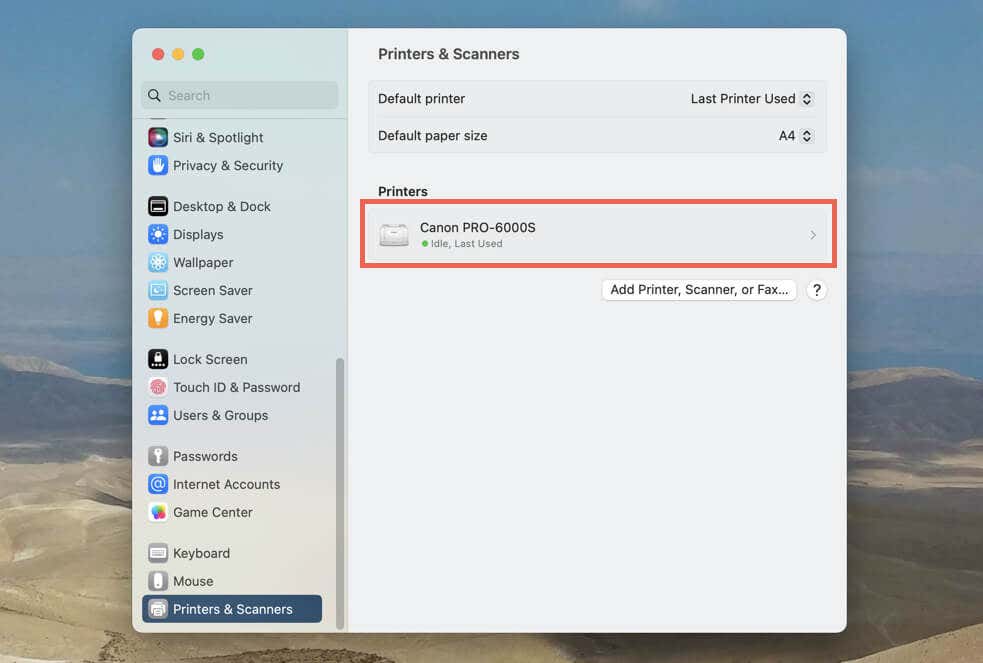
- Scroll down the sidebar and select Printers & Scanners .
- Locate and select your printer’s name—e.g., Canon —under the Printers section.
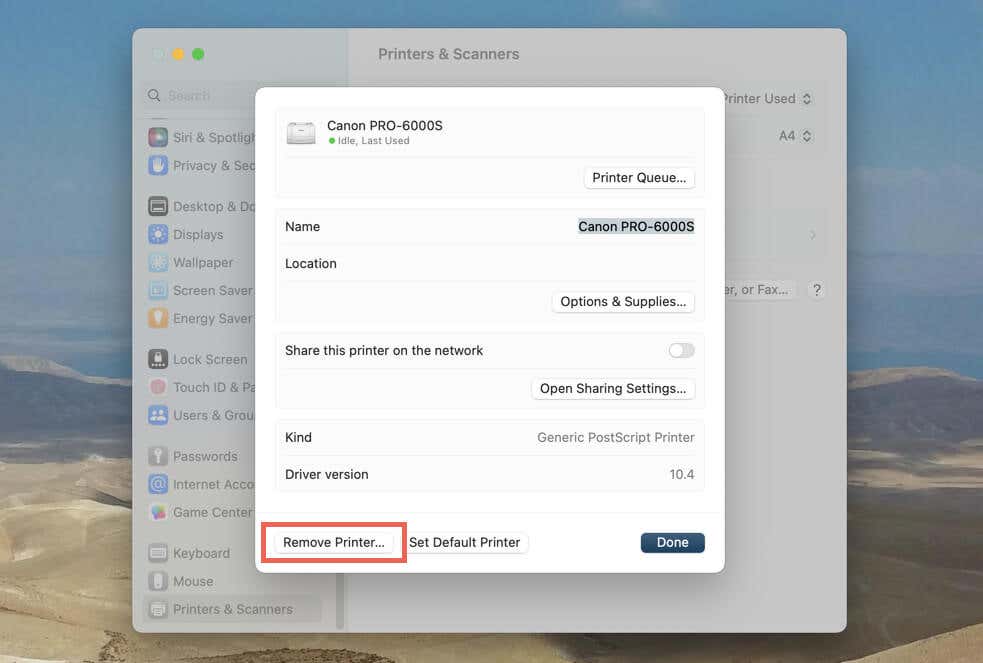
- Select the Remove Printer button.
- Select Remove Printer again to confirm your action.
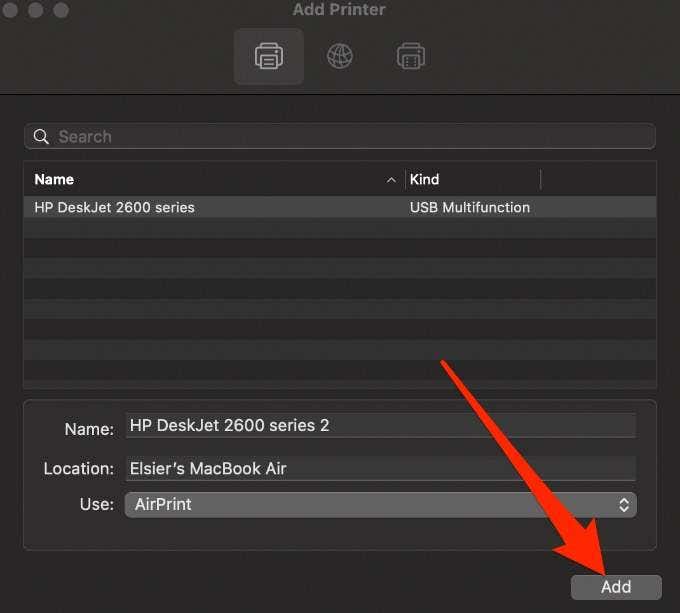
- Select the Add Printer, Scanner, or Fax button within the Printers & Scanners screen.
- Switch to the IP / Network tab on the Add Printer pop-up.
- Fill in your printer’s IP address, select AirPrint (avoid picking Secure AirPrint if the option’s available) next to the Protocol drop-down, and add a name to the Name field.
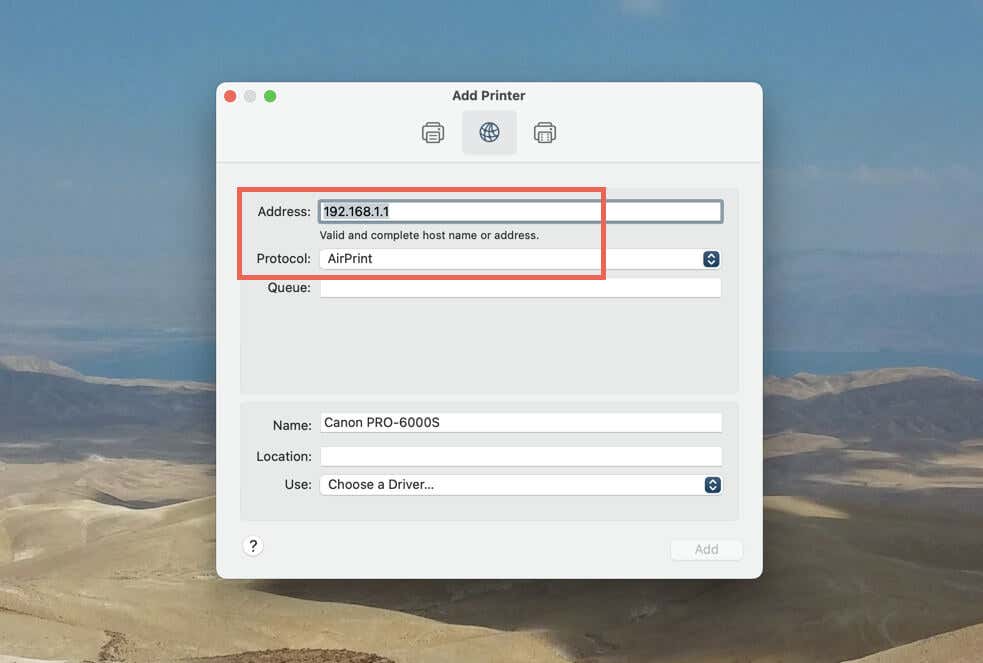
- Select Add .
- Use the printer and check if the error recurs. Remove and re-add the printer using Line Printer Daemon – LPD if it does.
Optionally, you can reset the printing system on your Mac to rule out conflicts with other printers and scanners. To do that, go to System Settings > Printers & Scanners , Control -click anywhere underneath the Printers section, and select Reset Printing System on the contextual menu.
If your Mac runs macOS Monterey or an older operating system version, open the Apple menu and go to System Preferences > Printers & Scanners to remove and re-add your printer or to reset the printing system.
Reset Printer Network Settings
The “Encryption credentials have expired” printer issue on the Mac can also result from a broken network configuration. Resetting the printer’s network settings restores the communication pathways to their defaults, allowing the device to establish a secure connection with macOS.
The exact method to reset a printer’s network settings varies per manufacturer, make, and model. Perform a search online or check the instructions manual for the specifics.
For example, if you use a touchscreen-based HP printer, you can restore the network settings using the steps below:
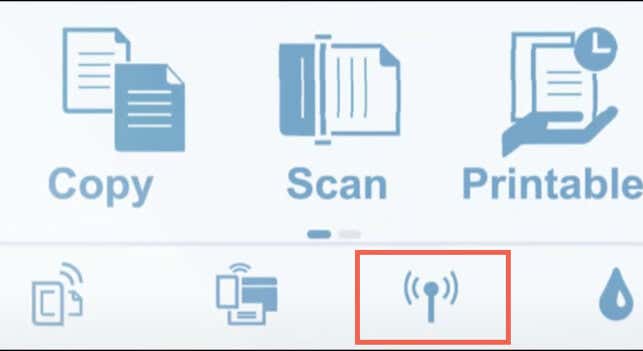
- Locate and tap the Wireless icon.
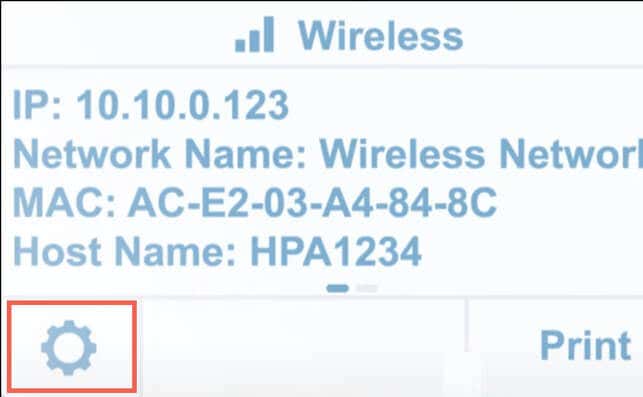
- Tap the Gear icon to reveal the network settings.
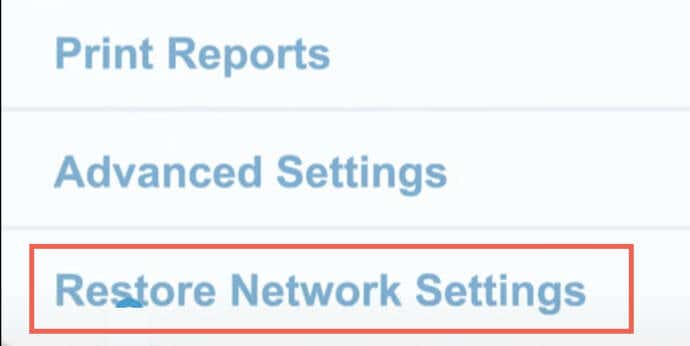
- Tap Restore Network Settings .
If your HP printer does not feature a touchscreen, resetting the network settings could be any of the following, depending on its model:
- Hold the Wireless and Cancel buttons simultaneously until the Power button flashes.
- Hold the Wireless button until the Attention light flashes.
- Hold the Wireless button on the back of the printer for 5 seconds until the Status light flashes.
After the reset procedure, reconnect the printer to the same Wi-Fi network as your Mac. Then, remove and re-add the printer from within macOS. Before doing that, consider resetting the Mac network settings for best results.
Install or Update the Printer’s Support Software
To prevent an “Encryption credentials have expired” error that stems from potential device incompatibility with macOS, ensure the correct printer support software is installed on your Mac.
- Head to your printer manufacturer’s website, be it Canon , Epson , HP , or another.
- Search for your specific printer model.
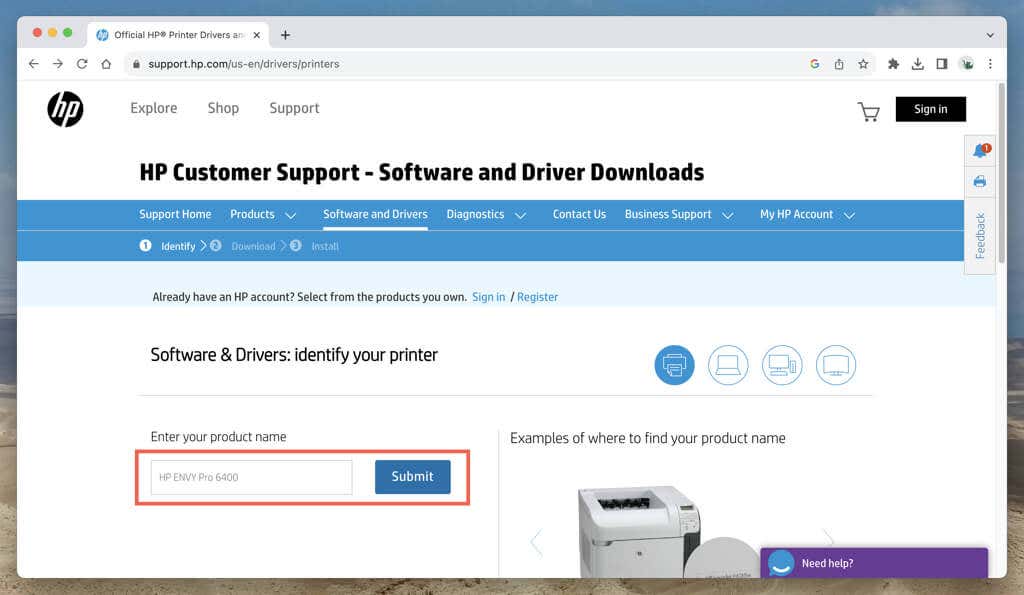
- Download the latest version of the recommended support software—e.g., Canon Inkjet Smart Connect, Epson iPrint, or HP Smart.
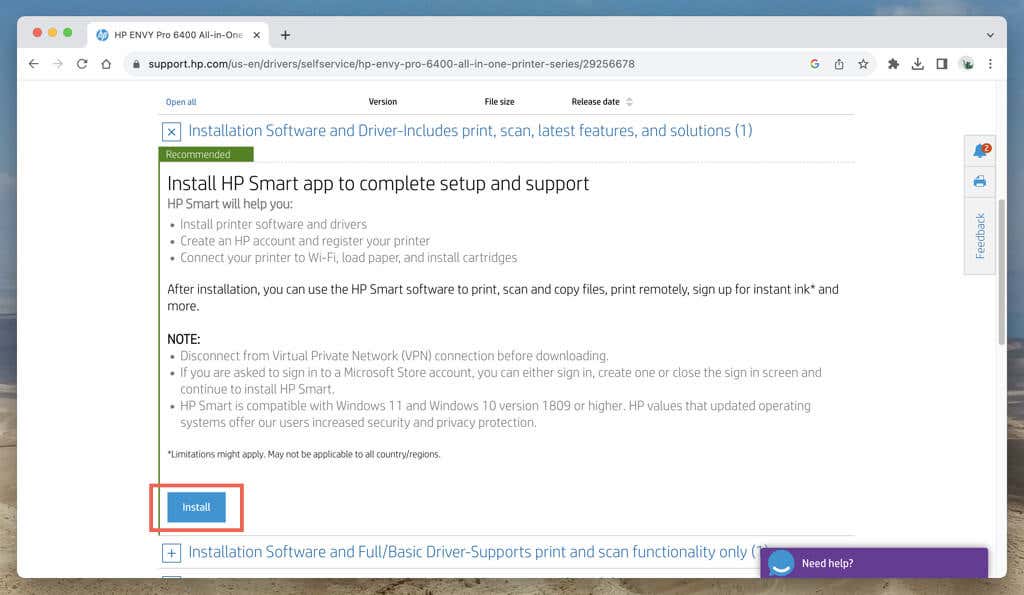
While you’re at it, check for any updated printer drivers to enhance compatibility. If you’ve previously installed support software, consider updating or reinstalling it to fix known glitches or corruption issues.
Update the Firmware on Your Printer
Outdated printer firmware is another reason that leads to connectivity problems. Verifying if your printer has the latest firmware version and updating it if necessary can improve compatibility and security.
Check your printer’s support documentation for instructions to update the printer firmware. This could involve updating the printer firmware through its support app on the Mac or directly via the printer itself.
Printing Functionality on Mac Restored
The “Encryption credentials expired” printer error on your Mac might seem challenging at first, but taking the time to work through the fixes in this tutorial should help you restore normal printing functionality.
Begin by updating or creating a new self-signed certificate. If that doesn’t work, re-add the printer using the AirPrint or LPD protocol and reset the printer’s network settings.
- How to Connect Xbox Controllers to Your Mac
- How to Chromecast From Mac to Your TV
- How to Install and Run Linux on Mac
- How to Turn Off or Delete Siri Suggestions (iPhone and Mac)
- How to Take Pictures on Mac
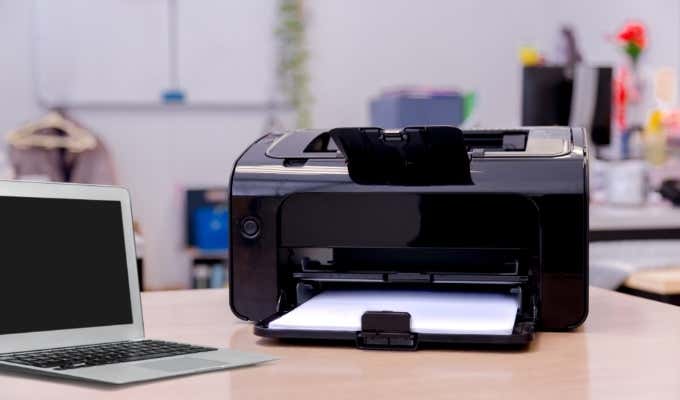
Adding a printer to a Mac is straightforward, but the process is different for wireless and wired devices. If your printer is AirPrint-enabled, it’s easier to add it to your Mac because macOS uses AirPrint to connect to printers or to download the printer’s software.
For wired printers, you can plug a wired USB into your Mac and use a couple of extra steps to set the printer up, provided it’s compatible with your Mac.
If you have an older printer that isn’t AirPrint-enabled, your Mac may install the printer driver software automatically, thereby allowing you to use the printer with your Mac.
Here’s what you need to know to add a printer to a Mac. You can add a wired printer that doesn’t have networking capabilities or a wireless printer on a Mac in a few easy steps.
Note : We’re using a Mac running macOS Big Sur for this guide.
Add a USB Printer to a Mac
If you have a USB printer, update macOS before adding the printer to your Mac otherwise you may get an error message that the software isn’t available when connecting the printer.
Your Mac will automatically detect the printer and download the required software to use the device.
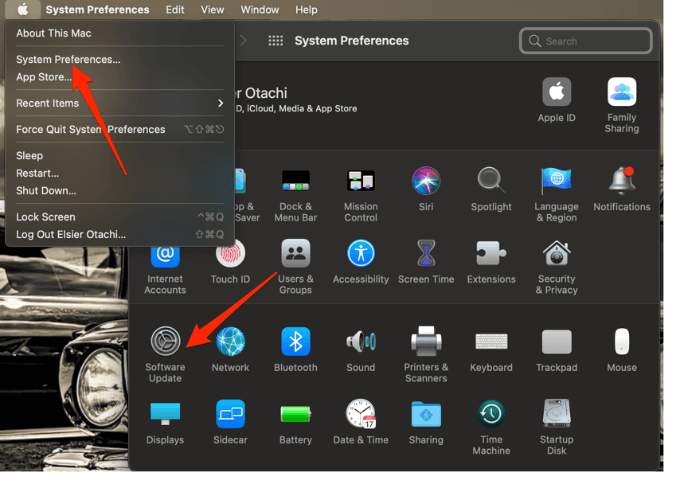
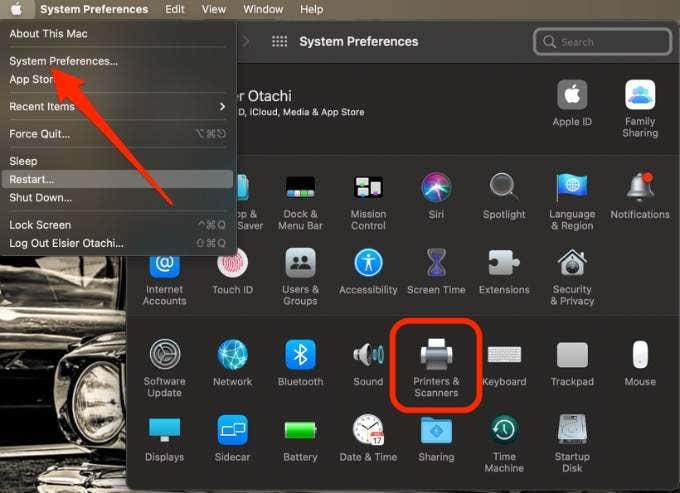
- Select the menu > System Preferences > Software Update on your Mac and install any pending updates listed. This way, macOS will have the latest information about the printer’s software and can download it from Apple.
- Power on the printer to ensure that it’s not showing any errors and then connect the USB cable to your Mac. Download and install any new software if you’re prompted to.
- Your Mac should automatically detect the printer and begin the installation process. If nothing happens, your printer may not be compatible with your version of macOS.
Note : If your Mac has one USB-C port, use an adapter cable or docking station to connect your printer.
Add a Network or WiFi Printer on a Mac
If you have a wireless printer, you can quickly add it to your Mac without any setup as long as both devices are on the same WiFi network.
Note : You may need to connect your printer via USB cable to your Mac to set up and install your printer’s software. Use the printer’s setup assistant to connect the printer to your WiFi network and then unplug the USB cable from both devices.
- Select Menu > System Preferences > Printers & Scanners .
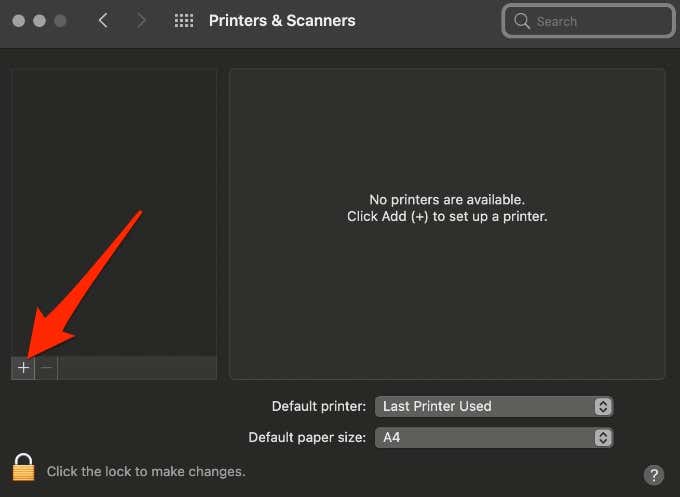
- Next, select the Add (plus) icon to set up your wireless printer.
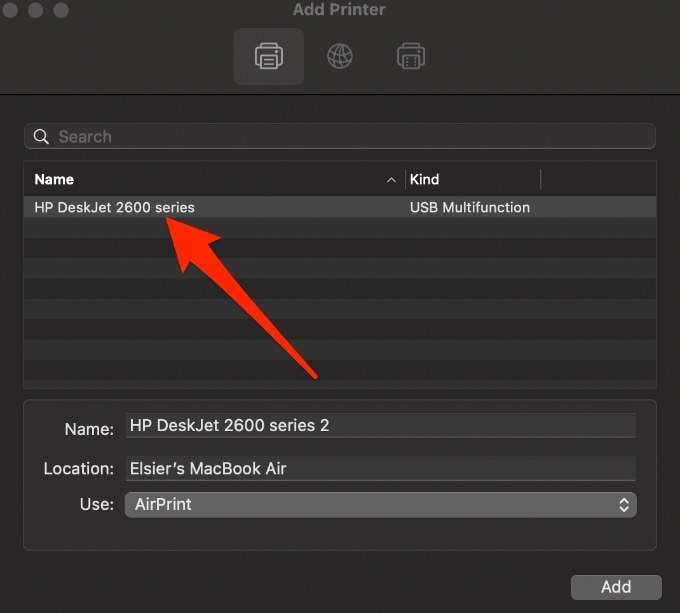
- Select the printer you want to add. macOS will automatically scan the network for any compatible wireless or network printers.
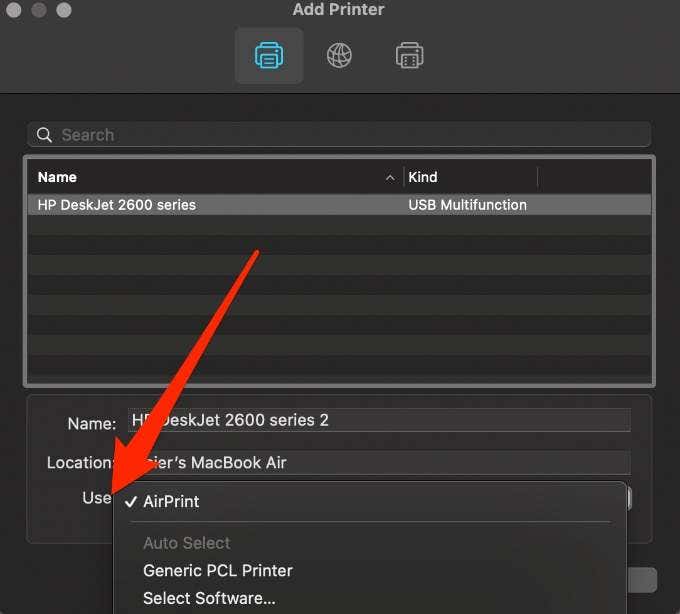
- In the Use field, select your printer’s software or driver. You can choose from AirPrint, your printer’s driver, or Auto Select for your Mac to download the correct driver once it updates.
- Select Add and your wireless printer will be added to the list of printers.
Note : If your printer isn’t listed, check if it’s connected to the WiFi network and then select the Add button. Wait a minute or two for the printer’s name to appear on the list and then choose Add again.
Add a Network Printer to a Mac Using an IP Address
Follow the steps below to add your printer by its IP address. For this to work, the printer must support AirPrint, Line Printer Daemon, HP Jetdirect (Socket), or Internet Printing Protocol.
Before adding your network printer by its IP address, find out its host name or IP address. You can find this information by going to your printer’s control panel and printing out the network configuration.
- Update the printer software on your Mac, turn on the printer, and then connect it to your network.
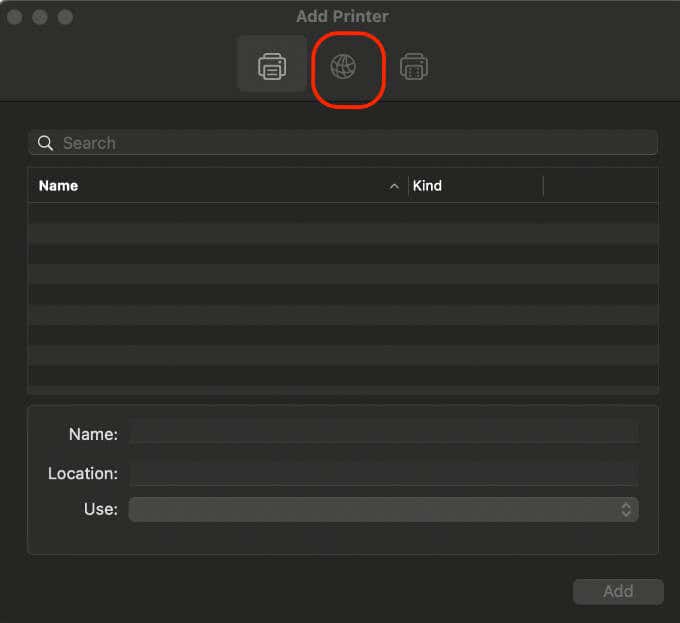
- Select Menu > System Preferences > Printers & Scanners > Add and then select the IP button .
- Enter the printer information including the host name or IP address, which looks like 192.168.20.11.
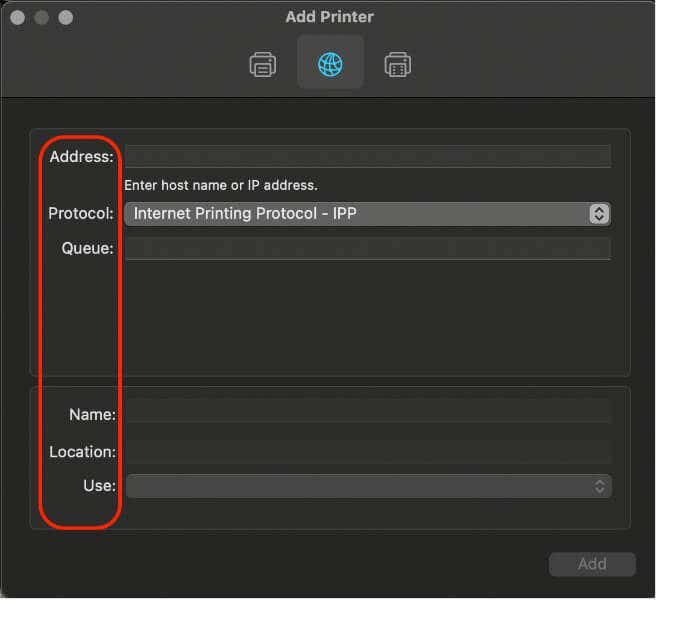
In the Use field, select the printer driver you would like to use.
Bonus Tips:
When you’re ready to print, check out our guides on how to print double-sided on Mac and how to print in black and white on Mac .
- How to Connect Xbox Controllers to Your Mac
- How to Chromecast From Mac to Your TV
- How to Install and Run Linux on Mac
- How to Turn Off or Delete Siri Suggestions (iPhone and Mac)
- How to Take Pictures on Mac
ÿØÿà JFIF ÿÛ C ‘!%"."%()+,+ /3/2’+*ÿÛ C ***************************************************ÿ —× ÿÄ ÿÄ ÿÚ ×Ýø °¤ šB… P,Ä©…B"-ÕD!J H•aT” Q@ ,º•/\ï¶7©vå¬ñÖs¬çYΡL€P @@ HU•`%²îT¼ý<
