Does your Microsoft Word app get stuck when you try to save a document? Your file may be corrupt, causing the app to behave this way. Your app may also be experiencing technical issues. We’ll show you how to resolve the problem, so you don’t have difficulties saving your documents.
Other reasons Word gets frozen while saving a file are that your computer has a minor glitch, you’re opening the document from an unstable drive, Word’s add-ins are problematic, your computer is infected with a virus, Word’s app files are corrupt, and more.
Restart Your Windows 10/11 or Mac Computer
When Word freezes while saving your document, turn your Windows or Mac computer off and back on to possibly resolve the issue. Restarting your machine helps fix many minor glitches, some of which may be causing your Word issue.
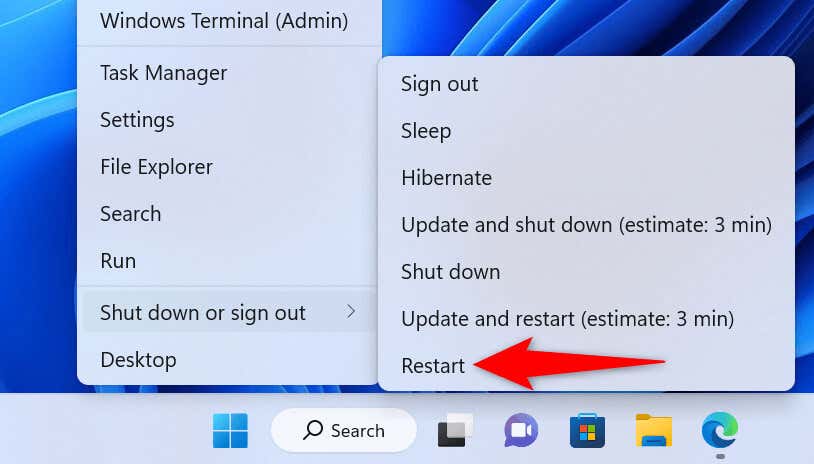
You can reboot a Windows PC by right-clicking the Start menu icon and choosing Shut down or sign out > Restart .
To reboot a Mac computer, select the Apple logo in your screen’s top-left corner and choose Restart .
Launch your Word document when your computer turns back on, make the required changes, and try to save the file.
Repair Your Word Document
The document you’re trying to save may be corrupt, causing Word to freeze up. Various items, including viruses, malicious apps, and interrupted downloads, can make your document problematic.
In this case, you can use Word’s built-in repair option to repair your faulty file.
- Open Microsoft Word on your computer.
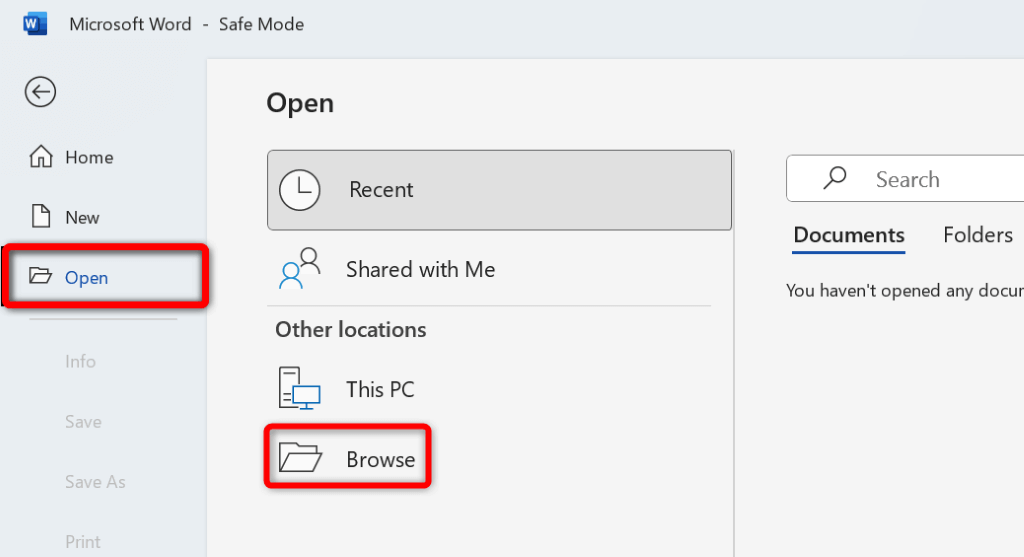
- Select Open in the left sidebar and Browse on the right pane.
- Open the folder containing your Word file.
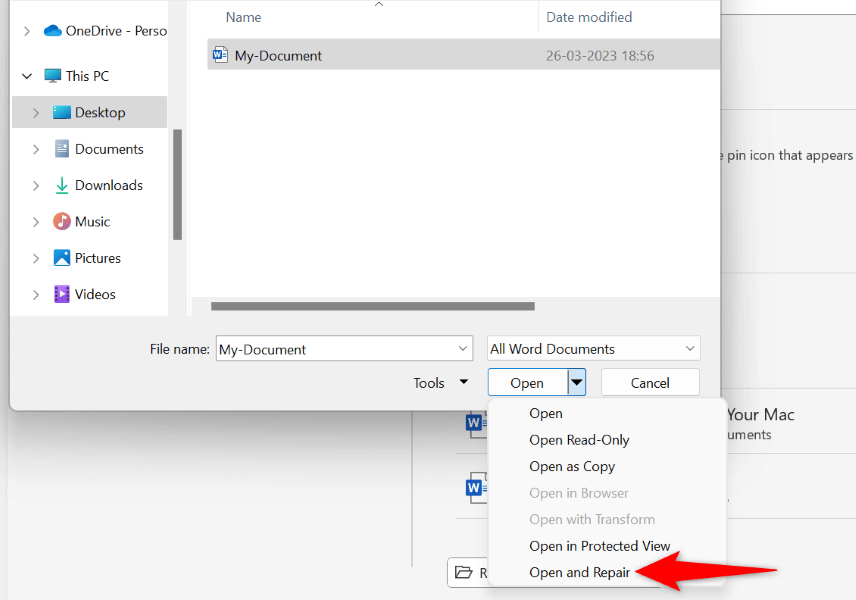
- Single-click your file, select the down-arrow icon next to Open , and choose Open and Repair in the menu.
- Wait for Word to repair your document.
Launch Your Word Document From Another Location
If you’re trying to save changes to a Word document saved on an external drive or a network location, that drive or network connection may be unstable. This makes it difficult for Word to save your changes to your document.
In this case, copy your Word document from its original location to a local folder on your computer, make changes to the file, and copy the file back to its original location.
- Copy your Word document from the external location to your local storage using File Explorer (Windows) or Finder (Mac).
- Double-click the document to open the file with Word .
- Make the desired changes to your document.
- Save your file by pressing Ctrl + S (Windows) or Command + S (Mac). Alternatively, choose File > Save in the Word app.
Launch MS Word in Safe Mode
Your installed Word add-ins may be faulty, causing the app to freeze up while saving your documents. In this case, you can launch Word in safe mode that isolates all your external add-ins.
This way, you can verify if add-ins are the culprit. If that’s the case, you can then go ahead and disable the bad add-ins in your Word app.
Note that Word’s safe mode is only available on Windows PCs.
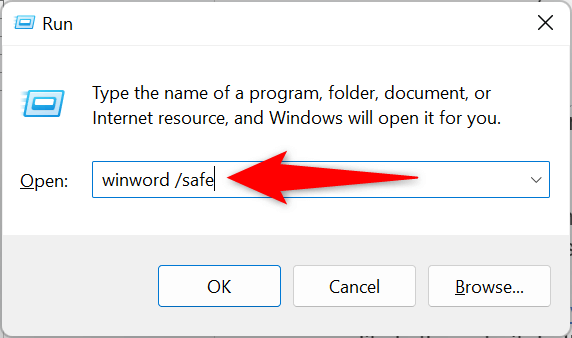
- Open the Run box by pressing Windows + R .
- Type the following in the box and press Enter : winword /safe
- Select File in Word’s top-left corner.
- Choose Open on the left and Browse on the right.
- Use the open window to navigate to and choose your Word document.
- Make the desired changes to your file and save the file.
If your document saves without causing Word to freeze up , your installed add-ins are likely the culprit. In this case, disable all your Word add-ins as follows:
- Open Word and select Options in the left sidebar. If you don’t see this option, select File in the app’s top-left corner.
- Choose Add-ins in the left sidebar.
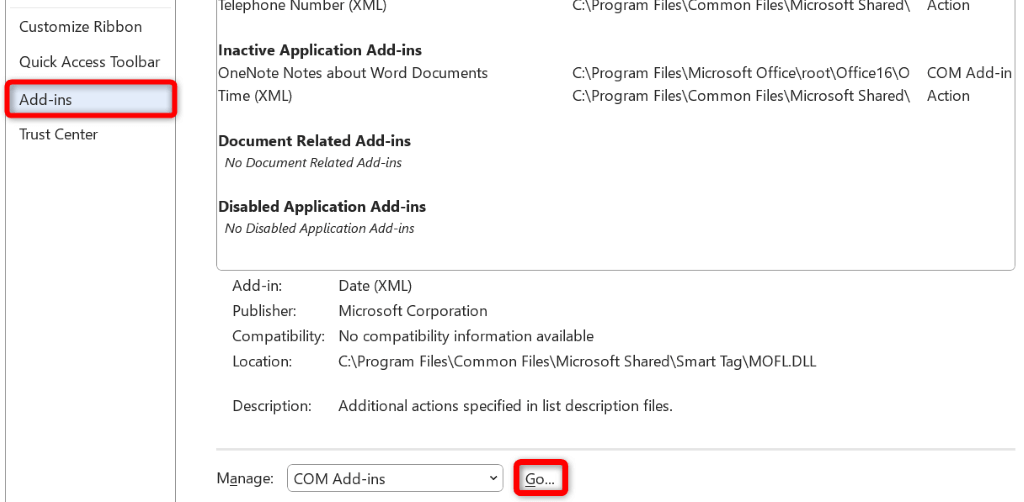
- Select Go next to COM Add-ins on the right.
- Turn off all add-ins in the box that opens.
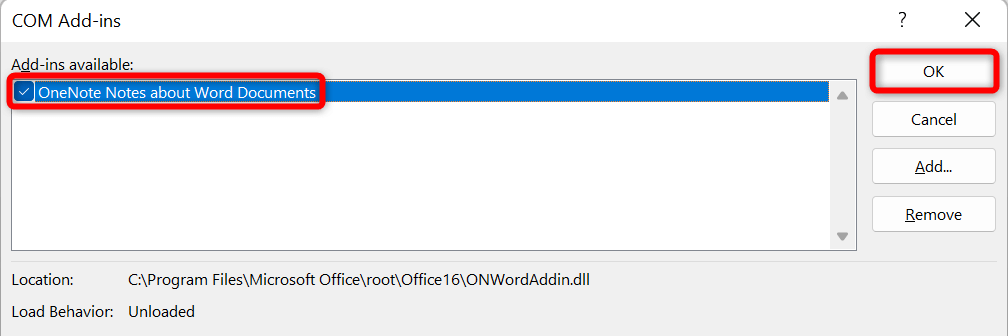
- Choose OK to save your changes.
- Close and reopen Word . Then, launch your document, make the required changes, and try to save the file.
Scan Your Computer for Viruses
Your computer may be infected with a virus, causing Word to freeze up on various occasions. In this case, you can run a full virus check on your machine to find and remove viruses and malware.
How you do that depends on the antivirus program you’re using. You’ll find the option to run a full system scan on the main interface in most antivirus tools. If you’re using Microsoft Defender Antivirus on a Windows PC, you can run a comprehensive system scan using the following steps.
- Open Start , find Windows Security , and launch the app.
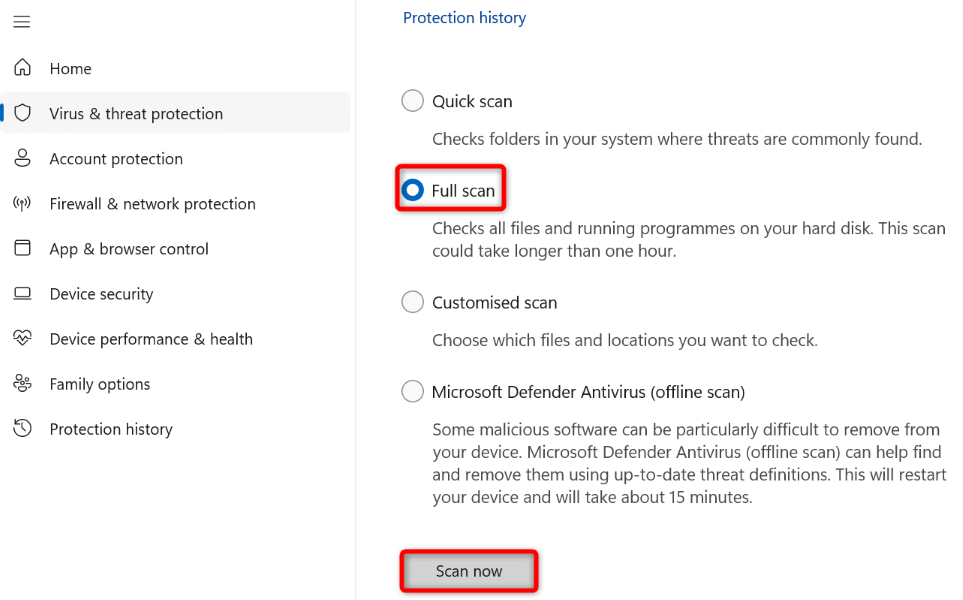
- Select Virus & threat protection on the app’s main window.
- Choose Scan options on the following screen.

- Select Full scan and choose Scan now at the bottom.
- Wait for your antivirus to scan your system, find any threats, and remove those threats from your files.
Use Office Repair Tool to Fix the Word App
One reason Word freezes while saving a document is that the app’s configuration has a problem. In this case, you can use Microsoft Office’s built-in repair tool to find and fix issues with your program .
The app repair tool comes included with all Office installations, and you can use the tool to find and resolve problems with all your Office apps, including Word.
- Open Start , find Control Panel , and launch the utility.
- Select Uninstall a program on the following screen.
- Choose your MS Office installation on the list and select Change at the top.
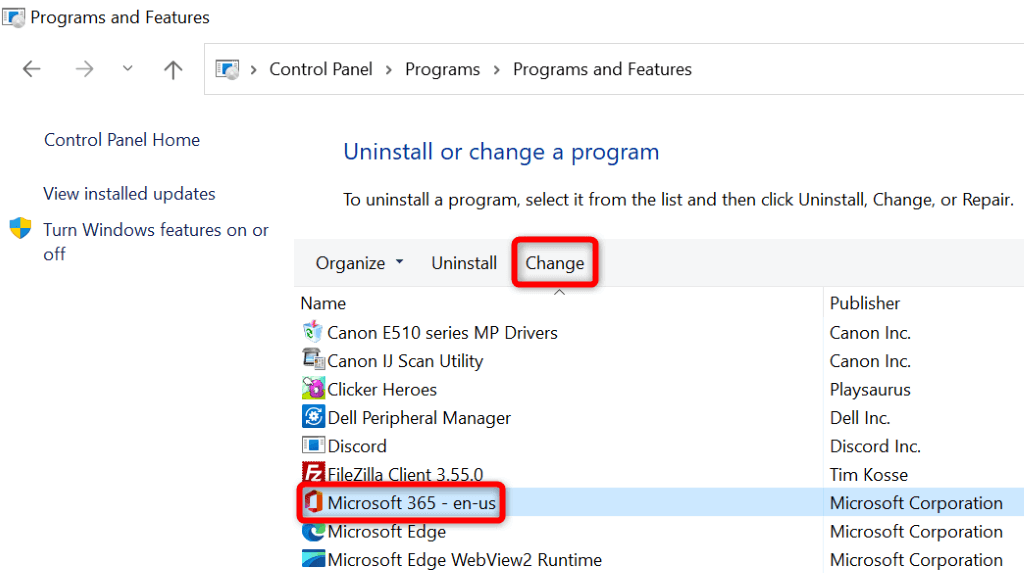
- Select Yes in the User Account Control prompt.
- Choose Quick Repair and select Repair .
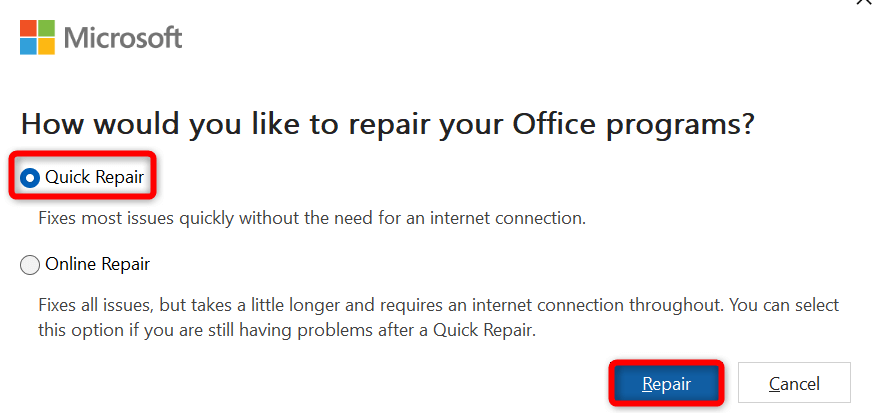
- If Word continues to freeze up, select the Online Repair option and choose Repair in the repair tool.
Change Your Default Printer
Your computer may have a problematic printer set as the default, causing print-enabled apps like Word to malfunction. In this case, change your machine’s default printer to resolve your Word freezing problem.
On Windows
- Open Settings by pressing Windows + I .
- Select Bluetooth & devices in the left sidebar.
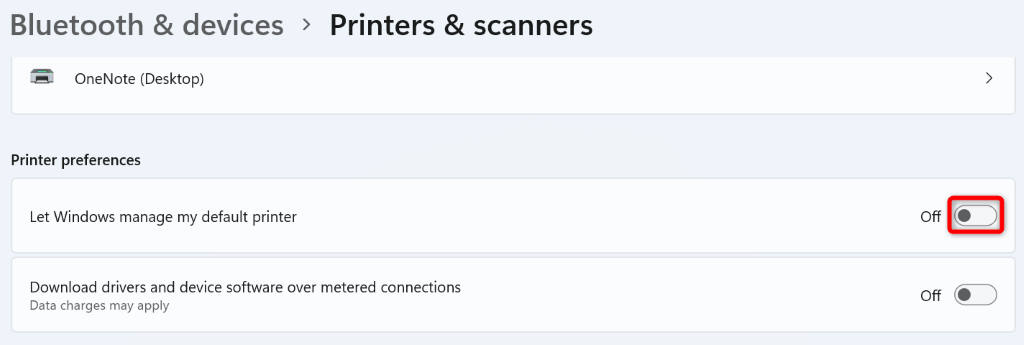
- Choose Printers & scanners on the right.
- Turn off Let Windows manage my default printer .
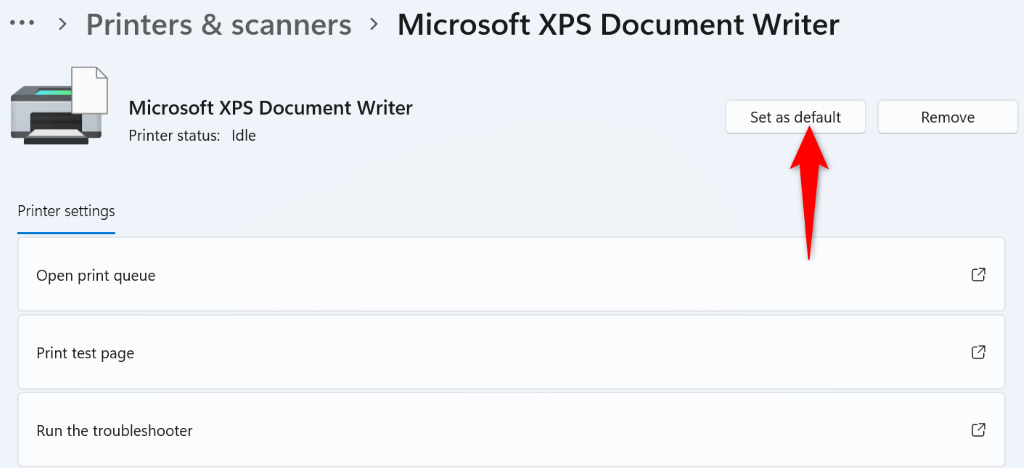
- Select your new printer on the list.
- Choose Set as default on the printer page.
- Launch your document with Word , make the desired changes, and try to save the file.
On macOS
- Select the Apple menu in your Mac’s top-left corner and choose System Preferences .
- Choose Printers & Scanners on the following panel.
- Select the Default printer drop-down menu and choose a new default printer.
- Try to save changes in your Word document.
Uninstall and Reinstall Microsoft Word
If your Word freezing issue remains unresolved, your app’s core files are likely corrupt. You can’t fix these files yourself, so you’ll have to uninstall and reinstall the app to fix your problem.
Reinstalling the app removes all the old and broken files and brings new working files. This resolves all your issues with the app.
On Windows
- Open Control Panel on your PC.
- Select Uninstall a program .
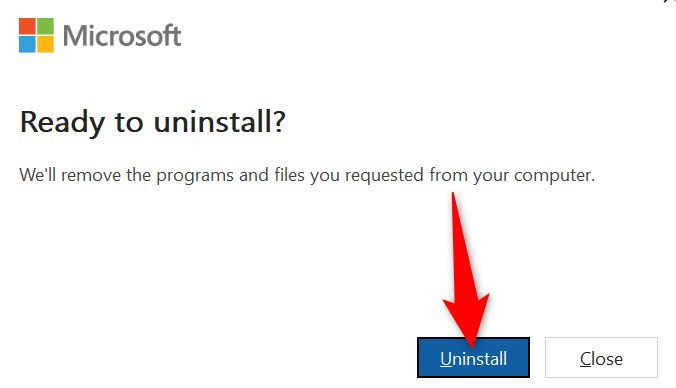
- Choose Microsoft Office on the list and select Uninstall at the top.
- Select Uninstall in the open window.
- Reinstall Office by running your Office installer file..
On macOS
- Open Finder and select Applications in the left sidebar.
- Select all Office apps on the right, right-click a selected app, and choose Move to Trash .
- Select Go > Go to Folder in Finder , enter the following path, and press Enter : ~/Library/
- Open the Containers folder and delete the following folders: Microsoft Error Reporting Microsoft Excel Com.microsoft.netlib.shipassertprocess com.microsoft.Office365ServiceV2 Microsoft Outlook Microsoft PowerPoint com.microsoft.RMS-XPCService Microsoft Word Microsoft OneNote
- Head back to the folder, open Group Containers , and copy the following folders to a safe location on your Mac. Then, remove the folders from their original location: UBF8T346G9.ms UBF8T346G9.Office UBF8T346G9.OfficeOsfWebHost
- Remove Word from your Dock by right-clicking the app icon in the Dock and choosing Options > Remove from Dock .
- Reboot your Mac.
- Reinstall Microsoft Office using the installer file.
Preventing Word From Freezing While Saving Changes in a Document
Word’s freezing issue can make you lose the changes you’ve made to your document. This can cost you quite a lot depending on the kind of work you do with your documents.
Luckily, there are a few easy ways to resolve the issue and save your documents in Word successfully. We hope the guide above helps you fix your Word problem.
- How to Remove Headers and Footers in Word Documents
- How to Clear Formatting in Word
- How to Remove Unwanted Lines in Word Documents
- How to Select All Text in Word Documents
- How to Insert Arrows in Microsoft Word Documents
Mahesh has been obsessed with technology since he got his first gadget a decade or so ago. Over the last few years, he’s written a number of tech articles on various online publications including but not limited to MakeTechEasier and Android AppStorm. Read Mahesh’s Full Bio
When your Microsoft Windows PC fails to connect to your printer, you get an error message: ”Windows Cannot Connect to the Printer.” You can’t print your documents or perform printer-related tasks when this happens.
Some common reasons you get this error is that your printer is turned off, you don’t have the correct printer drivers installed, or your PC has a minor glitch. Once you fix these issues, your PC successfully connects to your printer, allowing you to print your documents.
1.Turn On Your Printer
One commonly overlooked reason your PC can’t make a connection with your printer is that your printer is turned off. Check that the printer is plugged in and turned on, and if you’re using a power strip, make sure that’s turned on, too.
2.Use the Windows 10/11 Printer Troubleshooter
Windows includes many troubleshooters to help you find and fix problems. One is a printer troubleshooter that helps identify and resolve any printer-related issues .
This troubleshooter detects and resolves most issues on its own, requiring minimal interaction from you.
- Open Settings by pressing Windows + I at the same time.
- Select Update & Security in Settings.
- Choose Troubleshoot in the sidebar on the left.
- Select Additional troubleshooters on the right.
- Select Printer and choose Run the troubleshooter .
- Wait for the troubleshooter to find and fix your printer issues.
3.Restart the Print Spooler Service
Windows’ print spooler service stores your print jobs until your printer is ready to print them. It’s worth stopping and restarting this service when you experience issues like ”Windows Cannot Connect to the Printer.”
It only takes a minute to turn this service off and back on.
- Launch Run by pressing Windows + R at the same time.
- Type the following in the Run box and press Enter : services.msc
- Double-click Print Spooler on the right to open the Properties menu.
- Select Stop to temporarily stop the spooler service.
- Wait for about ten seconds.
- Reactivate the service by selecting Start .
4.Update Your Printer’s Drivers
When you install a printer on your PC, Windows installs the required drivers to allow your printer to communicate with your machine. Over time, these drivers become outdated and cause various issues with your printer.
Your ”Windows Cannot Connect to the Printer” error may result from outdated printer drivers. In this case, you can fix the issue by updating the installed drivers. Windows’ Device Manager automates the process, so you don’t have to find and install the latest drivers manually.
- Open Device Manager by right-clicking the Start menu icon and choosing Device Manager .
- Expand the Print queues section, right-click your printer, and choose Update driver .
- Select Search automatically for drivers to let Windows find the latest printer drivers.
- Wait for Windows to find and install the updated drivers.
- If newer drivers aren’t available, you’ll see a message saying the best drivers for your device are already installed. In this case, you can still force your system to check for the latest drivers by selecting Search for updated drivers on Windows Update .
5.Remove and Reinstall Your Printer
If you continue to see the ”Windows Cannot Connect to the Printer” error message, your printer may not be properly installed on your PC. This usually happens if you had minor issues when you installed the printer.
You can get around this printer error by removing and reinstalling the printer.
- Access Settings by pressing Windows + I at the same time.
- Select Devices on the Settings window.
- Choose Printers & scanners from the sidebar on the left.
- Select your printer name on the right pane and choose Remove device .
- Select Yes in the prompt to uninstall your printer.
- Unplug and replug your printer into your PC.
- Follow your printer’s driver installation wizard.
6.Make Your Problematic Printer the Default Printer
If you’ve installed multiple printers on your PC, make your faulty printer the default and see if that fixes the ”Windows Cannot Connect to the Printer” issue.
Later, you can make any other printer the default if you want.
- Open Settings by pressing Windows + I .
- Select Devices .
- Choose Printers & scanners on the left.
- Disable the Let Windows manage my default printer option on the right.
- Select your printer on the list and choose Manage .
- Select Set as default to set the selected printer as the default.
7. Fix Windows Issues by Installing Software Updates
When you update your Windows PC, you get various bug fixes that help you resolve problems on your computer. Your ”Windows Cannot Connect to the Printer” error may be a system error, and updating Windows should likely fix that for you.
It’s free and easy to install Windows updates, as explained below.
- Launch Settings by right-clicking the Start button and choosing Settings .
- Select Update & Security .
- Choose Windows Update in the sidebar on the left.
- Select Check for updates in the pane on the right.
- Download and install the latest updates.
- Restart your PC when you’ve installed the updates.
The ”Windows Cannot Connect to the Printer” error is usually the result of a technical glitch, which you can fix by following the methods outlined above. Once you’ve applied those fixes, your printer should work with your PC, allowing you to resume your pending print jobs .
- How to Fix the “Error – Printing” Status Error in Windows
- 7 Ways to Fix HP Printers ”Driver Is Unavailable” Error on Windows PC
- How to Fix Your Printer’s “Driver is unavailable” Error on Windows
- Print Job Won’t Delete in Windows? 8+ Ways to Fix
- Preparing for Windows 10 End of Support: Upgrading to Windows 11
Mahesh has been obsessed with technology since he got his first gadget a decade or so ago. Over the last few years, he’s written a number of tech articles on various online publications including but not limited to MakeTechEasier and Android AppStorm. Read Mahesh’s Full Bio
