Thanks to Apple’s AirPrint protocol, printing on iPhone, iPad, and iPod Touch is easier than you think. You only have to spend a little time setting up your printer before you can start using it with an iOS or iPadOS device.
But what if you have a printer that doesn’t support AirPrint? Don’t worry. You can still rely on your printer manufacturer’s support app to send print jobs wirelessly. Also, if you use a wired-only printer, you can opt for a third-party AirPrint activator to help you out.
Use AirPrint to Print on iPhone and iPad
AirPrint is a wireless protocol by Apple that allows the iPhone iPad to communicate wirelessly with printers. It requires zero drivers or support software. The only thing you must do is make sure that the printer and your iOS device are on the same Wi-Fi router. If they are, you can print right away!
If you use a recent printer with wireless capabilities, chances are that it’s AirPrint-compatible. Here’s a complete list of compatible printer models featuring AirPlay support . If your printer is not listed there, skip to the next section.
Start by connecting your printer to the same wireless network router as your iPhone or iPad. You must check your printer’s user manual or online documentation for specific instructions. For example, if you use an HP printer with a touchscreen , open the Network or Wireless settings menu and use the Wireless Setup Wizard to join the network.
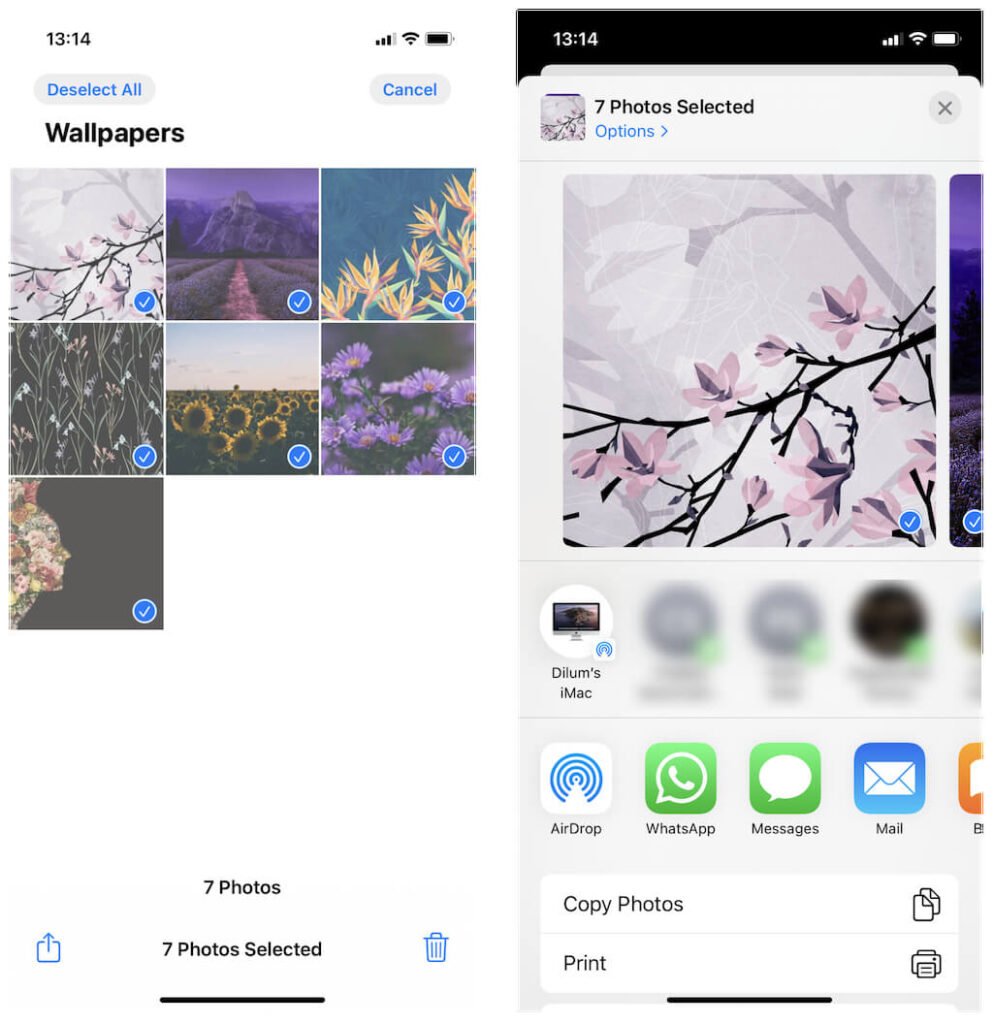
Open (or select) the image, document, or web page you want to print and tap the Share icon. It’s shaped like an arrow coming out of the top of a box and is present on most apps (e.g., Files, Photos, and Safari) on the iPhone and iPad. Then, tap the Print option on the Share Sheet.
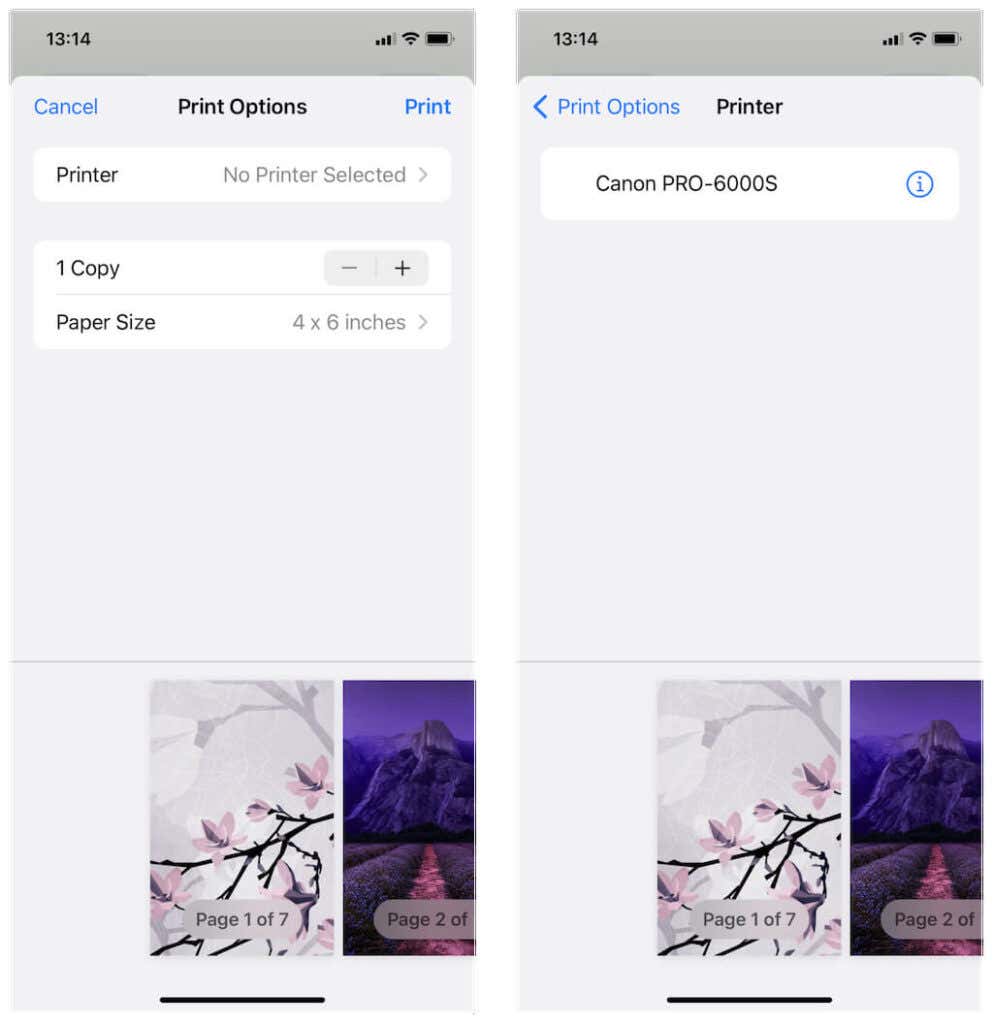
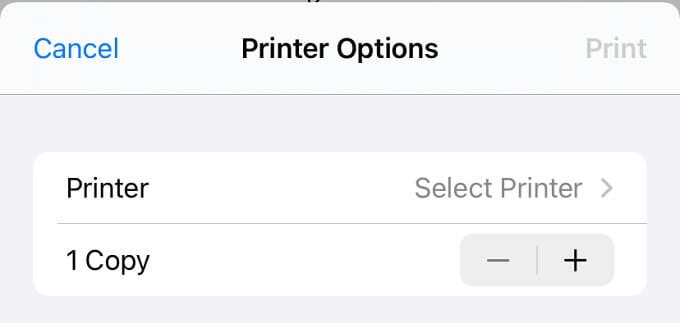
- Tap the Select Printer option at the top of the screen. If your printer supports AirPlay (and you’ve connected to the same wireless network as your iPhone or iPad), it will appear within the list. Tap to select it.
Learn what you can do to troubleshoot an AirPrint printer that fails to show up on your iPhone or iPad.
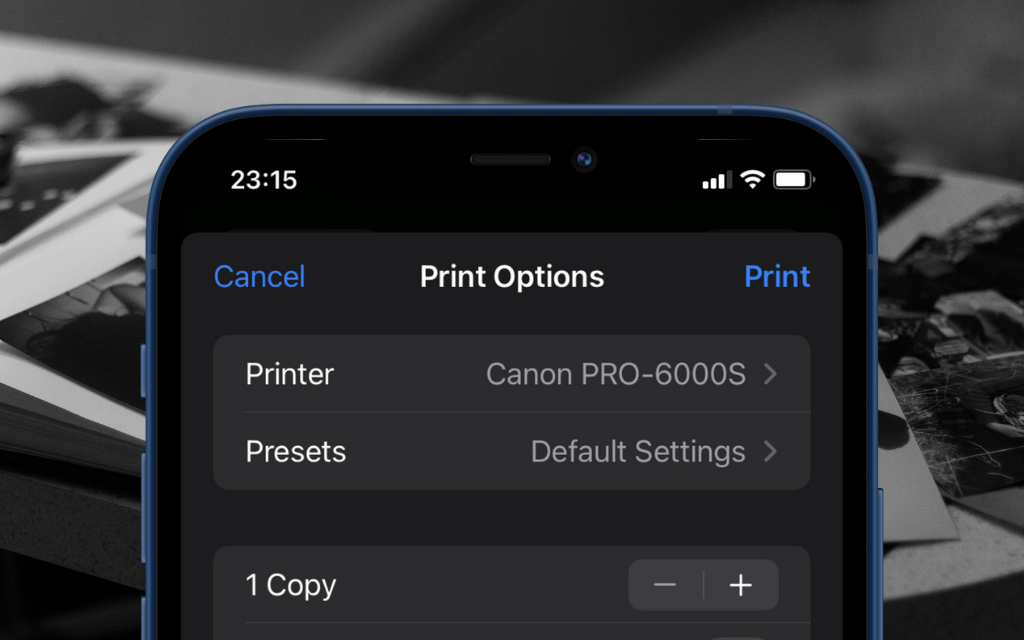
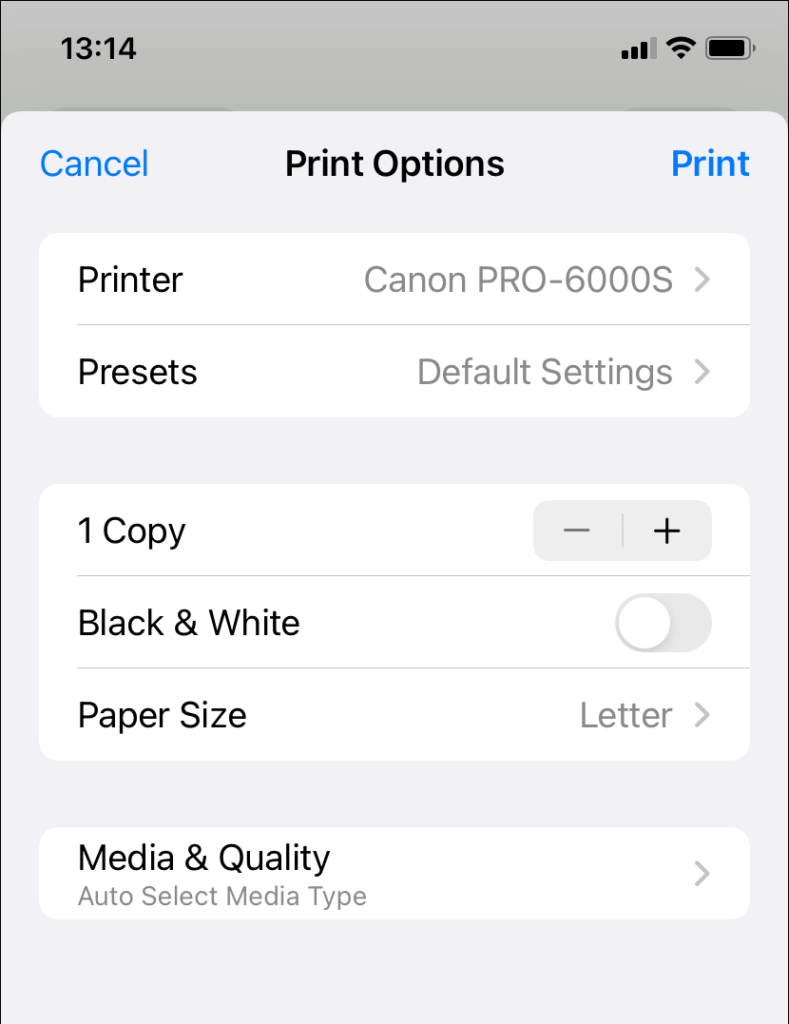
- Make any adjustments to the print job, such as the number of copies, media quality, paper size, etc. Then, tap Print on the right corner of the screen. Your AirPrint printer will start printing immediately.
Note : Learn what you can do to troubleshoot an AirPrint printer that fails to show up on your iPhone or iPad.
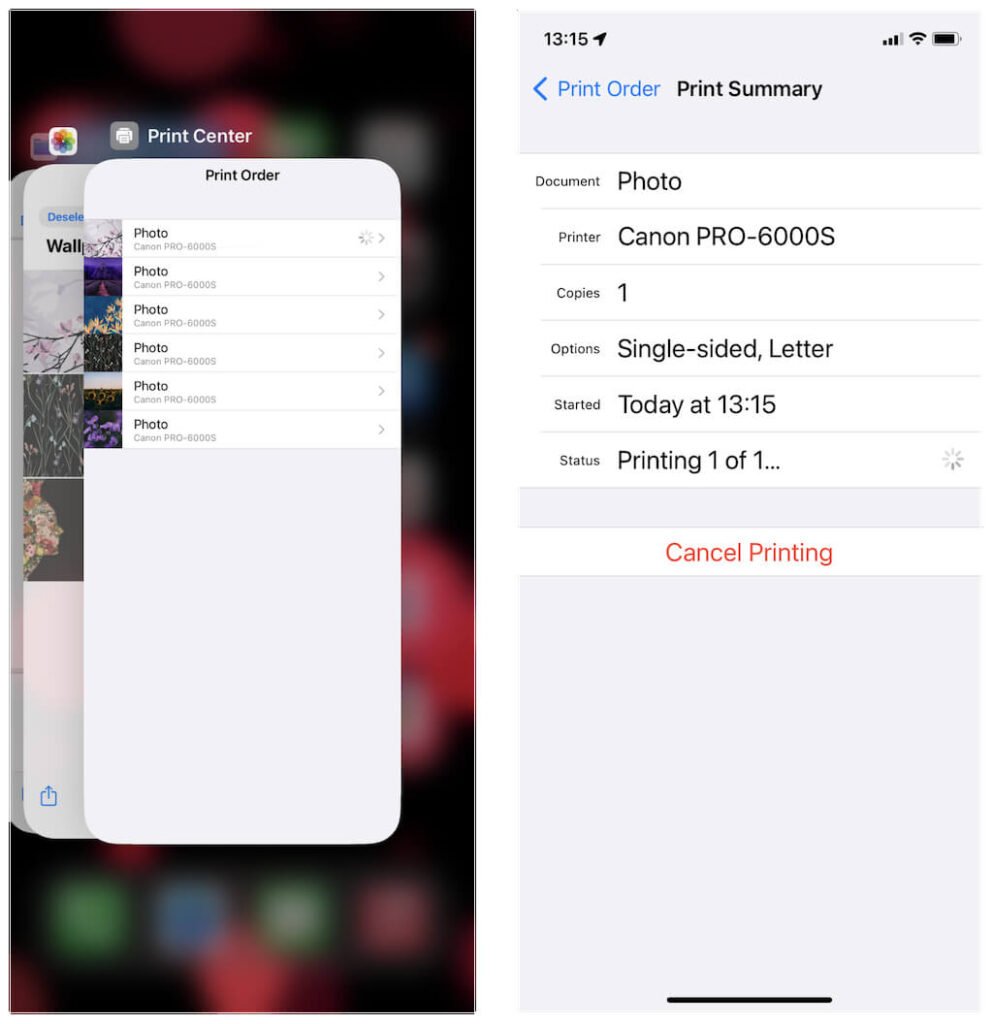
- You can keep queuing print jobs. If you want to view them, open the App Switcher on your Apple mobile device (swipe up from the bottom of the screen or double-click the Home button) and select Print Center . You can then tap on a print job and choose Cancel Printing if you want to cancel it.
Use Printer Support Software to Print on iPhone and iPad
If your wireless printer doesn’t support AirPrint, you must install any available support software from the App Store. For example, printing apps such as Canon PRINT Inkjet/SELPHY , Epson iPrint , and HP Smart let you print wirelessly from your iPhone or iPad. These apps also provide additional customization options for AirPrint-compatible printers, so you may still want to install them regardless.
Here’s a brief rundown of the HP Smart app in action.
Install HP Smart from the App Store.
Open HP Smart and create an HP account (or sign in if you already have one).
Tap the Add Your First Printer option to add an HP printer.
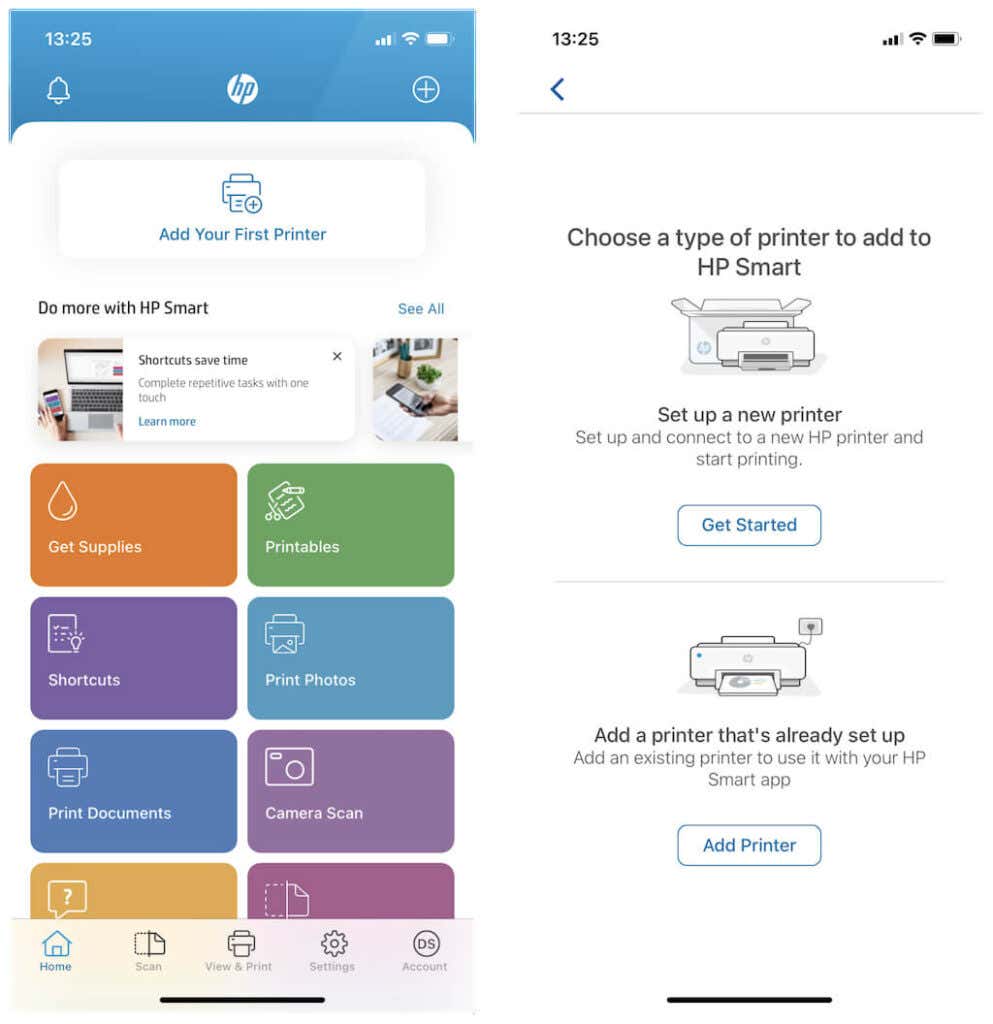
Note : If your wireless printer doesn’t show up, make sure that it’s connected to the same Wi-Fi network as your iPhone or iPad. Or enter its IP address. If the printer uses Bluetooth for connectivity, remember to activate the Bluetooth radio on iPhone and iPad.
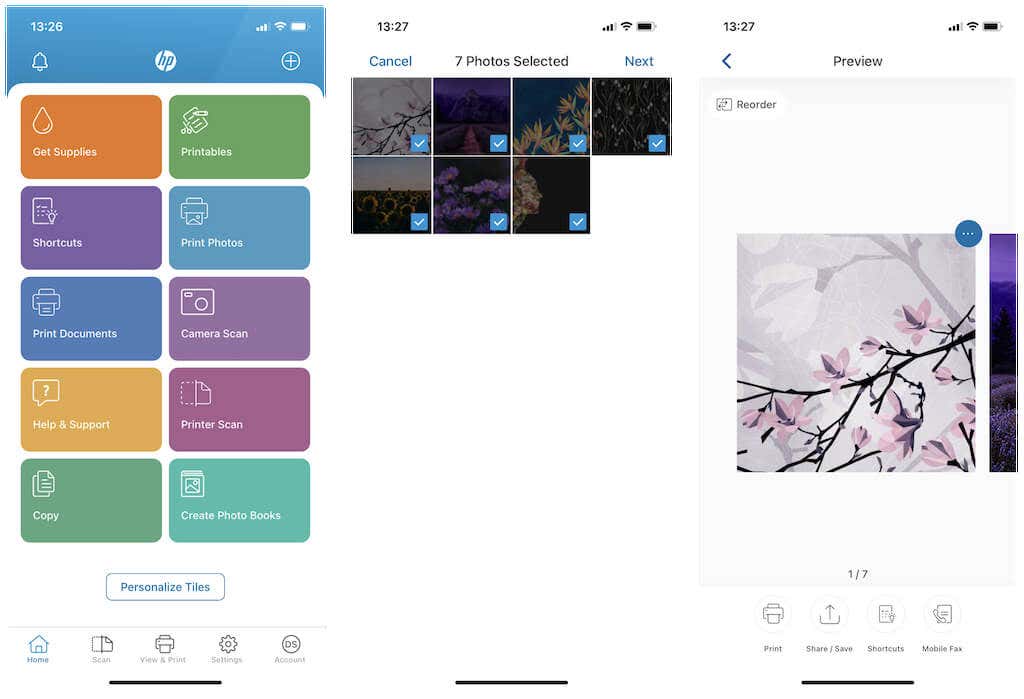
Tap on a category (e.g., Print Photos or Print Documents ) to create a print job.
Tap Print to send the print job to your HP printer.
Note : If your print jobs fail to go through, work through these troubleshooting tips to fix your wireless printer.
Use Printopia or O’Print to Print on iPhone and iPad
Suppose you use a non-AirPrint wireless printer without support software or a wired-only printer. In that case, it’s possible to print from iPhone or iPad by sending print jobs wirelessly through desktop devices. For that, you need third-party apps for the Mac or PC that simulate AirPrint.
Printopia
Printopia is a paid app for the Mac that costs $19.99, but it comes with a free 7-day trial. It lets you add up to five printers for use with your iPhone or iPad. However, don’t expect it to work with Android smartphones.
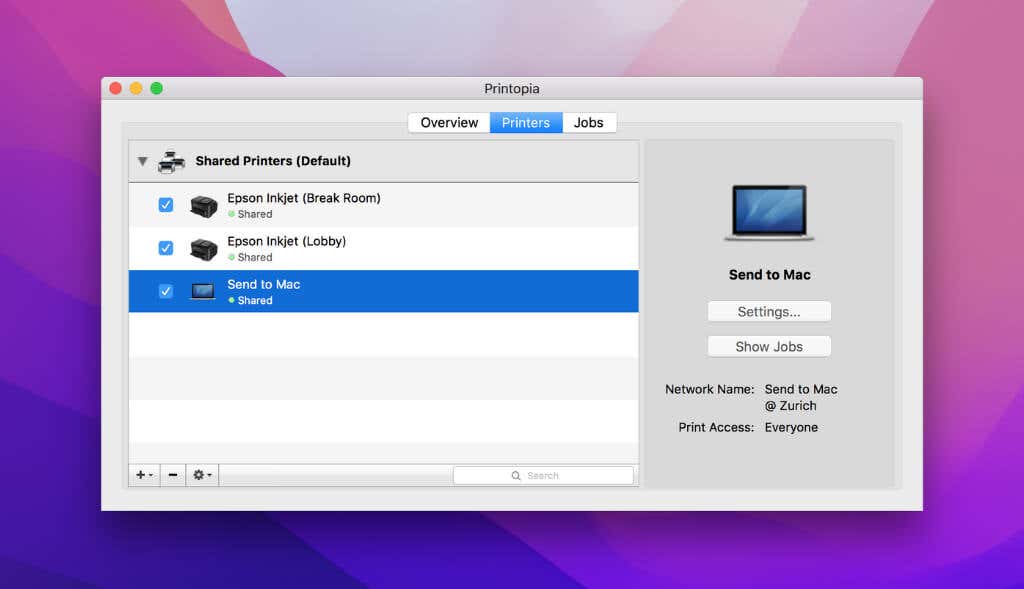
After downloading and installing Printopia, open it and switch to the Printers tab. Then, select the Plus button to add a printer. If it doesn’t show up, make sure to connect the printer to your Mac first .
Then, assuming that your Apple devices are on the same Wi-Fi network, open the photo, document, or webpage you want to print on your iPhone or iPad and tap the Share button. Your printer will then appear within the printer selection pane. Select it, make the required adjustments for the print job, and tap Print .
O’Print
O’Print is an AirPrint activator for Windows PCs. It costs $19.80, but you can take advantage of a 30-day trial.
Download, install, and open O’Print. You should then see any printers you’ve already added to your PC.
By default, O’Print enables all printers (including PDF printers) for the iPhone and iPad. Simply select the green icon next to a printer to deactivate it.
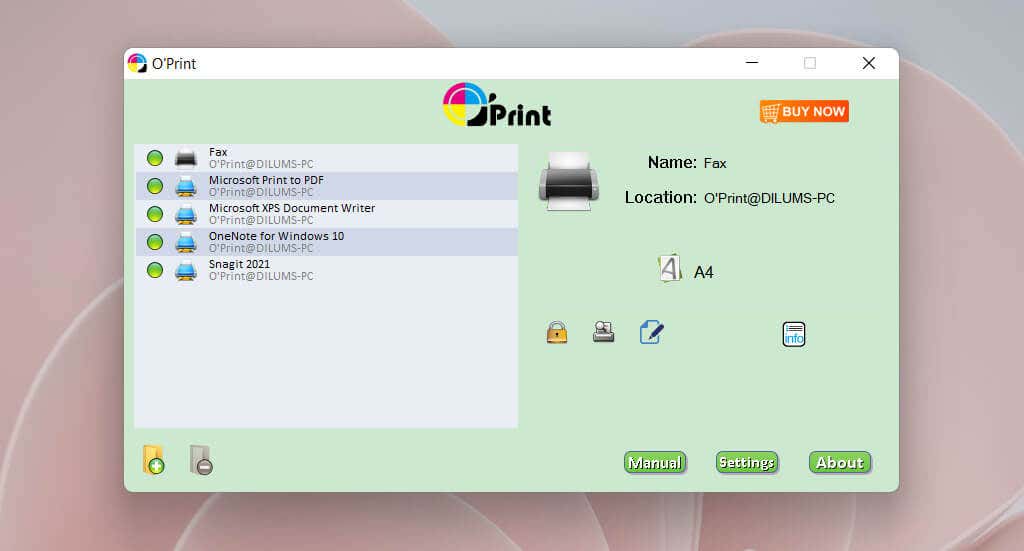
Following that, start a print job on your iPhone or iPad, and you should be able to select your printer. Then, modify the print job as needed and tap Print .
Print on Any Printer From iPhone and iPad
If your printer supports AirPrint, you can use it to print from an iPhone or iPad with minimal effort. If not, just use the support app from your printer manufacturer to get the job done. In the case of a wired USB printer, investing in Printopia or O’Print is a cost-effective solution compared to purchasing an AirPrint-compatible printer.
- How to Delete Multiple Apps (At Once) On Your iPhone/iPad
- How to Restore the Missing Phone Icon on iPhone/iPad
- How to Dismiss the “Update Apple ID Settings” Notification on iPhone and Mac
- How to Change Your Game Center Nickname (iPhone, iPad, and Mac)
- Guided Access Not Working on iPhone/iPad? Try These 9 Fixes Now
Why can’t my iPhone find AirPrint? Apple’s AirPrint technology makes it so easy to wirelessly send print jobs to a printer from your iPhone. You can print hard copies of web pages, images, notes, and other documents without moving an inch or plugging a cable. All you need is a Wi-Fi connection and a compatible printer.
However, sometimes iPhone can’t find your wireless printer. If your iPhone can’t find AirPrint or other wireless printers, we’ve compiled 11 troubleshooting steps that’ll help you fix the problem. The recommendations in this guide are also applicable to iPads.
Note: AirPrint doesn’t work with cellular or mobile data.
1. Confirm That the Printer Supports AirPrint
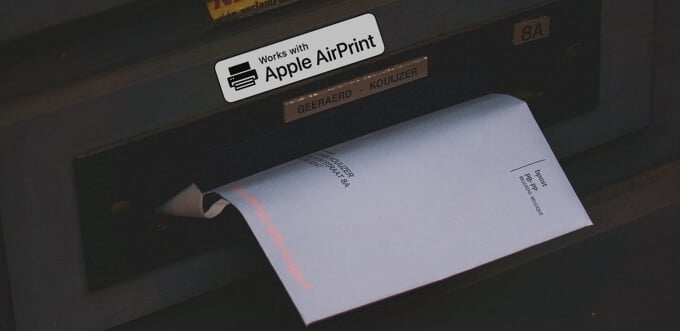
If your printer isn’t showing up on your iPhone, check to make sure it supports AirPrint. Examine the printer’s body or instruction manual for a “Works with Apple AirPrint” label.
There are other ways to confirm if a printer is AirPrint compatible. Visit the product page on the manufacturer’s website or check the AirPrint info page on Apple’s website .
On the Apple website, you’ll find a comprehensive list of devices (printers, servers, etc.) that support the AirPrint technology. If your printer isn’t on the list, it most likely doesn’t support AirPrint.
2. Is the Printer Working Correctly?
You have an AirPrint-enabled printer but it’s not showing up on your iPhone. What do you do? For starters, ensure the printer is powered on and active. Some printers, depending on the type or model, enter a “sleep mode” or “low-power state” after a certain period of inactivity.
Press the printer’s power button to turn it on. You should also check the printer’s status lights or screen for any error message or warning. Usually, a flashing or solid red light indicates an issue with the printer.
3. Connect iPhone and Printer to the Same Network
For your iPhone to find your printer, your iPhone and the printer must be on the same wireless network. If an AirPrint-enabled printer isn’t showing up on your iPhone, head to the printer’s network settings and ensure its Wi-Fi is enabled. Most importantly, make sure the printer is connected to the same Wi-Fi network as your iPhone.
If the problem persists, the printer could be blocked or blacklisted on the network. Go to the router’s settings and whitelist the printer.
It’s also worth mentioning that your iPhone may fail to detect an AirPrint printer due to a weak Wi-Fi signal. Make sure both devices (the iPhone and printer) are in close proximity to the router with minimal interference.
4. Switch to a Private Network
Apple cares about the safety of your files and documents, so AirPrint doesn’t work on unsecured public networks. Hackers can easily intercept files that you send (to your printer) on a public network.
If your iPhone and printer are connected to a public Wi-Fi network, you’ll always get a “No AirPrint Printers Found” error. Switch your devices to a private, password-protected network and try again.
5. Re-Enable Wi-Fi
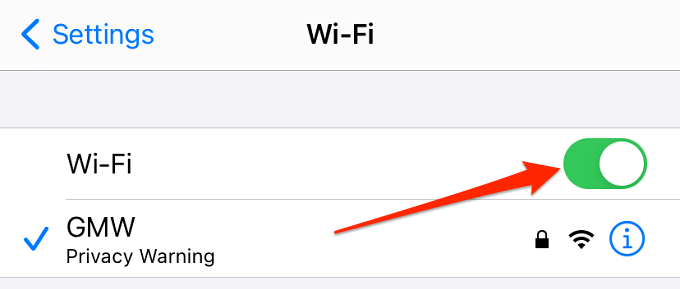
Refreshing the Wi-Fi connection for both devices (i.e. your iPhone and printer) might fix the issue. Turn off your iPhone’s Wi-Fi from the Control Center or the Settings app—go to Settings > Wi-Fi and toggle off Wi-Fi . Re-enable Wi-Fi after some seconds and join a wireless network.
Head to your printer’s settings menu and do the same: Disable Wi-Fi, wait some seconds, turn it back on, and join the same wireless network that your iPhone’s connected to.
If your wireless printer doesn’t have an LED display or screen, look out for a physical Wi-Fi button. Check the printer’s instruction manual if you can’t find a Wi-Fi button or don’t know which button controls the printer’s Wi-Fi.
6. Restart Your iPhone
Before you shut down your phone or you’re using a different iPhone (or iPad) to send files to the AirPrint printer. If other iOS devices can find the printer, that means your iPhone is the problem. Shut down your phone and try connecting to the printer again.
7. Restart the Printer
Power-cycling your printer can resolve common printer-related issues. If your AirPrint printer doesn’t show up on multiple iPhones despite being on the same Wi-Fi network, restart the printer and try again.
8. Restart or Reset Your Router
Your router could also be the problem. Shut down the router and turn it back on. Afterward, connect your iPhone and printer to the network and try printing a file wirelessly.
If the AirPrint printer is still missing, or your iPhone keeps displaying a “No AirPrint Printers Found” error, reset the router and try again.
9. Hard Reset the Printer
Should the printer remain undetectable, consider resetting it to factory default settings. Note that hard resetting your printing may erase some configurations like tray size, page count, language, etc. You’ll need to redo these settings and preferences when you reset your printer.
10. Reset iPhone’s Network Settings
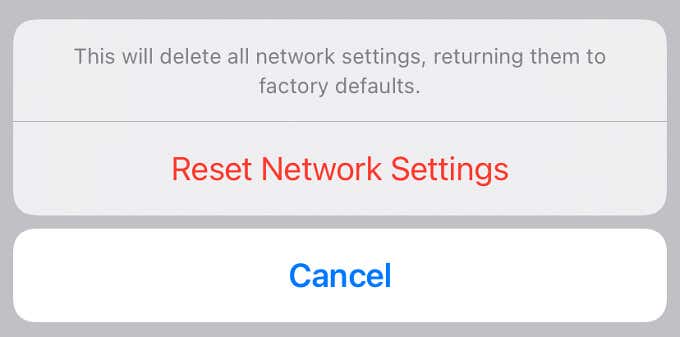
Performing a network reset worked magic for some iPhone users . Go to Settings > General > Reset > Reset Network Settings and enter your iPhone’s passcode to proceed. Click Reset Network Settings on the confirmation prompt and your device will restart.
When your iPhone comes back on, join the same Wi-Fi network hosting the AirPrint printer and try printing a file.
11. Downgrade or Update Your iPhone
iOS updates also have a history of destabilizing the AirPrint functionality . So, if you noticed your iPhone stopped detecting your printer after installing a new OS update, you can roll back to a previous iOS version .
Also, AirPrint can also fail to work if you’re running an old or outdated iOS version. Go to Settings > General > Software Update and install any available update on the page.
AirPrint Without a Router
Some high-end AirPrint-enabled printers can host a Wi-Fi hotspot. If you have one such printer, create a hotspot, go to your iPhone’s Wi-Fi menu and tap your printer’s name to join the network. When you want to print a file, you’ll find the printer on the Printer Options page.
Use this workaround to quickly print a file if you don’t have time to try the troubleshooting techniques listed above. However, if your iPhone still can’t find the printer, you should get in touch with the (printer’s) manufacturer.
- How to Use Your iPhone as a USB Drive on Mac and PC
- How to Turn Off Password Suggestions on iPhone
- How to Accept Invite to Shared Album on iPhone
- How to Send Emails on iPhone
- iPhone Not Sending Emails? 10 Fixes to Try
Adding a printer to a Mac is straightforward, but the process is different for wireless and wired devices. If your printer is AirPrint-enabled, it’s easier to add it to your Mac because macOS uses AirPrint to connect to printers or to download the printer’s software.
For wired printers, you can plug a wired USB into your Mac and use a couple of extra steps to set the printer up, provided it’s compatible with your Mac.
If you have an older printer that isn’t AirPrint-enabled, your Mac may install the printer driver software automatically, thereby allowing you to use the printer with your Mac.
Here’s what you need to know to add a printer to a Mac. You can add a wired printer that doesn’t have networking capabilities or a wireless printer on a Mac in a few easy steps.
Note : We’re using a Mac running macOS Big Sur for this guide.
Add a USB Printer to a Mac
If you have a USB printer, update macOS before adding the printer to your Mac otherwise you may get an error message that the software isn’t available when connecting the printer.
Your Mac will automatically detect the printer and download the required software to use the device.
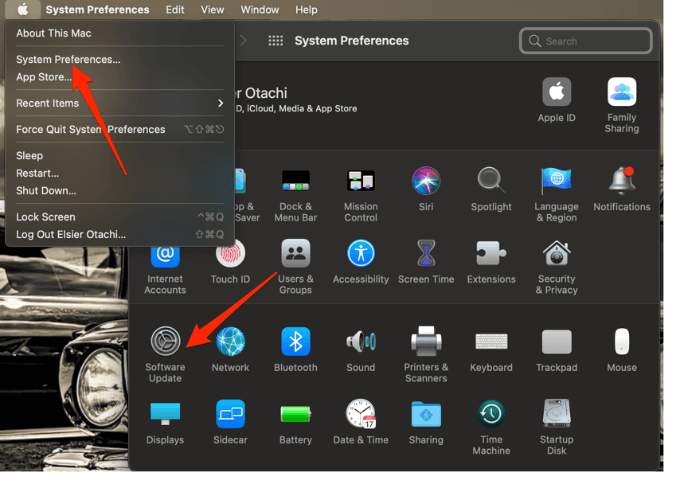
- Select the menu > System Preferences > Software Update on your Mac and install any pending updates listed. This way, macOS will have the latest information about the printer’s software and can download it from Apple.
- Power on the printer to ensure that it’s not showing any errors and then connect the USB cable to your Mac. Download and install any new software if you’re prompted to.
- Your Mac should automatically detect the printer and begin the installation process. If nothing happens, your printer may not be compatible with your version of macOS.
Note : If your Mac has one USB-C port, use an adapter cable or docking station to connect your printer.
Add a Network or WiFi Printer on a Mac
If you have a wireless printer, you can quickly add it to your Mac without any setup as long as both devices are on the same WiFi network.
Note : You may need to connect your printer via USB cable to your Mac to set up and install your printer’s software. Use the printer’s setup assistant to connect the printer to your WiFi network and then unplug the USB cable from both devices.
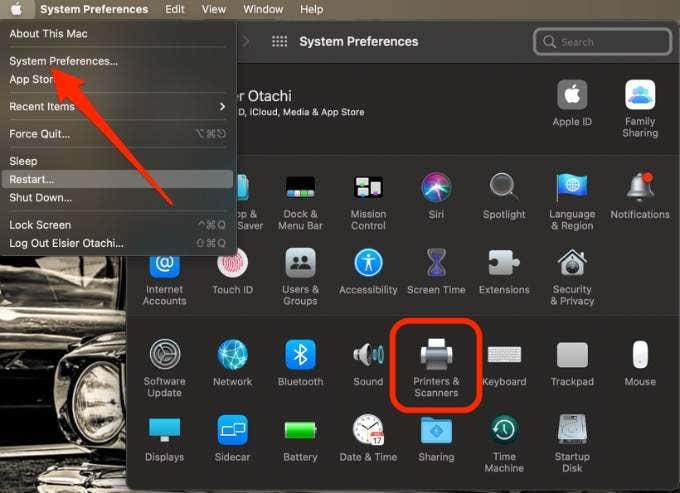
- Select Menu > System Preferences > Printers & Scanners .
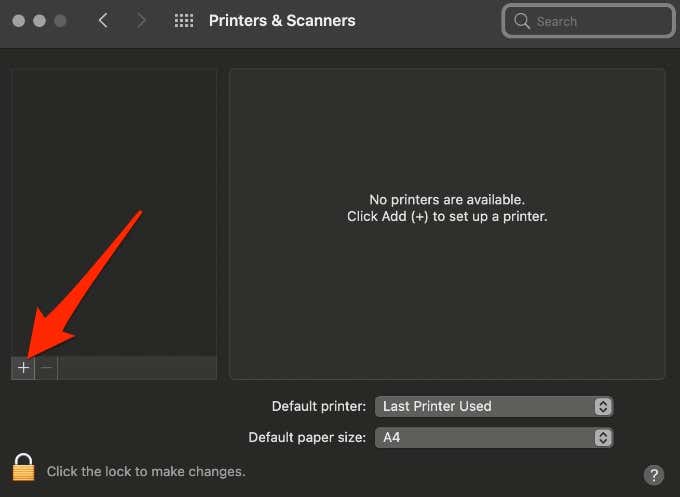
- Next, select the Add (plus) icon to set up your wireless printer.
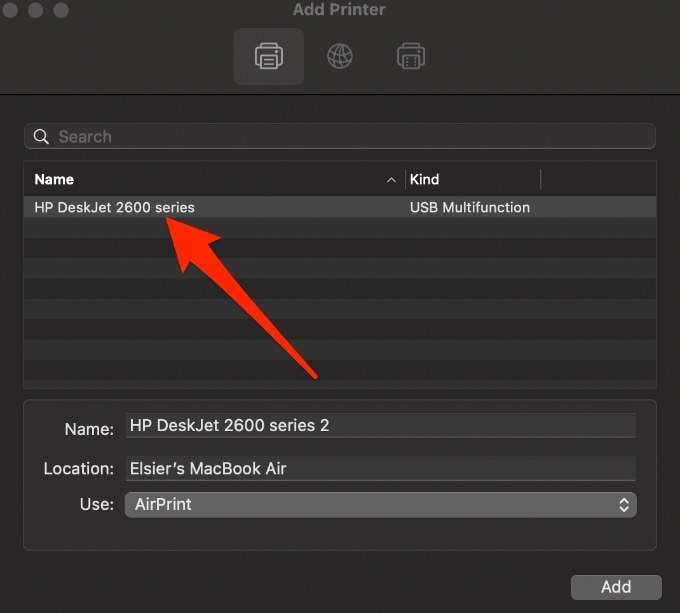
- Select the printer you want to add. macOS will automatically scan the network for any compatible wireless or network printers.
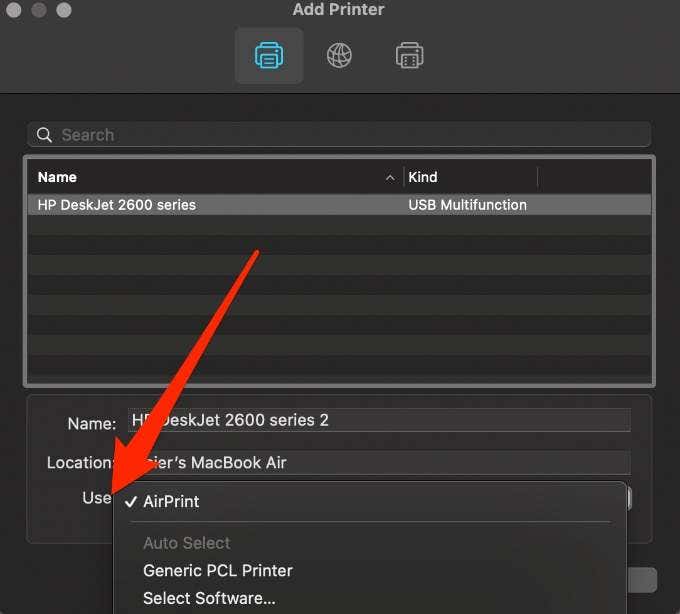
- In the Use field, select your printer’s software or driver. You can choose from AirPrint, your printer’s driver, or Auto Select for your Mac to download the correct driver once it updates.
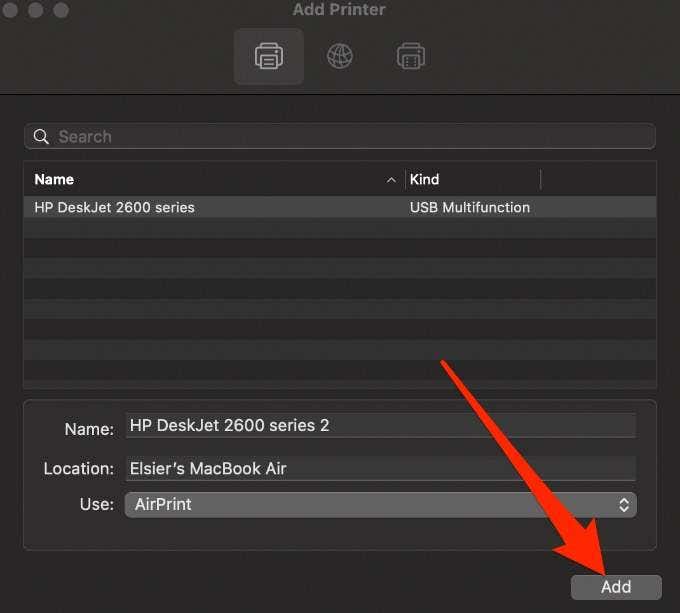
- Select Add and your wireless printer will be added to the list of printers.
Note : If your printer isn’t listed, check if it’s connected to the WiFi network and then select the Add button. Wait a minute or two for the printer’s name to appear on the list and then choose Add again.
Add a Network Printer to a Mac Using an IP Address
Follow the steps below to add your printer by its IP address. For this to work, the printer must support AirPrint, Line Printer Daemon, HP Jetdirect (Socket), or Internet Printing Protocol.
Before adding your network printer by its IP address, find out its host name or IP address. You can find this information by going to your printer’s control panel and printing out the network configuration.
- Update the printer software on your Mac, turn on the printer, and then connect it to your network.
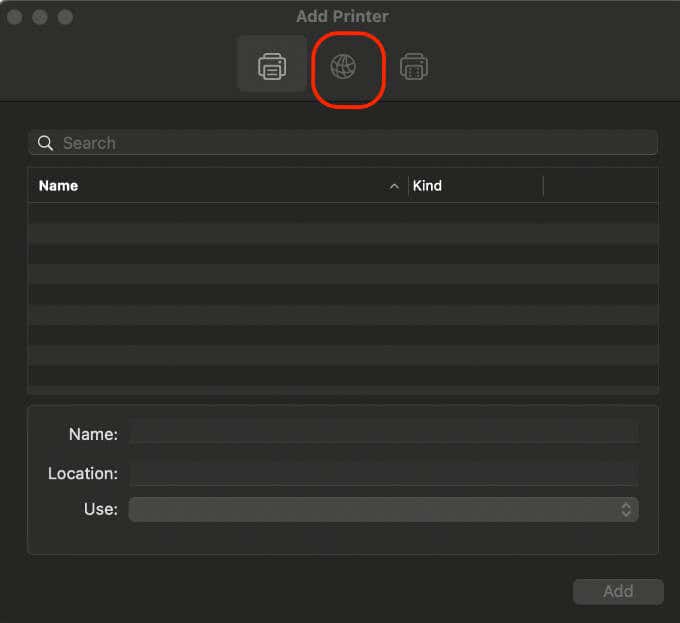
- Select Menu > System Preferences > Printers & Scanners > Add and then select the IP button .
- Enter the printer information including the host name or IP address, which looks like 192.168.20.11.
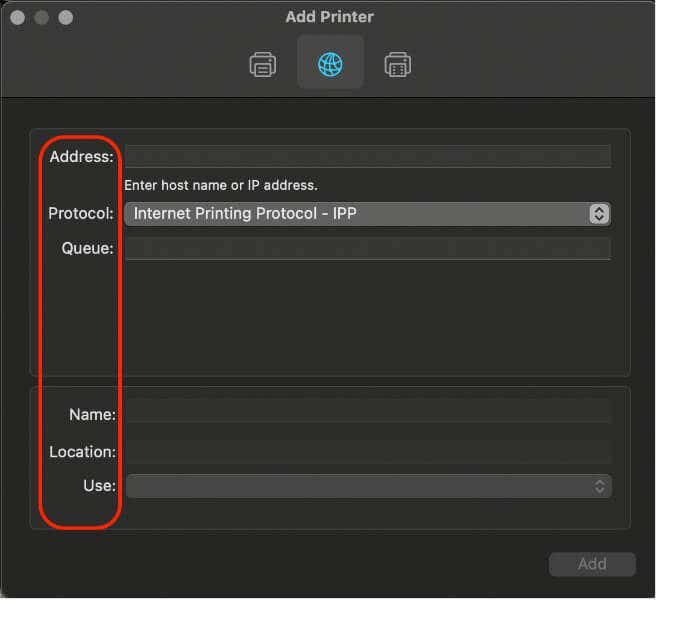
In the Use field, select the printer driver you would like to use.
Bonus Tips:
When you’re ready to print, check out our guides on how to print double-sided on Mac and how to print in black and white on Mac .
- How to Connect Xbox Controllers to Your Mac
- How to Chromecast From Mac to Your TV
- How to Install and Run Linux on Mac
- How to Turn Off or Delete Siri Suggestions (iPhone and Mac)
- How to Take Pictures on Mac
