Do you find it difficult to explain computer issues to support technicians over the phone or via text? The Steps Recorder app can help you describe the issue. It uses screenshots and text descriptions to document steps that led to the issue you’re trying to fix.
Sending support technicians a Steps Recorder report can help them accurately diagnose computer malfunctions and recommend appropriate troubleshooting solutions. This tutorial covers everything you need to know about the Steps Recorder app.
The Steps Recorder app was formerly known as Problem Steps Recorder (PSR) in Windows 7 and 8.1. It’s still the same app, but the interface and some features are slightly different. This tutorial focuses on using Steps Recorder in the Windows 10 and 11 operating systems. Refer to Microsoft’s documentation on the Problems Steps Recorder app if you have a Windows 7 or 8.1 computer.
How to Use the Problem Steps Recorder in Windows
Close the problematic app, file, or tool and follow the steps below to record the actions that yielded the problem.
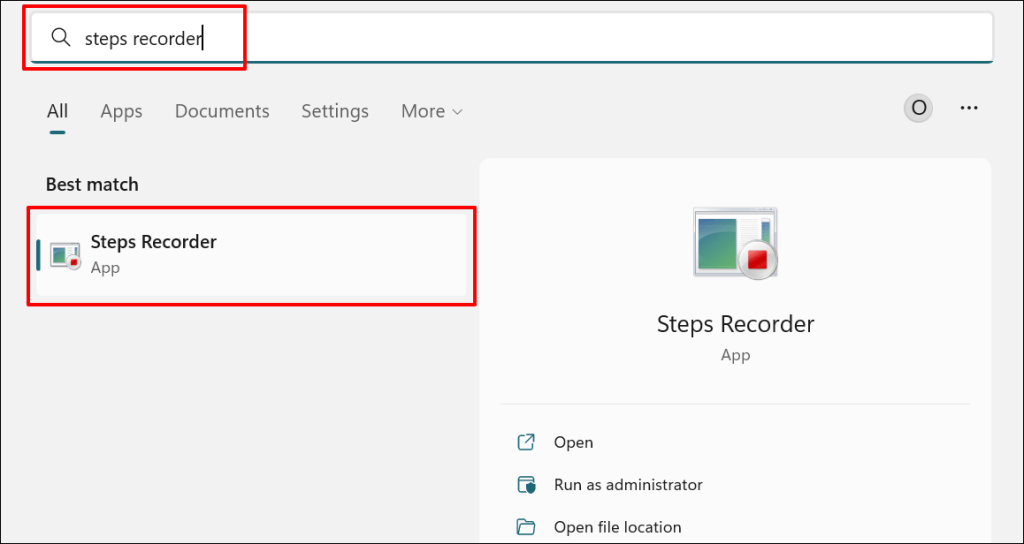
- Press the Windows key, type steps recorder in the Start menu search bar, and open the Steps Recorder app.
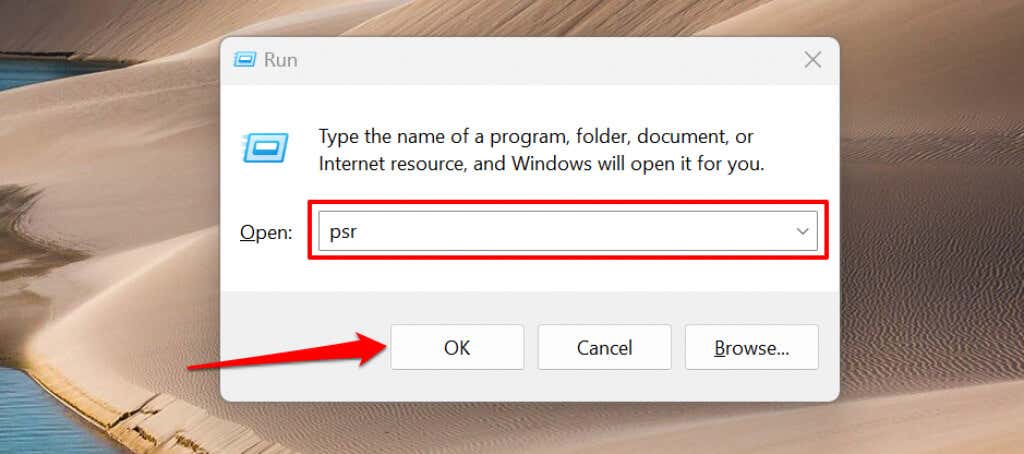
You can also launch Steps Recorder through the Windows Run box . Press Windows key + R , type psr or psr.exe in the dialog box, and select OK .
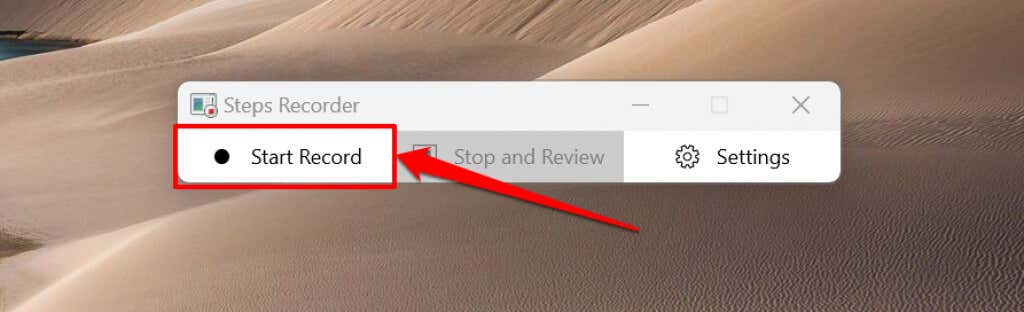
- Select the Start Record button or press Alt + A .
- Repeat the steps that produced the error or problem you’re experiencing. Say you’re having issues downloading an app in the Microsoft Store , open the Microsoft Store when Steps Recorder starts recording, and try downloading the app again.
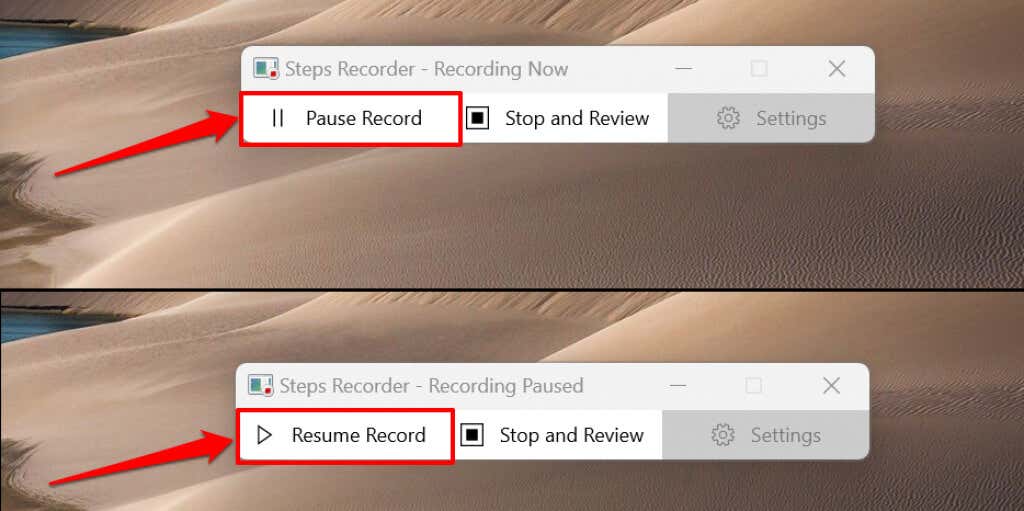
- The Steps Recording window will float on your computer screen as it records. Select Pause Record to temporarily stop the recording or Resume Record to continue.
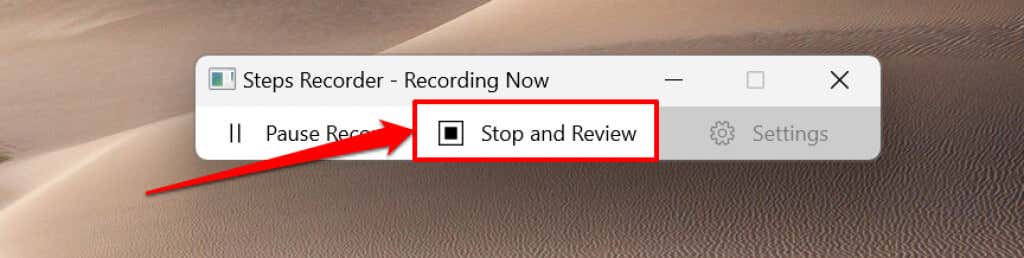
- Select Stop and Review (or Stop Record in Windows 8/7) when you’re done recreating the problem you’re trying to fix.
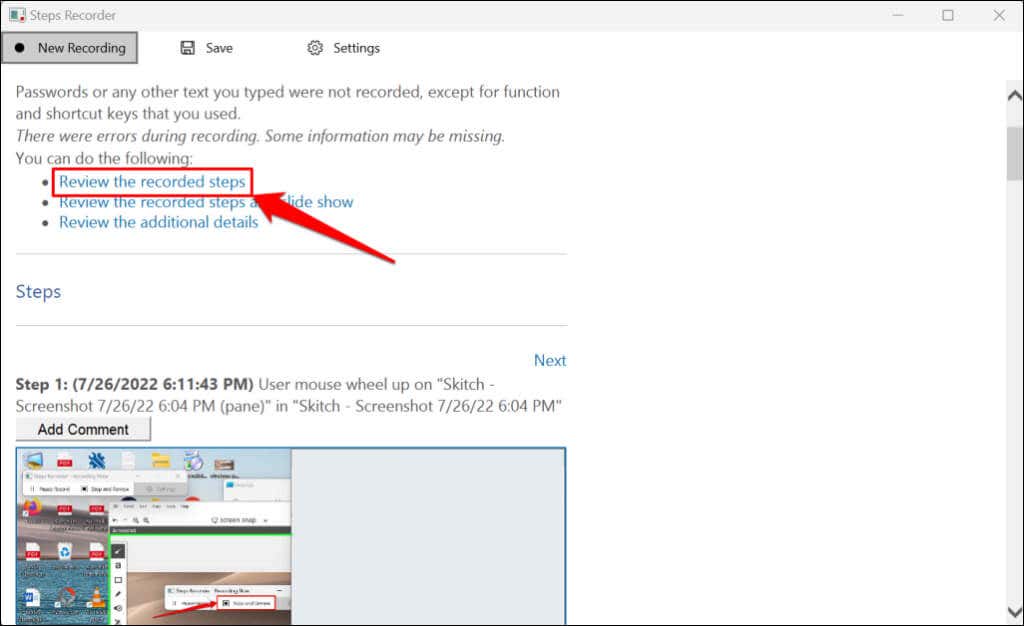
Steps Recorder will launch a new window where you can review or save the recorded steps. Before saving the recording, preview and verify that the recorded actions are accurate.
- Scroll to the “Steps” section or select the Review the recorded steps option to scroll through the recorded texts.
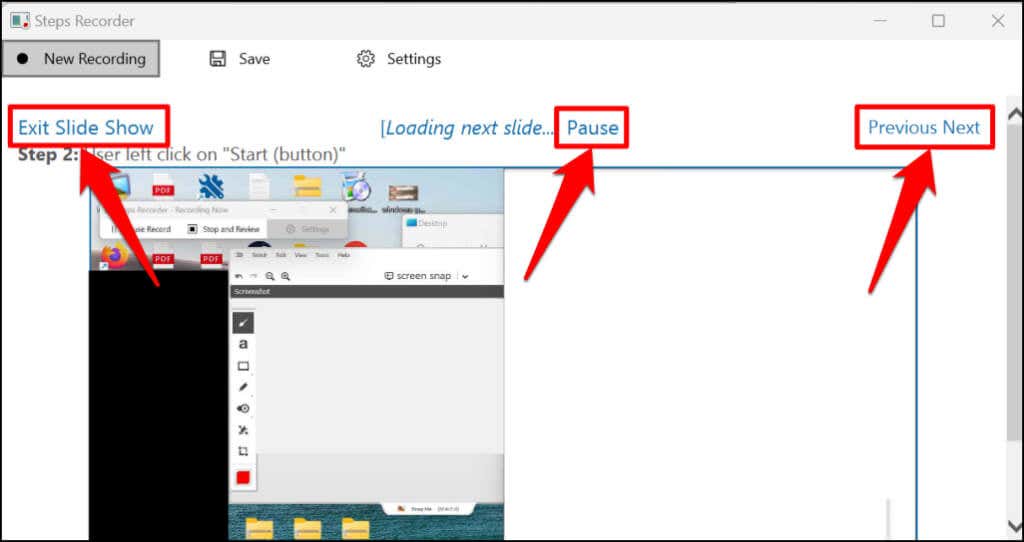
Select Review the recorded steps as a slide show to play a slideshow presentation of the recording.
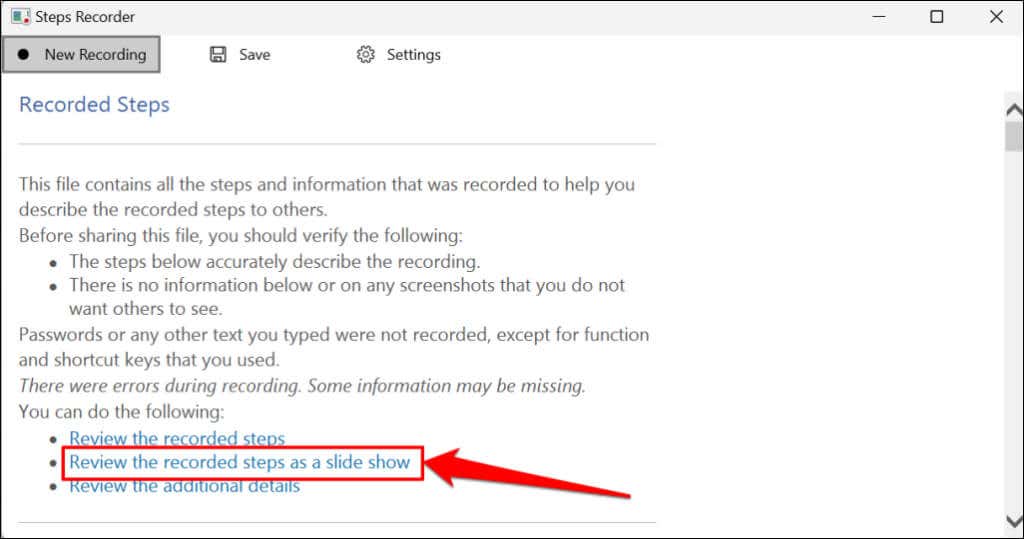
Steps Recorder displays each step for 3 seconds and stops the slide show on the final step. The Pause option halts the presentation, while the Previous or Next options in the top-right corner let you manually move between steps. Select Exit Slide Show in the top-left corner to end the presentation.
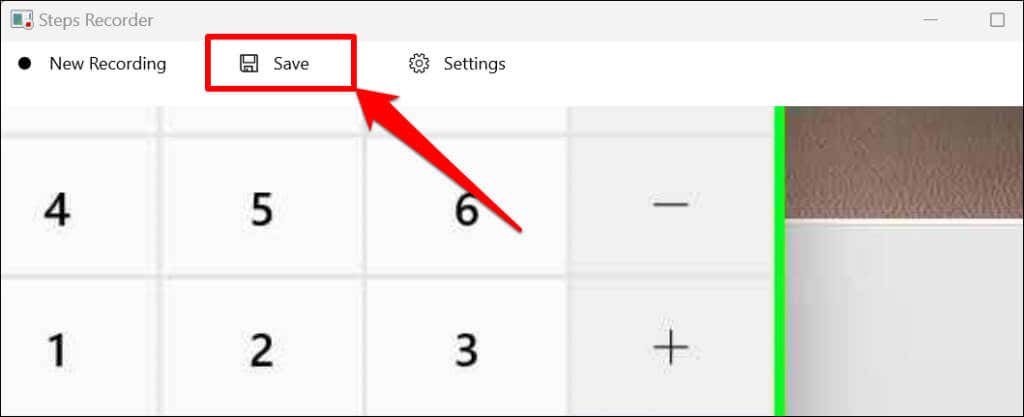
- Select Save to proceed.
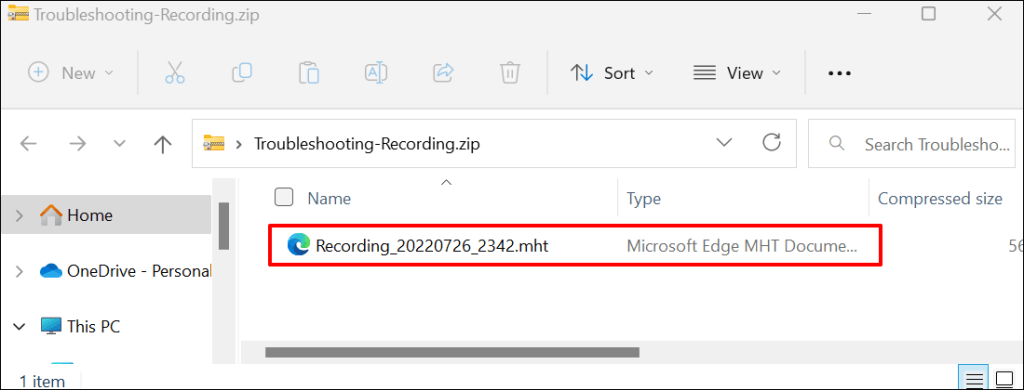
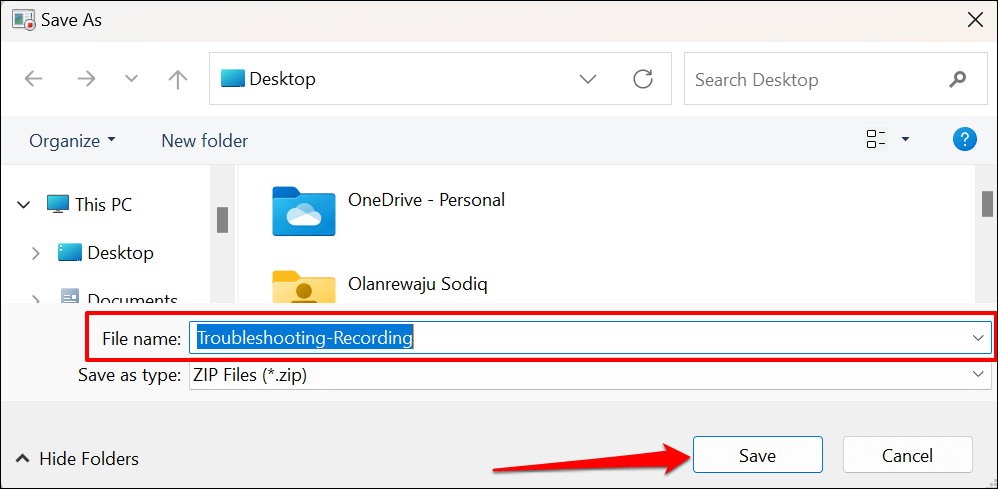
- The Steps Recorder app will export the recording as an MHT file extension and save it as a ZIP file. Give the resulting ZIP file a preferred name and select Save .

- Close Steps Recorder and send the ZIP file to a Microsoft Support professional or third-party technician who can diagnose the problem.
You can view the recording in the Microsoft Edge web browser—open the ZIP file and double-click the MHT document.
Note that Steps Recorder (or Problems Steps Recorder) doesn’t record text input. So, any sensitive information (password, address, etc.) you typed while recording a problem is invisible to Microsoft or whoever has the recording.
Change Steps Recorder Settings
Explore Steps Recorder’s settings menu to configure how the app captures and saves recordings.
Increase Screen Capture Limits
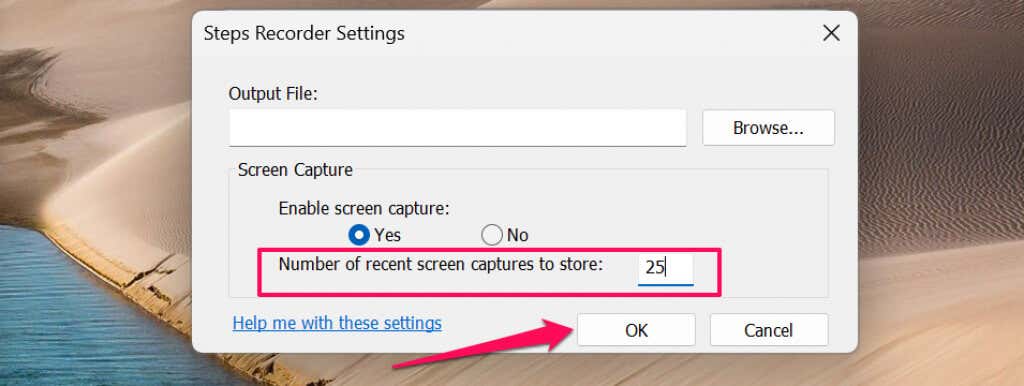
Microsoft designed Steps Recorder to capture up to 25 screens by default, but you can increase the screen capture limit. Increase the limit before recording a problem that you estimate may require more than 25 mouse clicks.
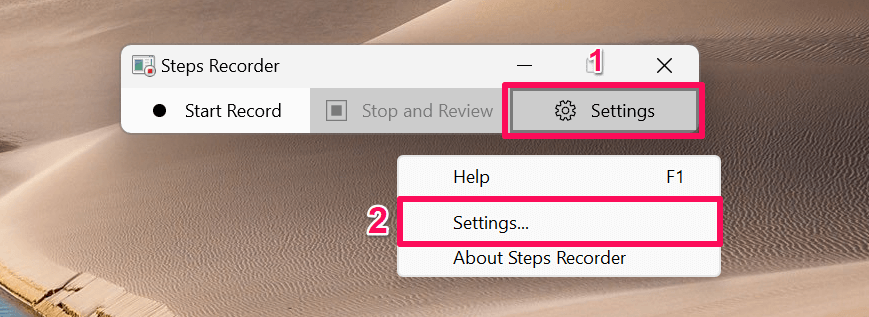
- Open the Steps Recorder app, select Settings , and select Settings again.
- Type the (number of) screenshots you want to record in the “Number of recent screen captures to store” dialog box. Note that Steps Recorder cannot record beyond 999 steps or screen capture. Select OK to save the change.
Enable or Disable Screen Capture
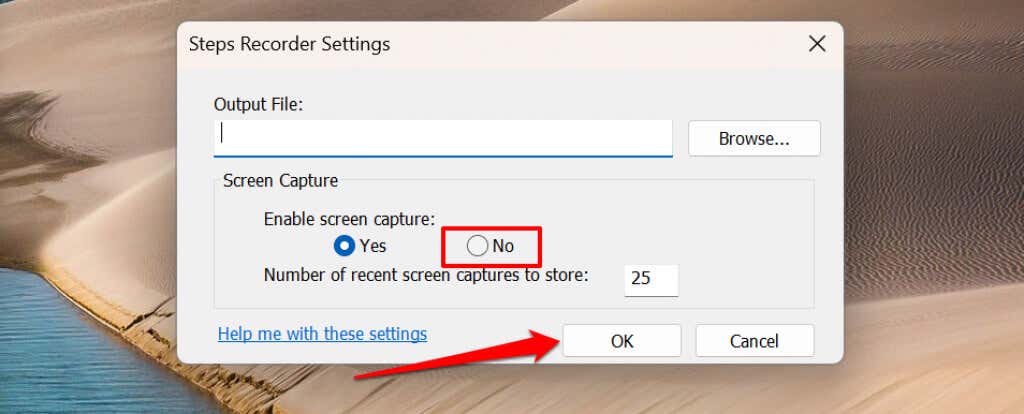
Microsoft guarantees that the Steps Recorder app doesn’t record text input when capturing your computer’s screen. You can disable screen capture if you aren’t sold on Microsoft’s assurance of Steps Recorder not recording your personal information.
Open Steps Recorder’s settings menu, select No in the “Enable screen capture” section, and select OK . The app will stop taking screenshots and only record text descriptions of your steps.
Set Default Output Location
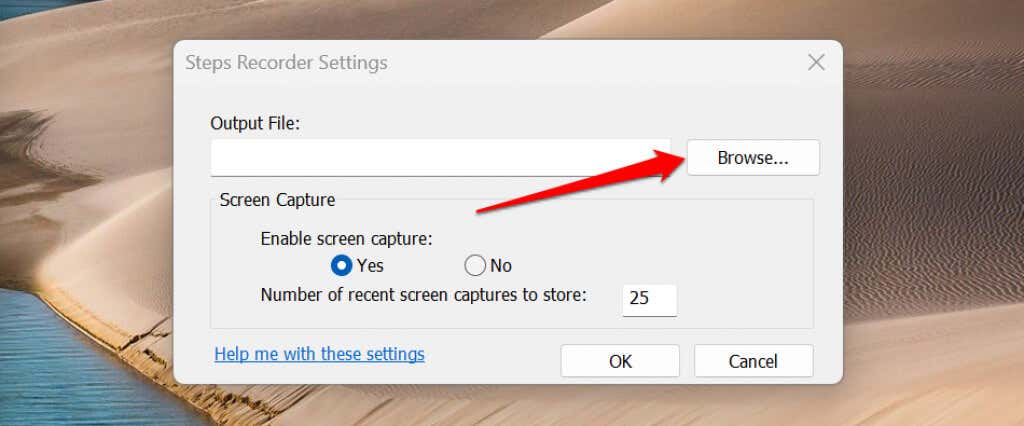
Steps Recorder will prompt you to enter a file name and choose a preferred storage location for every recording. You can configure the Steps Recorder app to save recordings to a specific folder under a default file name.
- Open Steps Recorder settings and select the Browse button.
- Enter the default file name in the dialog box, select your preferred output folder, and select the Save button.
- Select OK to save the changes.

You can’t preview screen captures after setting a default output file name and location. Steps Recorder automatically saves all new recordings to the preferred output location under the default file name when you stop recording.
Also, every new recording overwrites the previously-saved recording in the default output folder.
Document and Solve Problems Easily
If Steps Recorder doesn’t provide the details a support technician needs, use alternative screen recording tools to capture the events on the screen.
- Preparing for Windows 10 End of Support: Upgrading to Windows 11
- How to Fix a “This file does not have an app associated with it” Error on Windows
- How to Fix an Update Error 0x800705b4 on Windows
- How to Resolve “A JavaScript error occured in the main process” Error on Windows
- How to Fix the Network Discovery Is Turned Off Error on Windows
Sodiq has written thousands of tutorials, guides, and explainers over the past 4 years to help people solve problems with Android, iOS, Mac, and Windows devices. He also enjoys reviewing consumer tech products (smartphones, smart home devices, accessories, etc.) and binge-watching comedy series in his spare time. Read Sodiq’s Full Bio
