What would the world be without applications like Photoshop? Computer-based image manipulation has revolutionized publishing and visual arts in general. Best of all, anyone with the right skills can create some amazing imagery using nothing but their computers and the right software.
The key word here, however, is skill . Creating great manipulated images requires a lot of finesse and knowledge. Certainly, today’s photo editors are much easier to use and have lots of automation, but there are some things only a practiced human eye can achieve.
That list is getting shorter though and Remove.bg has now automated one of the most important first steps in an editing project – background deletion and removal.
Removing the subject from a picture so you can insert them into a new scene has always been pretty tedious. There are hundreds of tutorials on the internet selling different shortcuts to achieving perfect background deletion.
What Remove.bg have done is to use cutting-edge, cloud-powered machine learning technology to do it for you in a few seconds. If you work with photos regularly, you’ll understand that this is a real game changer. So let’s get to it and see what the steps are to get your photo’s background banished to the ether.
How To Use Remove.bg
The first and most obvious step is to go to Remove.bg .

There’s no beating around the bush here. You can immediately choose to either upload your own image or link to one using a URL. For our purposes, we’re just going to link to a public domain image from Pixabay .

So next, click on enter a URL and paste your image link into the popup. Then, click OK .
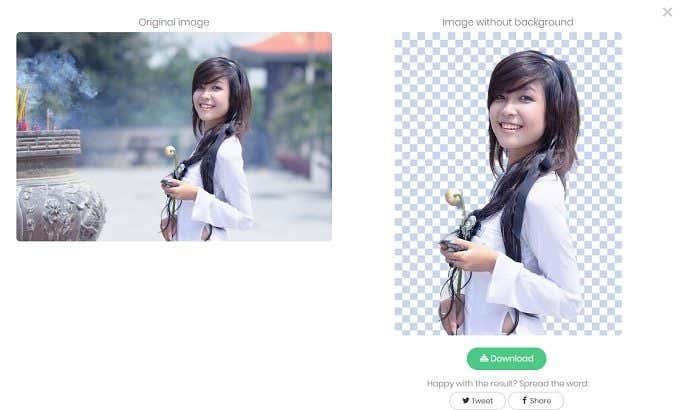
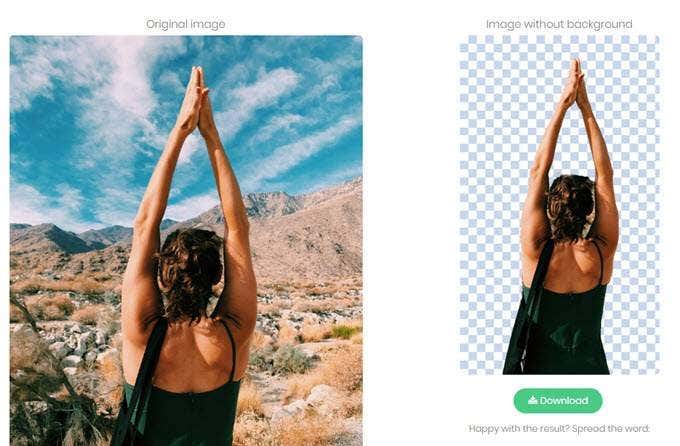
If all went well you should see the original image as well as the cutout with the background removed. In some cases, the image might still need a little cleanup, but you just saved literally hours of work, so it’s a fair tradeoff in the end!
I tried it on about 5 to 6 different images with various backgrounds and it worked flawlessly. It also worked exceptionally well on photos taken in Portrait mode off my iPhone. However, there was a bit of cleanup needed on some photos not taken in portrait mode where the subject was a bit far away. Enjoy!
- How to Backup an iPhone Without iCloud?
- Sluggish Windows 11 PC? Try These 5 Windows 11 Tricks to Free up Virtual Memory
- macOS Tahoe Privacy Settings You Need to Secure Your Mac
- How To Turn Off Notifications On Windows 11?
- How to Recover Lost Files After Windows Update?
Founder of Help Desk Geek and managing editor. He began blogging in 2007 and quit his job in 2010 to blog full-time. He has over 15 years of industry experience in IT and holds several technical certifications. Read Aseem’s Full Bio
