The very best VR experiences are still to be found on computers with powerful GPUsand CPUs , which usually means tethering yourself to the machine with a cable.
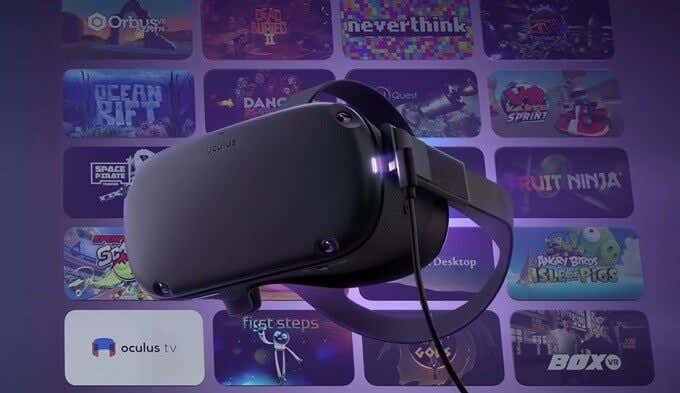
The Oculus Quest offers an affordable all-in-one VR solution. With a full mobile computer built into it and its own app store, you just buy the headset and some apps and can play some pretty high-end VR games and experiences.
Unfortunately, the Quest is still nowhere near desktop computer performance, and so its VR apps are a somewhat downgraded version of the full experience. The good news is that Quest received a software update known as Oculus Link beta, which effectively turns it into an Oculus Rift . We took our Quest on, er, a quest to see how well this solution works compared to a real Oculus Rift.
What Headsets Can Use Oculus Link Beta?
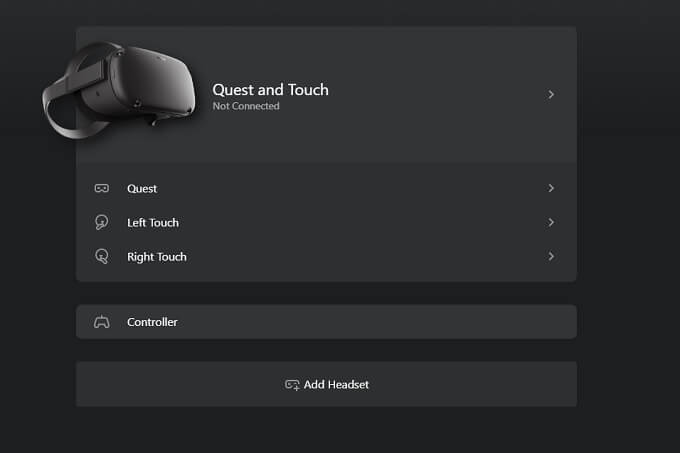
Before we go any further, it needs to be said that the Oculus Quest is the only standalone VR headset from Oculus that can also work as a Rift. Sadly, the affordable Oculus Go doesn’t offer this feature.
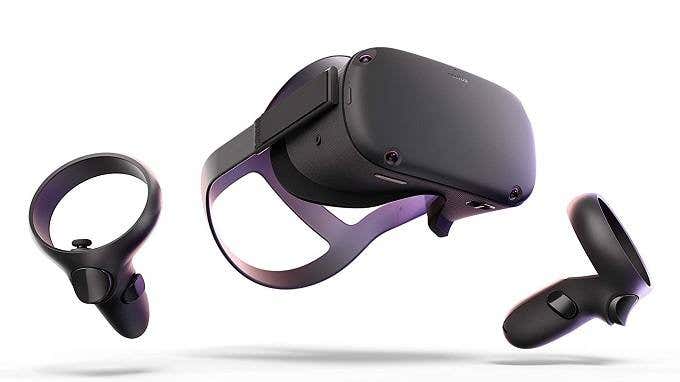
The fact of the matter is that the Go simply lacks the high-end spatial tracking needed to pull off what PC VR applications need. So, for now, only the first-generation Oculus Quest works with the Oculus Link beta functionality.
Which Cable Should I Use?
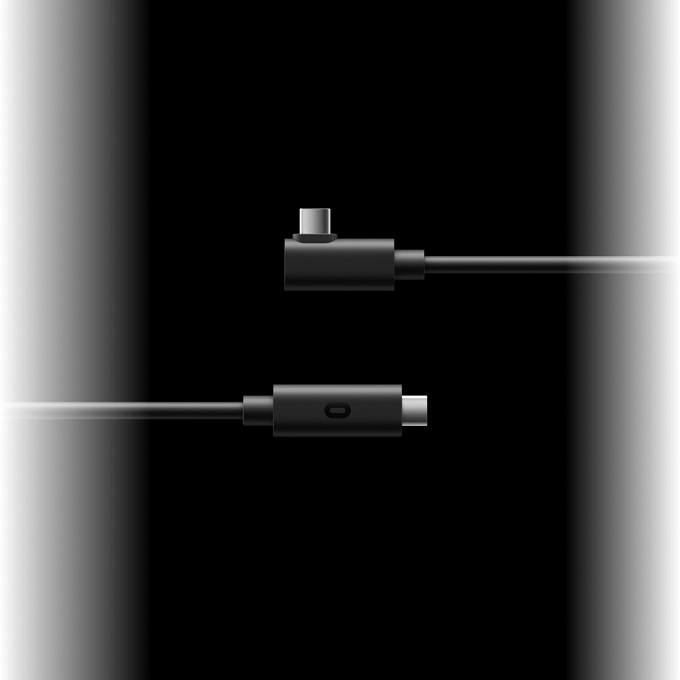
In order to use Oculus Link beta, you need a cable to connect your headset to your computer. At the outset, the only cables that were certified to work were USB 3.0 or better cables.
These could either have a USB C to USB C connection, or USB A to USB C, depending on the type of ports your computer has. Recently however, the company has indicated that USB 2.0 cables will also work. Which includes the long USB 2.0 charging cable included in the box.
Oculus recommends at least a 3m cable to get a good experience. They are planning on offering an official Oculus Link cable that uses a 5m fiber optic cable. The Oculus app includes a cable tester that will indicate whether the cable you currently have plugged in is fast enough or not, making it easy to know if issues you may have are with the cable itself or something else.
Our recommendation is to first try any potentially compatible cables you already have, assuming they are long enough. Just be sure to update your Quest and the Oculus software on your computer to the latest version first.
If you don’t have a cable (and don’t want to spend over $79 getting the official one ) then look for any high-quality 3m USB cable from a reputable brand. We used an Anker USB 3 cable with a Type A to Type C connector.
Please remember that the cable is not the only factor in play here, your USB controller or header cables could also be incompatible. Try using USB ports on the motherboard itself rather than extended ones on your case’s front panel.
What Works With Oculus LinkBeta
In terms of Software compatibility there doesn’t seem to be anything that doesn’t work with Oculus Link beta that does work with a regular Rift. Unsurprisingly everything we tried in the Oculus Rift store worked perfectly. In fact, compared to the original consumer Rift model we’ve been using, it’s a superior experience thanks to the advanced tracking, optics and screens in the Quest.

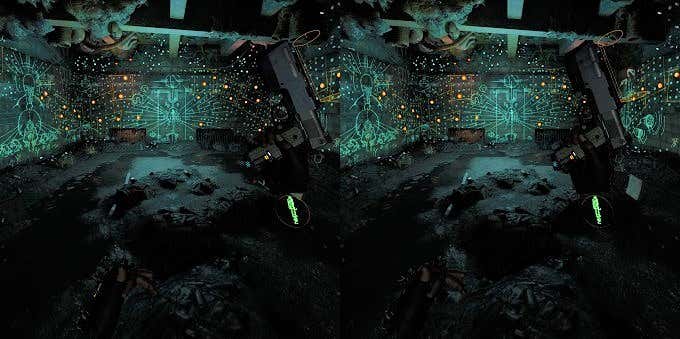
The same goes for SteamVR. We booted up the superlative Half Life Alyx and it ran without a hitch. There was no lag, no issues with the Oculus Touch controllers or anything else that would detract from the gameplay experience.
We used the aforementioned Anker USB 3 cable from one of the front USB 3 panels on our test computer and it passed with flying colors.
The Testbed
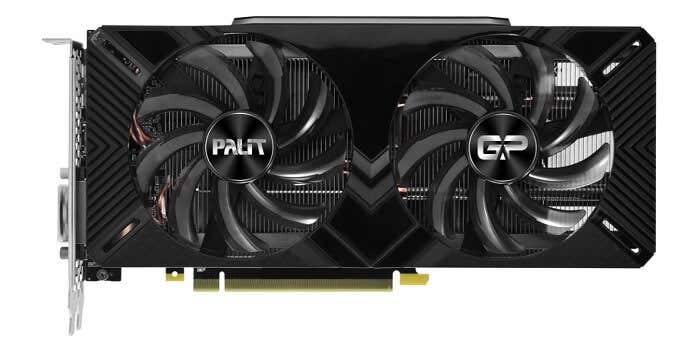
Speaking of our computer setup, this humble machine uses an Intel 4690K clocked at a fixed 4Ghz, 16GB of DDR1600 RAM and a 6GB RTX 2060. This particular GPU is not one of the models that has a built in VR-specific USB C port, but we’d imagine that’s the best option if available.
If you’ve never considered your PC when buying your Quest, you’ll be pleased to know that minimum specifications aren’t as heavy as you might think. An i3 6100, 8GB of RAM and GTX 1050Ti or their equivalents will get you in the door. You’ll find that plenty of mid-range computers these days meet the basic requirements. So if you already have a Quest it won’t hurt to try with whatever computer you do have.
It’s important to note that, at the time of writing, Oculus Link does not support any AMD GPUs. Oculus are working to support as much hardware as possible, but for the Oculus Link beta in its current state, there’s still plenty of work that needs to be done with AMD’s drivers before they can let it out to the public.
Setting Up Oculus Link
Assuming that your Quest’s own out-of-the-box setup is complete, getting Oculus Link up and running was a breeze. All we had to do was install the Oculus app on our computer and log in with the same account used with our Quest. Then, assuming that your Quest is up to date, simply plug the one end of the cable into the computer and the other into the Quest.
Then simply say yes to any Oculus Quest prompts on the computer or the headset itself. Once the Quest Link is established, you just have to launch an Oculus or SteamVR game just as you would with a Rift.
The Oculus Link Experience
As we’ve already mentioned, gameplay performance, fidelity and tracking all worked flawlessly for us. Oculus have done a great job of making the Quest/Rift transition seamless. You can drop out from Link mode back to the Quest’s own hardware at any time with the press of a button.
Likewise, the Quests’ amazing inside-out tracking system worked just the same whether in Link or Quest mode. All the games in the Oculus, Steam and Epic Games Store with VR modes worked for us.
Wireless Possibilities
One of the greatest strengths of the Quest is its wire-free nature, but sadly it lacks the oomph that a good VR-capable PC has. Link lets you experience the high-end versions of many Quest apps as well as apps that are exclusive to the Rift. However, you have to give up the wireless freedom. If you buy a headset like the Valve Index with a wireless option, you can have PC VR without the wires. As long as you’re within range.
The Quest doesn’t have an official version of this, but the community has created a low-latency solution to get PC VR on a Quest wirelessly. We haven’t tried it and don’t recommend that most people do, but it does show that Oculus could, in theory, develop a future update or add-on that would really turn the Quest into the “do everything” VR headset it already (nearly) is.
- WhatGeek x 3inuS Kebohub EE01 Mechanical Keyboard Review
- Mobile Pixels Duex Max Portable Monitor Review
- Trifo Lucy: The AI Robot Vacuum and Mop
- Review of Anycubic Kobra Max 3D Printer
- The OBSBOT Tiny 4K: an Impressive Webcam for PC & Mac
Sydney Butler is a social scientist and technology fanatic who tries to understand how people and technology coexist. He has two decades of experience as a freelance computer technician and more than a decade as a technologies researcher and instructor. Sydney has been a professional technology writer for more than five years and covers topics such as VR, Gaming, Cyber security and Transhumanism. Read Sydney’s Full Bio
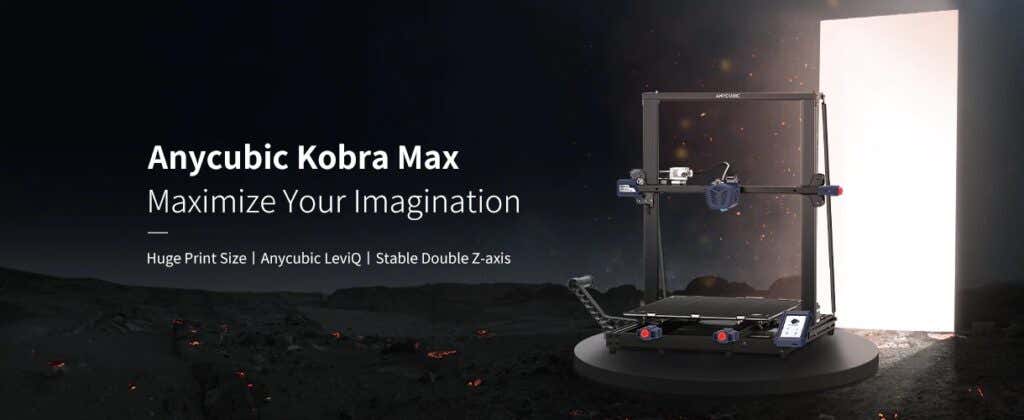
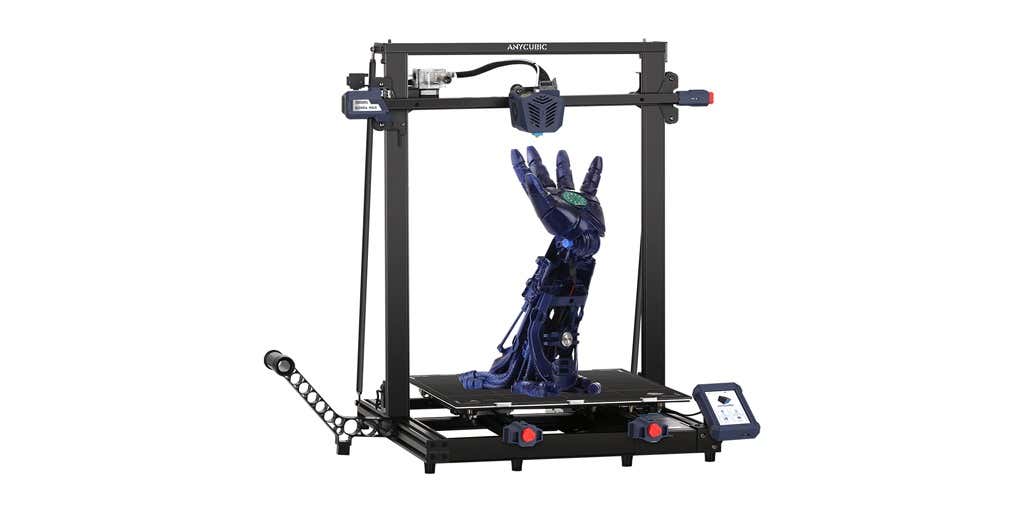
3D printer manufacturer, Anycubic, recently released two new printers—the Anycubic Kobra and its bigger, badder uncle, the Anycubic Kobra Max. We were interested in testing both products in our hunt for the best entry-level 3D printers. We’re looking for ease-of-use and affordability, as well as build and print quality.
We’ve published a number of 3D printer reviews from Anycubic—for both FDM printers like the Anycubic Vyper that print with spools of filament and SLA resin 3D printers like the Anycubic Photon Mono X 6K that use a liquid resin as its raw material—and we can say that the Kobra Max has quickly become one of our favorites.
Features of the Anycubic Kobra Max 3D Printer
The most obvious feature of this printer is its size. It is absolutely massive. That means you can print huge items in a single piece. Think of a full helmet or an entire ukulele—these are things you couldn’t print in one piece on a normal-sized 3D printer. Truly, the word “Max” doesn’t sufficiently capture just how big this printer is. Good luck fitting the packaging into your trash or recycling bins!
We were skeptical that a Cartesian printer of this size (which relies on a moveable print bed) would perform well since it has a lot of weight to move around. Admittedly, it’s not the speediest printer out there because of those design tradeoffs, but it works great.
The Kobra Max has an impressive list of technical specifications:
- Leveling: Automatic, 25 points leveling using the Anycubic Leviq technology
- Panel area: 7.95 in² / 51.3 cm²
- Filament run-out detection: support
- Printing material: PLA / ABS / PETG & TPU
- Nozzle size: ø 0.4 mm (replaceable)
- Nozzle temperature: ≤ 500 °F / 260 °C
- Hot bed temperature: ≤ 194 °F / 90 °C
- Average speed: 3.1 – 3.9 in./s (80mm/s – 100m/s)
- Control panel: 4.3 inch LCD touch screen
- Z-axis: double threaded rod
- Print size: 17.7 x 15.7 x 15.7 in. / 45 x 40 x 40 cm (HWD)
- Build volume: 19.02 gal. / 72.0 L
- Machine dimensions: 72 x 71.5 x 66.5cm
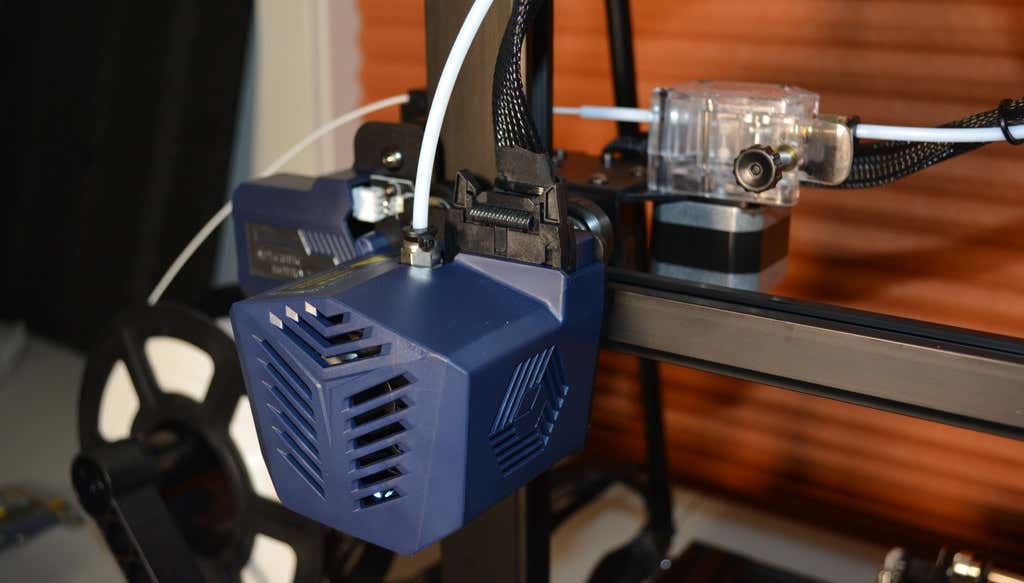
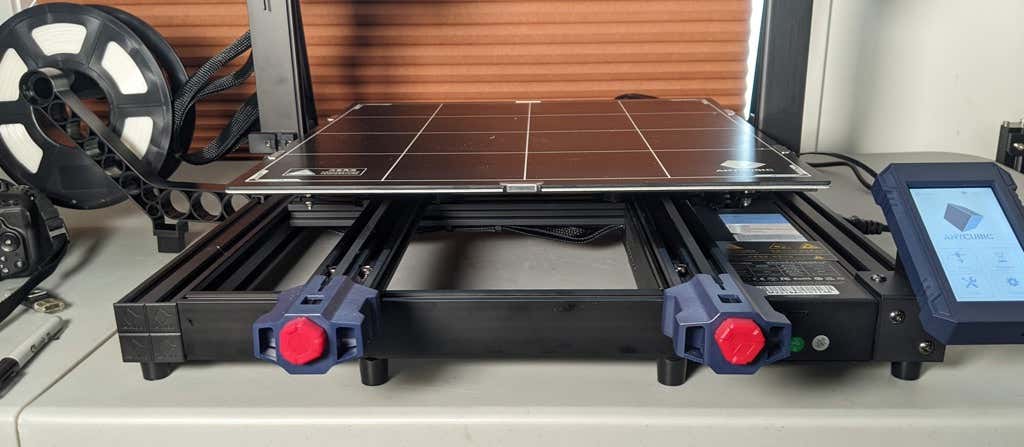
As far as we can tell, the extruder is identical to the extruder and print head on the Anycubic Vyper. Furthermore, the Kobra Max has the same automatic bed-leveling system as the Vyper. The system uses a pressure sensor instead of an inductive sensor.
The bed-leveling sensor is right on the nozzle itself, ensuring that it can probe every printable part of the bed. And since the sensor is pressure-based, you could replace the glass bed with any other material and the bed-leveling system will still work. (Inductive sensors require metal to work, so you won’t find them on printers with glass beds.)
Since the Kobra Max’s printing platform is a rigid glass sheet, you can’t remove and flex it to pop your prints off. We prefer removable spring steel build plates, but glass is still a nice printing surface. If your printer doesn’t have a removable bed, glass is ideal because you can use metal scrapers to remove your prints without worrying about scratching the surface.
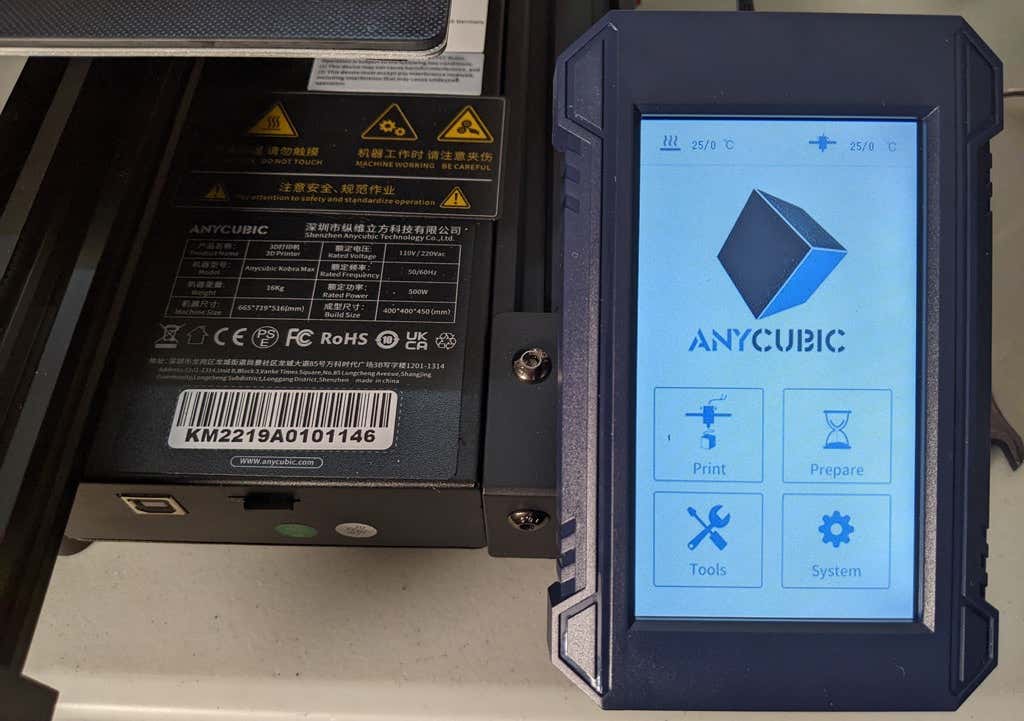
The LCD touchscreen is identical to the screens used on many other Anycubic printers. As usual, it’s responsive and easy to use.
A note about filament types: the Kobra Max will print with PLA, PETG, TPU, and ABS. However, if you really want to print with ABS and get the best possible results, the printer should be inside an enclosure. Given its size, it may be challenging to build a suitable enclosure for the Kobra Max.
Assembling the Kobra Max 3D Printer
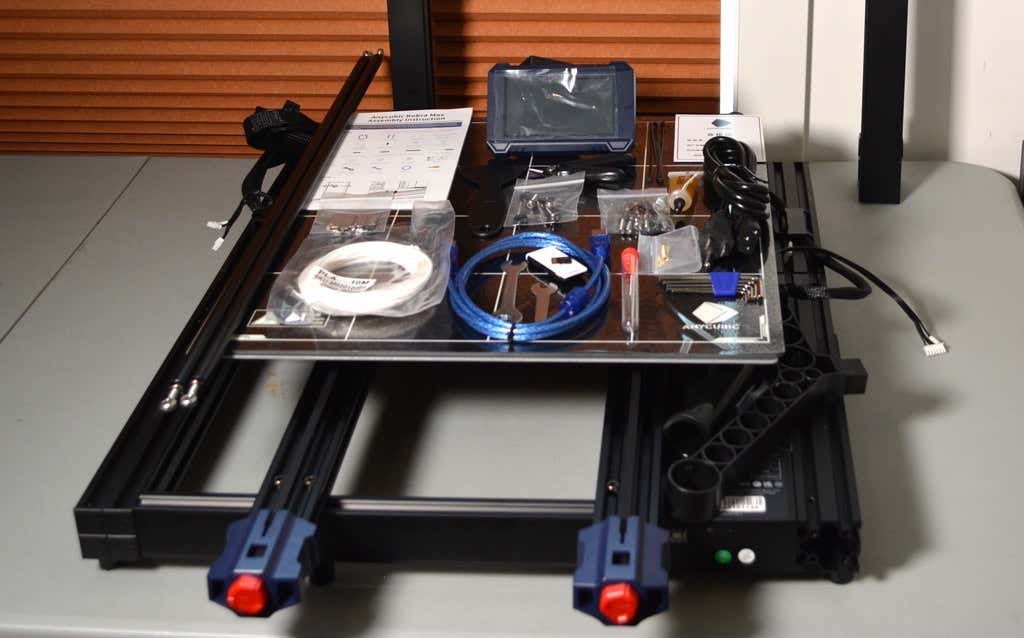
When assembling the new Kobra Max, make sure you have sufficient working space. Since the bed moves forward and backward, you need more space than you’d think. We put it on a 30” folding table, and when it’s printing, it needs about 36 inches, front to back.
Assembly of the Kobra Max is no more difficult than assembling the Kobra or Vyper. The only additional items are the diagonal braces which add stiffness to the frame, reducing mechanical vibration.
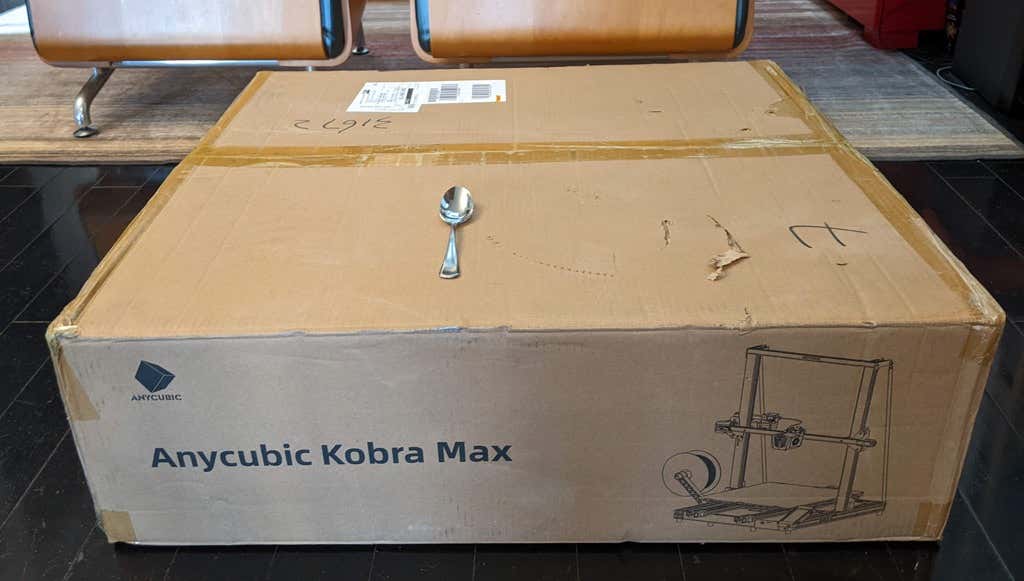
It took two people about 15 minutes to assemble. Double-check that you’ve cut all the zip ties used to stabilize the printer during shipping. There are a lot of them.
Calibration
The auto-bed-leveling system is easy to use. Anycubic recommends that you check the x- and the y-axes to make sure they don’t wobble. If they do, you can adjust the eccentric nuts until the wobbling stops. There was no wobble on our printer, so we didn’t have to do anything.
Additionally, the x- and y-axes have belt tensioners. We needed to slightly tighten the x-axis on ours. The tensioners are easy to use and are features a lot of other printers lack. Who wants to take apart the extruder assembly just to tighten the belts? Not us, and probably not you.
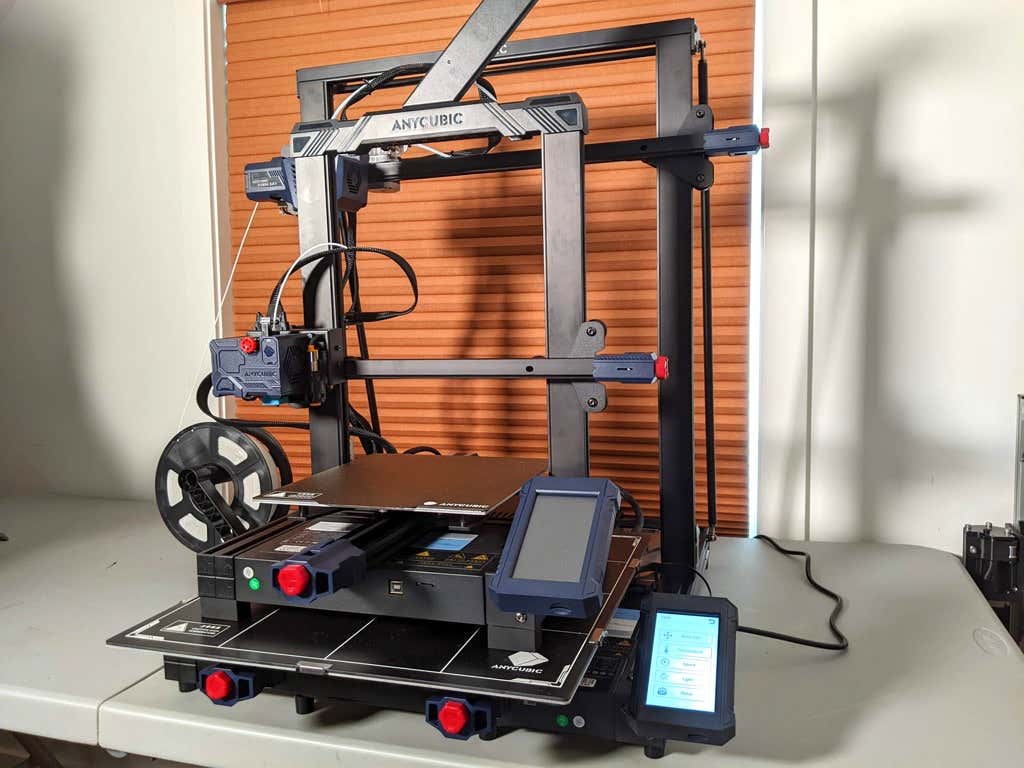
Build Quality of the Kobra Max
Due to the addition of the diagonal braces, the frame is really stiff. The dual z-axis screws are an improvement over the smaller Kobra. They virtually eliminated sagging of the x-axis assembly.
The spool holder sits on the base of the printer, reducing wobbling when printing tall items. It’s better than having the spool on the top like on the Kobra.
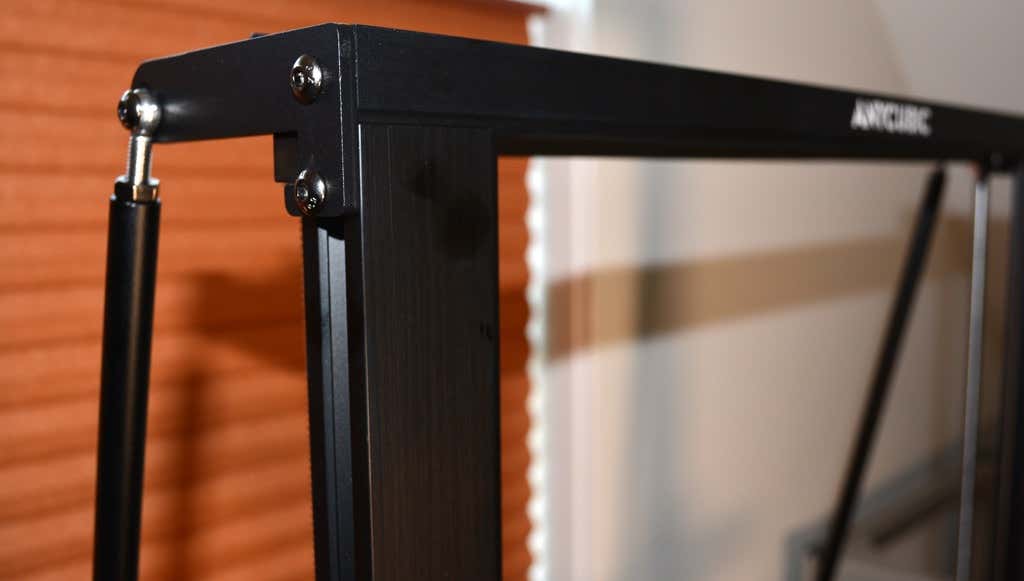
This printer is built with aluminum extrusions with aesthetically-pleasing plastic covers for the hotend and the tenionsers. It’s got an optical z endstop. The x and y endstops are mechanical. The whole thing feels solid.
First Print
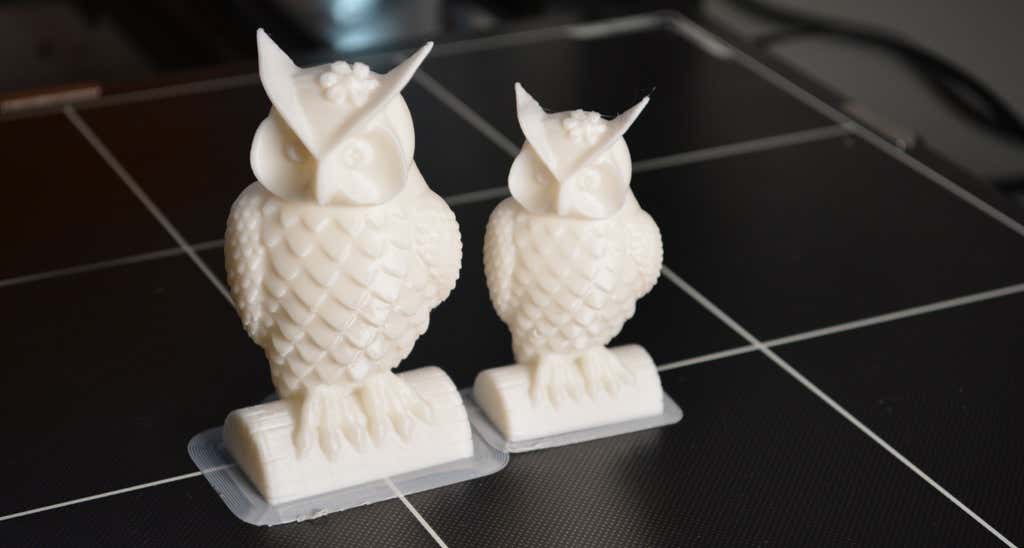
For the first print, we used the test file provided by Anycubic. Appropriately, the owl is about twice the print volume of the owl test print that comes with the smaller Kobra. Given the bowden setup (which makes sense for a printer this size), we were surprised that the ears on the owl turned out so well.
The ears look better than they did on the owl printed on the Kobra which has a direct drive extruder system. We suspect that’s due to the slower print speed. Many times, retractions on bowden extruders will create artifacts, but we didn’t notice any blobs or stringing. It approaches the quality you’d expect from a direct-drive.
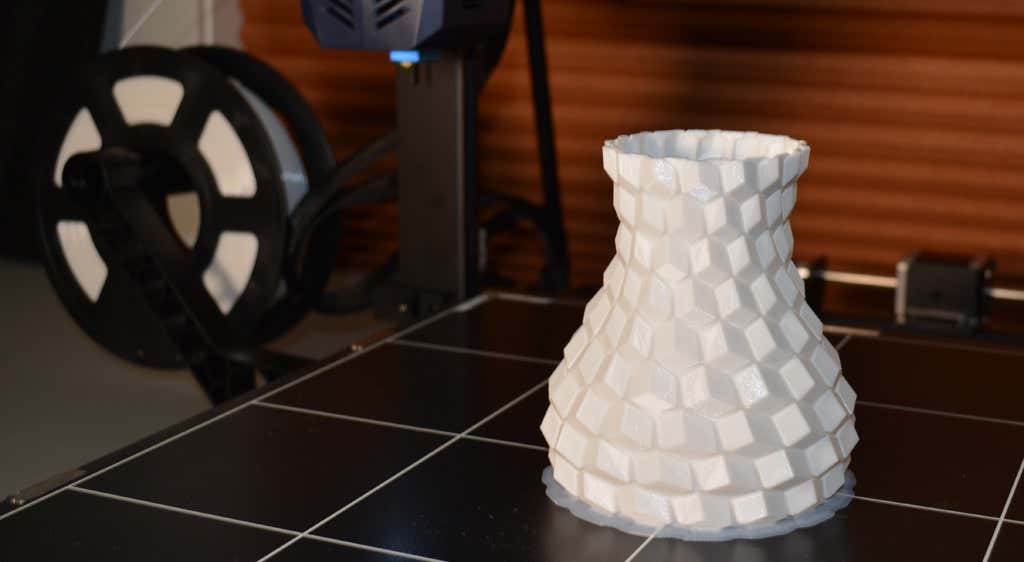
Next, we printed a vase with a large, flat base with a 0.2mm layer height. Removing prints from the glass bed is certainly not as easy as removing prints from smaller, flexible beds, but it’s not a deal-breaker either. We didn’t have any adhesion problems. The prints didn’t release when the glass bed cooled, which is what we expected and hoped for.
Curious what the power requirements would be for a printer this size, we were worried we wouldn’t be able to run multiple printers on the same circuit. We measured the power usage while the Kobra Max was printing, and, as expected, power usage is highest while the printer is warming up. Ours topped out at 473 watts. While printing, it was a more manageable 200-300 watts. We thought it would be more than that. You could probably run three of these printers on a 20 amp circuit.
Cut to the Chase
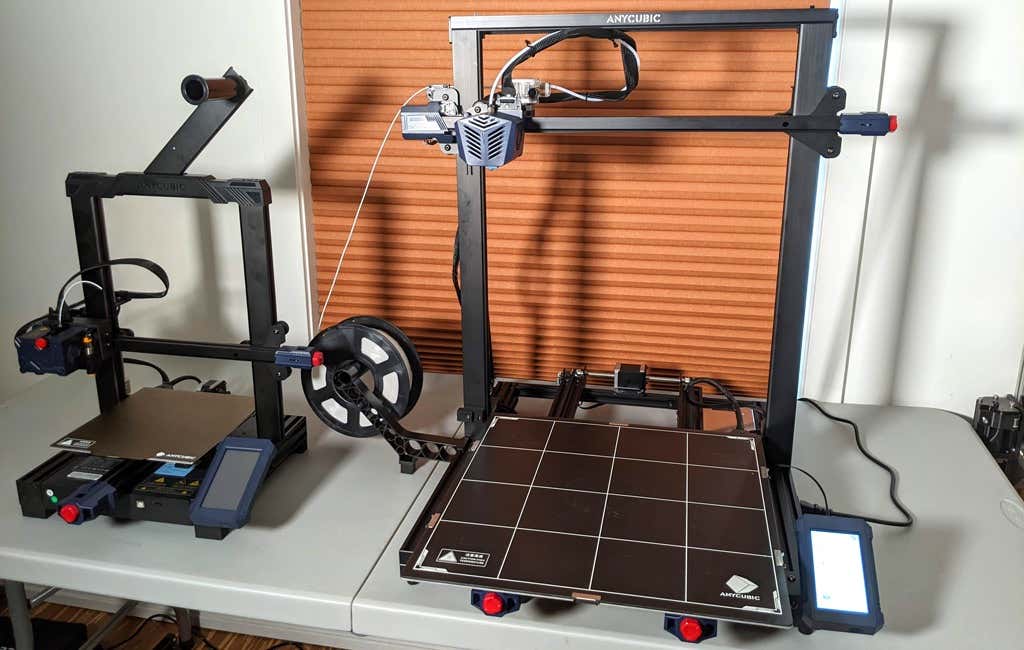
To drive home just how big the Kobra Max is, we put the Kobra on the bed of the Kobra Max. Insane. (We do not recommend you try this.)
A small printer is limiting, so if you find yourself printing large objects in small pieces and assembling them, consider buying a Kobra Max. If you’re new to 3D printing, keep in mind that it takes a long time to print big objects—potentially days and days. Typically, we’d recommend a smaller printer to beginners, but at the price point of $569.00 if you purchase on the Anycubic site, it’s worth considering as an entry-level printer.
One downside is that smaller prints will take a little longer than they would on a smaller, faster printer. That’s just physics. Bigger printers have more inertia to overcome and take longer to move. For example, the print time for our vase was thirteen hours. On our Prusa MK 2.5 with similar settings, it would have taken about twelve hours—not a huge difference.
*Special thanks to FormerLurker for help in reviewing AnyCubic’s Kobra Max 3D printer.
- WhatGeek x 3inuS Kebohub EE01 Mechanical Keyboard Review
- Mobile Pixels Duex Max Portable Monitor Review
- Trifo Lucy: The AI Robot Vacuum and Mop
- The OBSBOT Tiny 4K: an Impressive Webcam for PC & Mac
- Review of Anycubic’s Kobra 3D Printer
Maggie Marystone is a freelance technology writer, human rights worker, and storyteller based in Chicago. Read Maggie’s Full Bio
