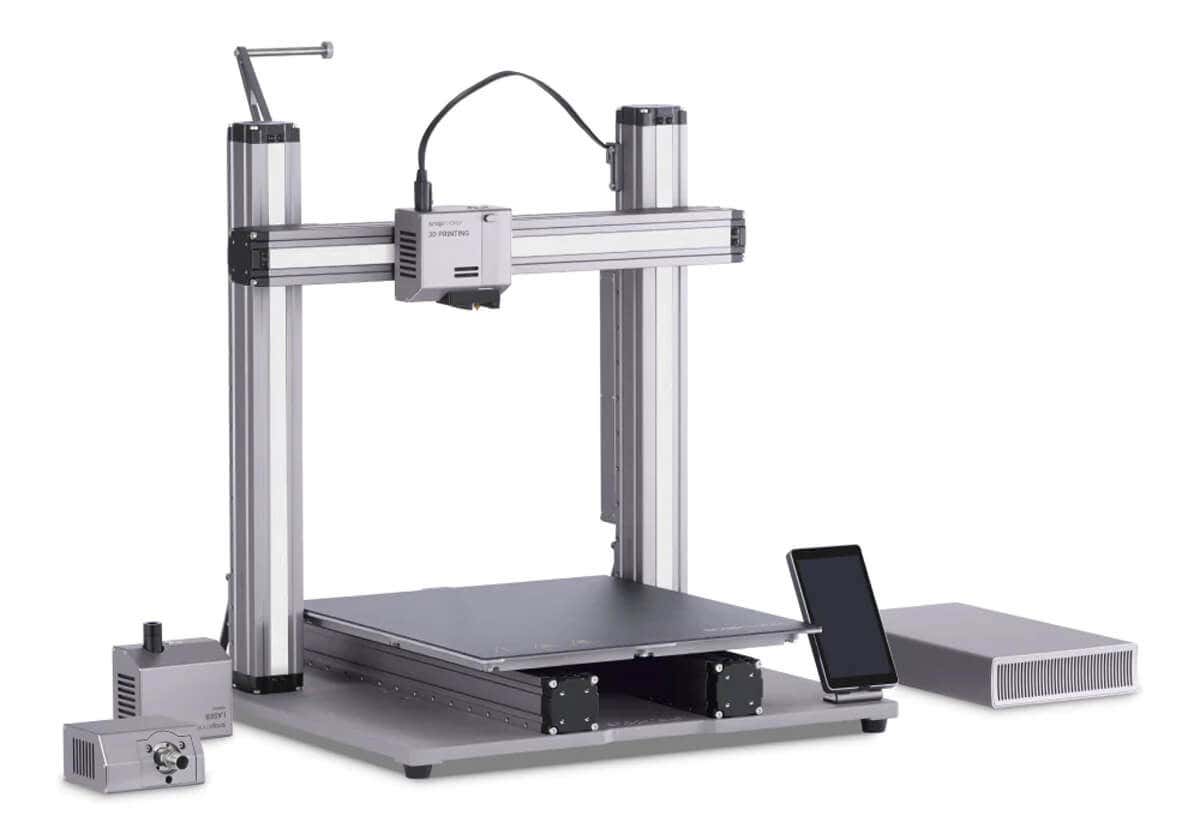
The 3-in-1 Snapmaker 2.0 AT model is unlike any 3D printer we’ve reviewed before. In fact, calling it a 3D printer doesn’t do it justice. Its design will allow you to unleash your creativity via the swappable 3D printing, laser engraving and cutting, and CNC carving modules.
We spent a few weeks testing the Snapmaker 2.0—from assembling the machine itself and its optional futuristic enclosure to testing all three modules. In this Snapmaker 2.0 review, we’ll let you know if it’s worth the hefty price tag. (Spoiler alert: Quite possibly.)
What Comes with the Snapmaker 2.0?
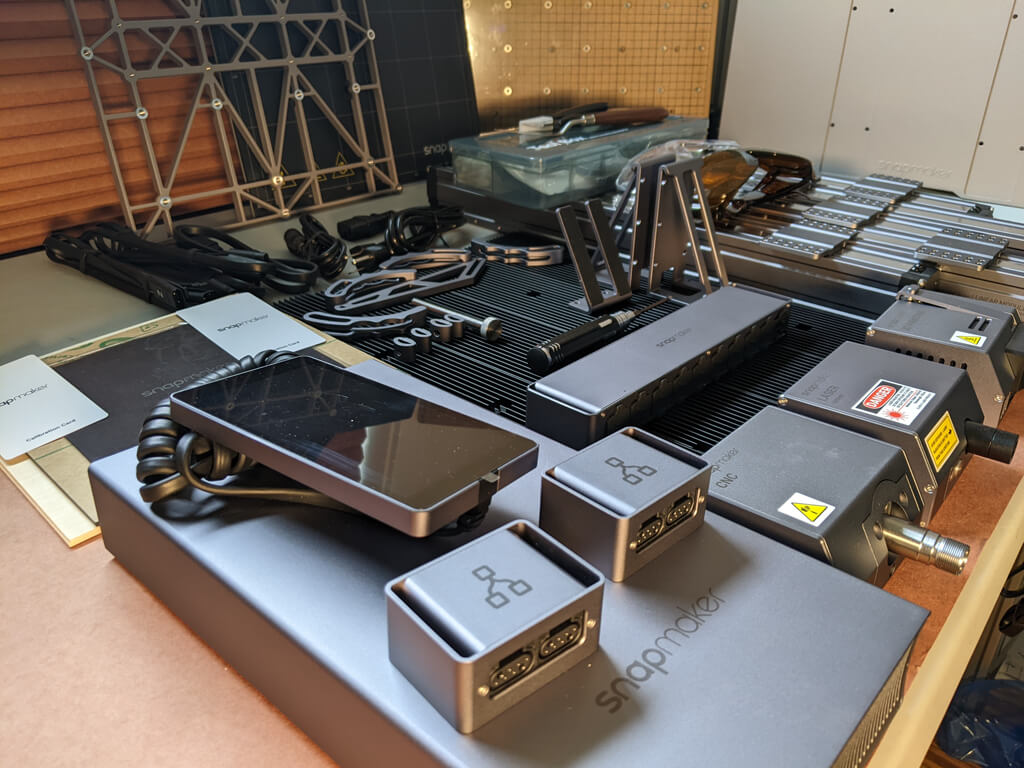
The Snapmaker 2.0 comes in a very large, heavy box because the parts list is lengthy, including:
- 3D Printing Module with Print Head
- Laser Module
- CNC Module
- Touchscreen
- Touchscreen Holder
- Controller
- Toolhead Cable
- Y Conversion Cable
- Z Conversion Cable
- AC Power Cable
- DC Power Cable
- USB Cable
- Base Plate
- Linear Module (5)
- 1 kg Spool of Filament
- Power Module
- Laser Safety Goggles
- CNC Safety Goggles
- Tool Box
- Fixture Accessory (4)
- Arched Fixture (4)
- Filament Holder Sheet
- Filament Holder Tube
- Converter (2)
- Z-axis Holder (2)
- CNC Carving Platform/Wasteboard
- Heated Bed
- Print Sheet
- Laser Engraving/Cutting Platform
- Platform
- Material Bag
If you also purchase the optional enclosure, you’ll get a second large, even heavier box that contains everything you need to build the enclosure, including:
- Beams (24)
- Cable Clip (20)
- Folding Door Slider (8)
- Wing Nut (4)
- Hex Nut (8)
- Hose Clamp
- Snap Bushing
- Hose
- Hex Key (2)
- Front Folding Door
- Side Folding door
- Back Panel
- Side Panel
- Top Panel
- Exhaust Fan
- Touchscreen Holder
- Hose Connector
- Foot Fixture
- Connecting Cable
- LED Strip Cable
- Screws in a variety of sizes (124)
As you can see from these parts lists, assembling the Snapmaker 2.0 and its enclosure won’t be a quick endeavor.
Assembling the Snapmaker and Its Enclosure
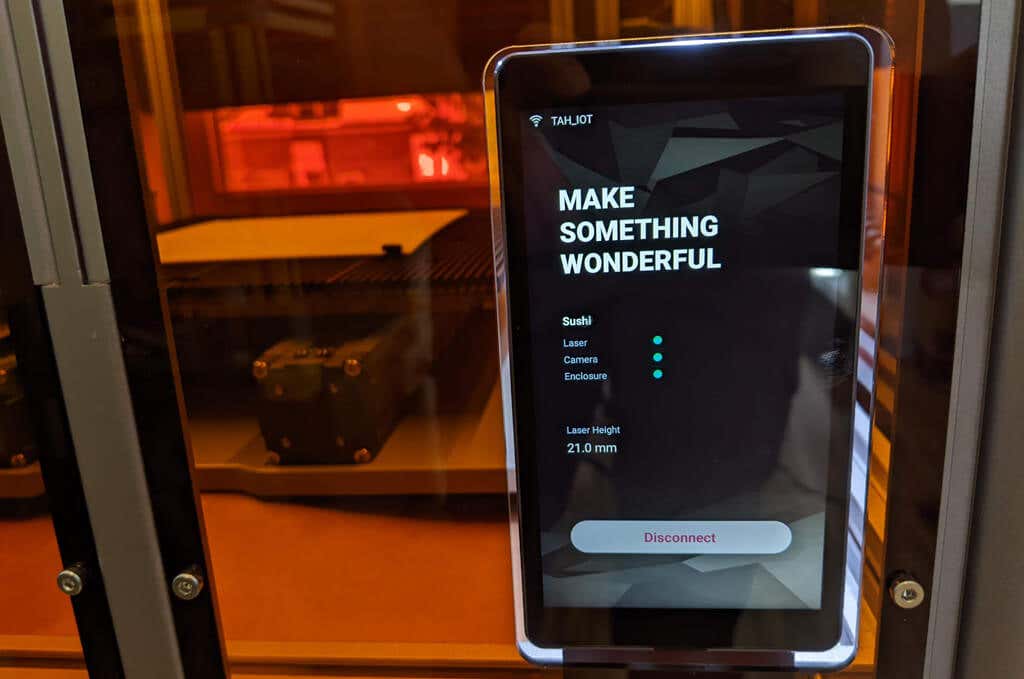
It took us a few hours to assemble both the Snapmaker and its enclosure. It took longer to assemble than most printers, but to be fair, most printers we’ve tried don’t have an enclosure. The Snapmaker’s enclosure integrates with the printer, keeping your work area clean and helping to reduce warping of 3D printing materials. You can control the lighting and the fan from the Android-based touchscreen.
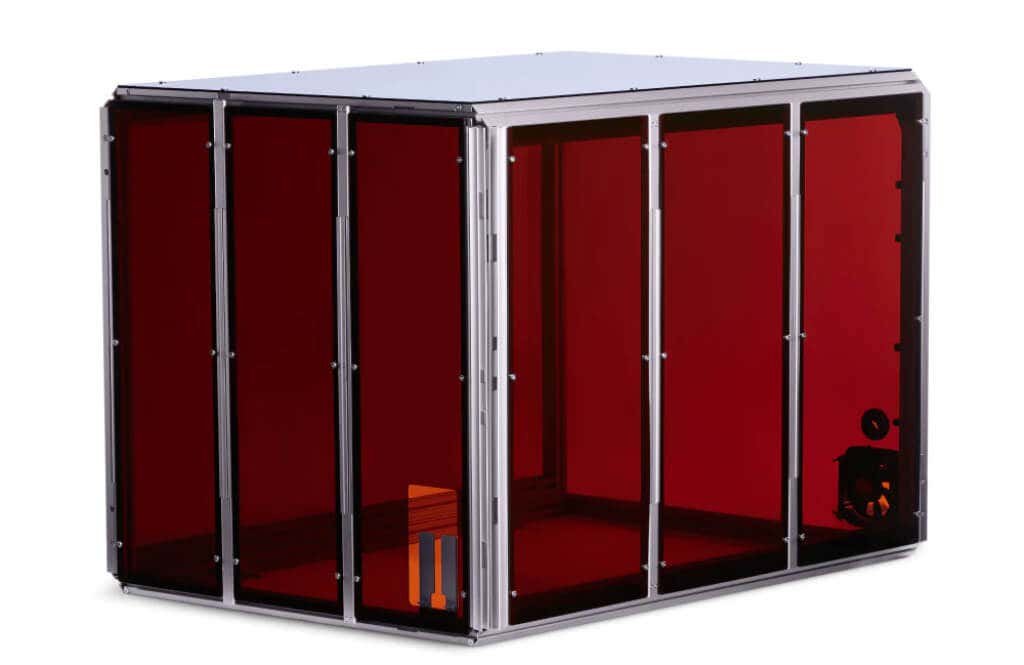
There’s no doubt the Snapmaker’s build quality is top-notch. It’s got very sturdy aluminum extrusions and thick plastic panels. The accordion panels can be a little awkward to open, but being able to open both the front and the right sides is useful.
The panels are tinted to provide protection from the laser module, and it contains the dust fairly well when you use the CNC module. The exhaust system is really nice to have—protecting you from fumes and particulates. While it doesn’t come with a window mount, you could easily print one with the Snapmaker.
It’s clear that no expenses were spared on the components for this printer. All of the axes are covered and dust-proof. You can’t even see the motors-–they’re all enclosed. Everything from the rails to the heft of the bed mount screams, “Quality.” Given that, we were surprised that the cable management under the printer is so awkward.
Furthermore, there are rubber covers on the controller that are really easy to accidentally pull out and are rather difficult to put back in. Given the extremely high quality of everything else, these downsides, while minor, did stick out.
Since each module has an associated specialized bed, when you switch between modules, you also have to change the bed. Swapping them out takes some time. Switching from one module to another while the Snapmaker is inside the enclosure can be tricky because the screws fit through the back of the module heads, and it can be difficult to see what you’re doing. The bed sizes for each module are generous, allowing for a build volume that should accommodate all your projects.
The machine has WiFi and USB connectivity, allowing the firmware to update automatically. The Snapmaker Luban software can connect to the printer directly via WiFi.
The Snapmaker’s 3D Printing Module
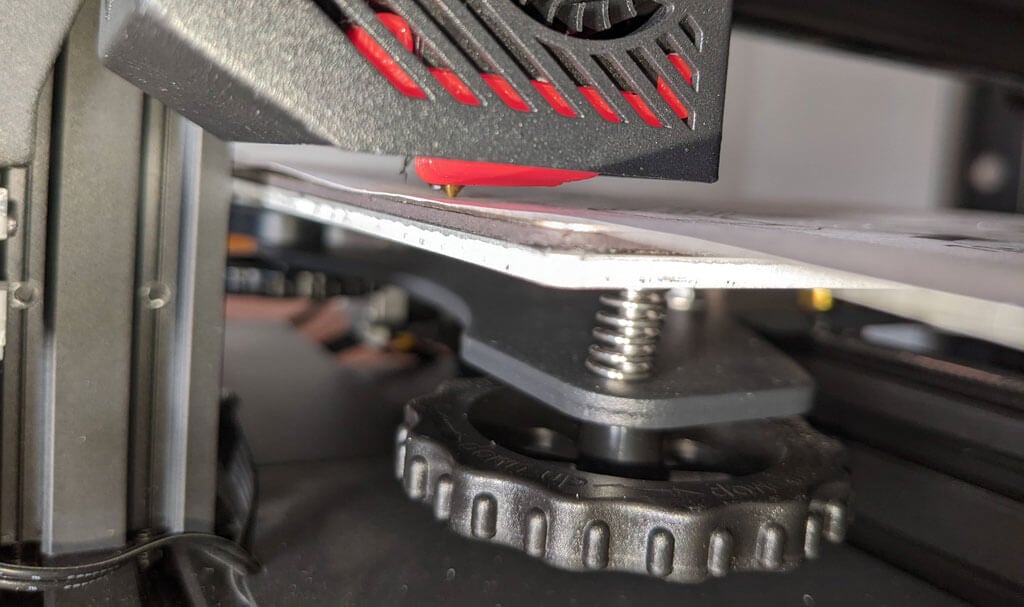
3D printing calibration was essentially automatic. The printer has auto bed-leveling, performed via the touchscreen. It comes with a calibration card to help you set the Z offset. You can further refine the Z offset via the touchscreen at any time.
Like most FDM printers, you can use ABS, PETG, and PLA, and since it’s got a direct drive extruder, you can also use TPU and other flexible filaments. The Snapmaker is capable of layer resolutions between 50 and 300 microns.
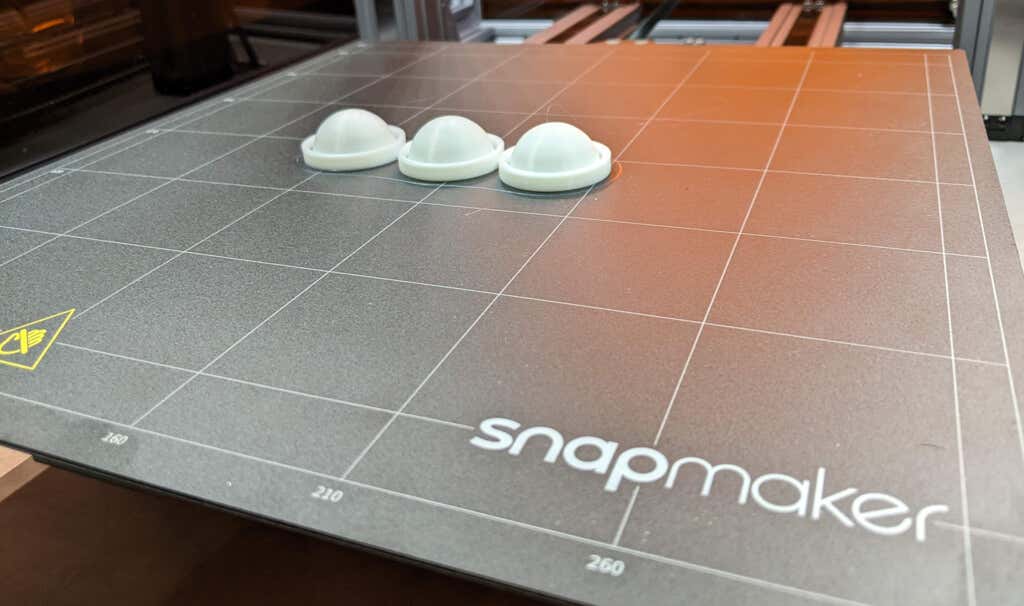
Slicing an STL file with the Luben software was straightforward, similar to using Cura. We were able to send the g-code directly to the printer. Our test print looked so good, we used the Snapmaker to print some DIY custom pieces, and they turned out great too. When using the default settings, this printer is a little slow compared to some other printers we’ve tried.
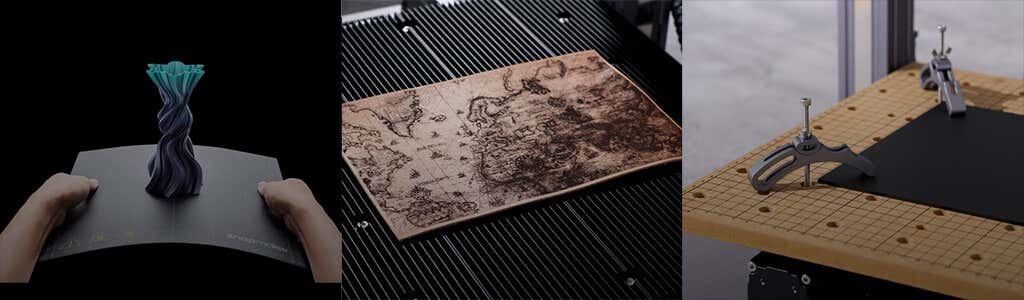
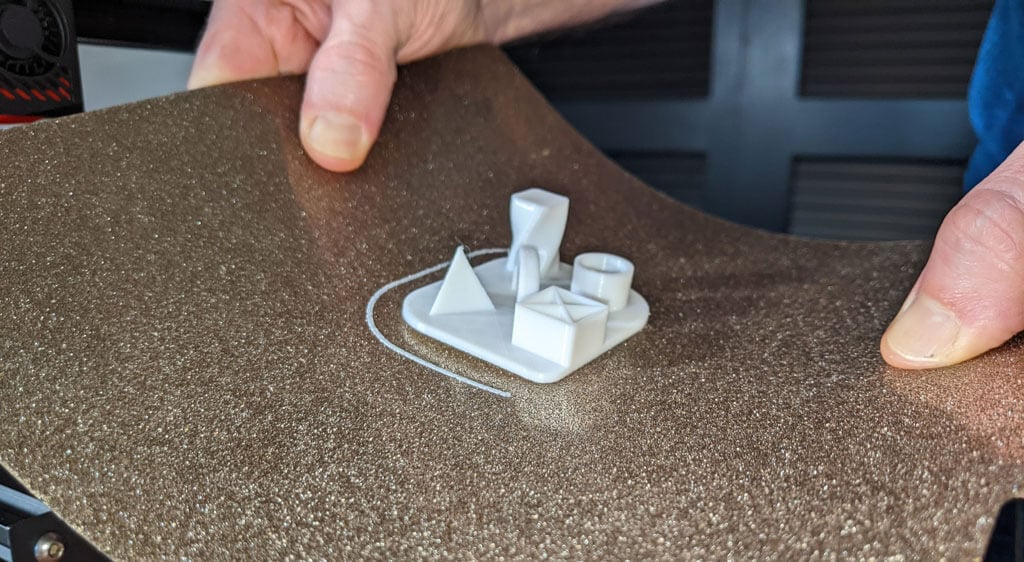
The magnetic build plate feels great and leaves a nice texture on the prints. We had no problems with adhesion, and the parts were very easy to remove by flexing the print bed like an ice tray. The build volume for 3D printing is 320x350x330 mm—one of the largest build areas mentioned in any of our 3D printer reviews.
This printer works well, and we think beginners won’t have any problems with their prints.
The Snapmaker’s Laser Module
This was the feature we were dying to try. The diode laser power is 3.6 watts, and there’s also a 10 watt module available. The first time we tried the laser cutting/engraving module was the first time we’d ever used any kind of laser engraver/cutter. Calibrating the laser cutter involved cutting a piece of regular typing paper. Then we were ready to engrave a piece of beech wood included with the Snapmaker.
We used the Luben design and slicer software to set up our own engraving project by importing an SVG file. We knew that it would take some trial and error to get all the settings right.
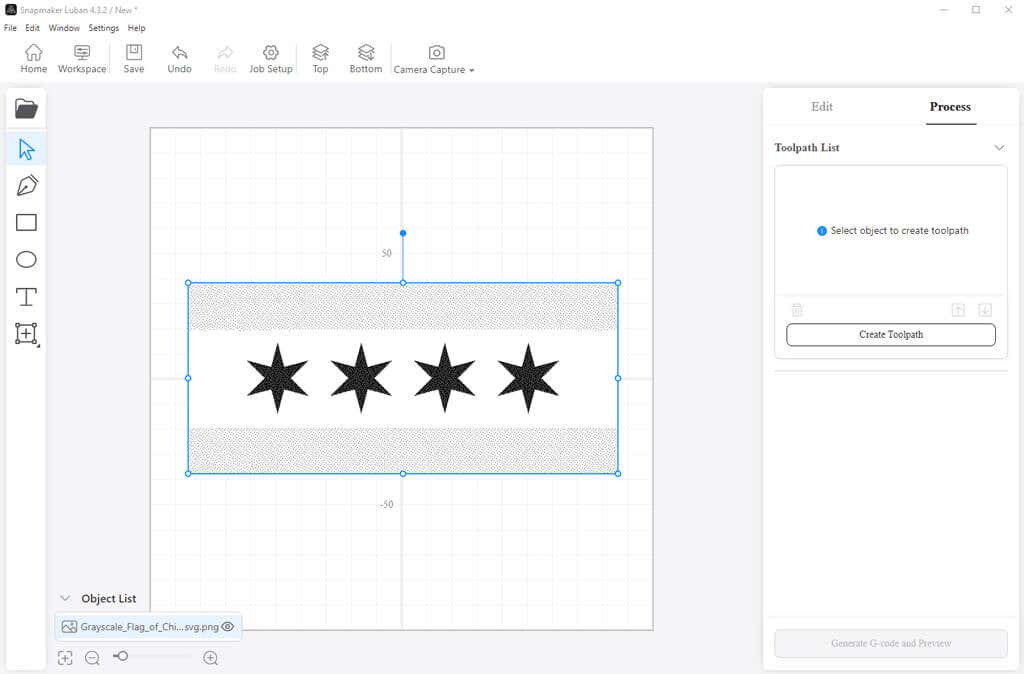
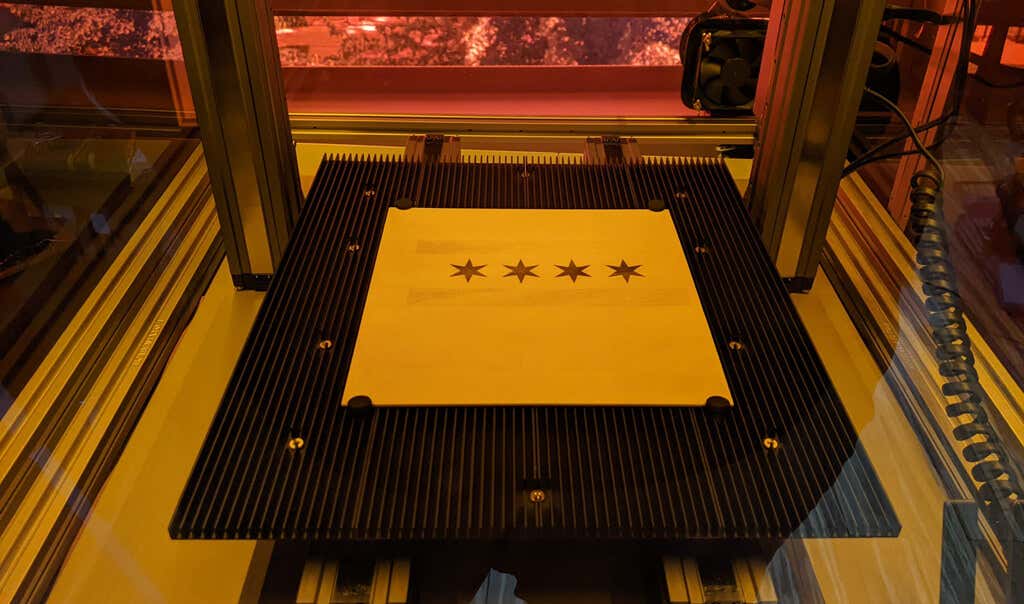
You can see from the photo below that we didn’t set the workspace home coordinates entirely correctly, so the design isn’t perfectly centered. In retrospect, we should have turned the power up or used a darker image. Having said that, our Chicago flag etching still looked good.
We also tried etching a map on a piece of card stock just to see how it worked.

While it wasn’t perfect, we got surprisingly good results on card stock. We can’t wait to laser etch a piece of leather.
Laser engraving was a little slower than we thought it would be. If that’s a concern for you, look into Snapmaker’s faster 10-watt module (and the other add-ons).
The Snapmaker’s CNC Mill Module
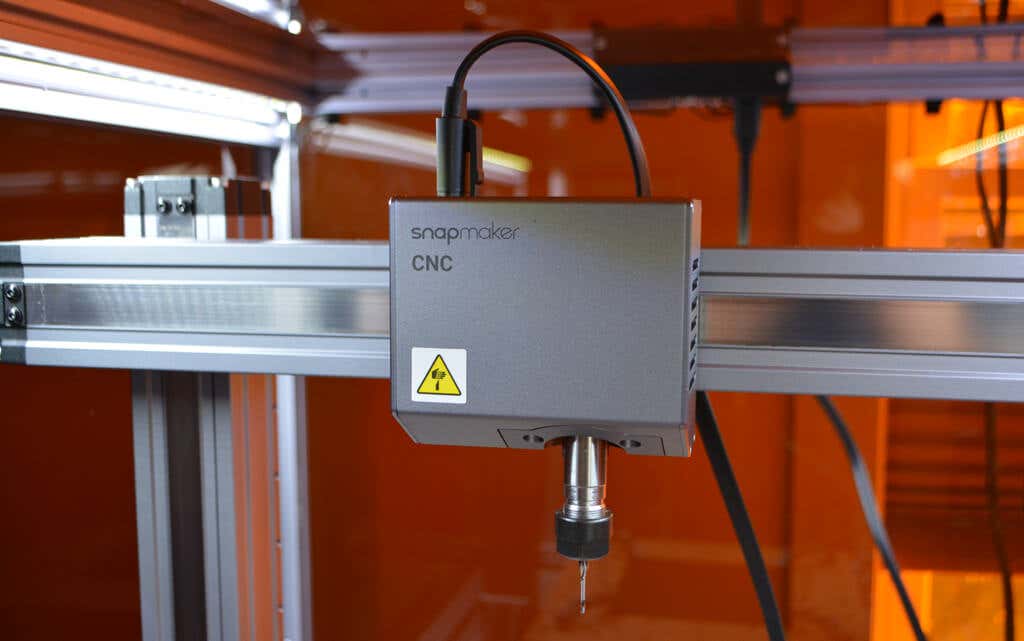
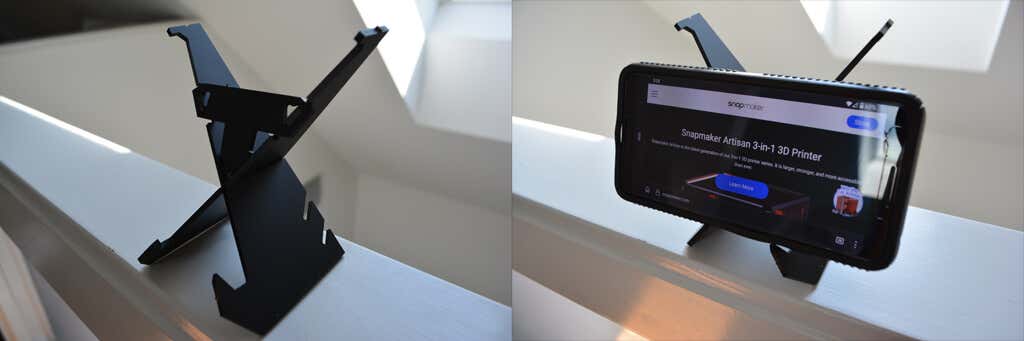
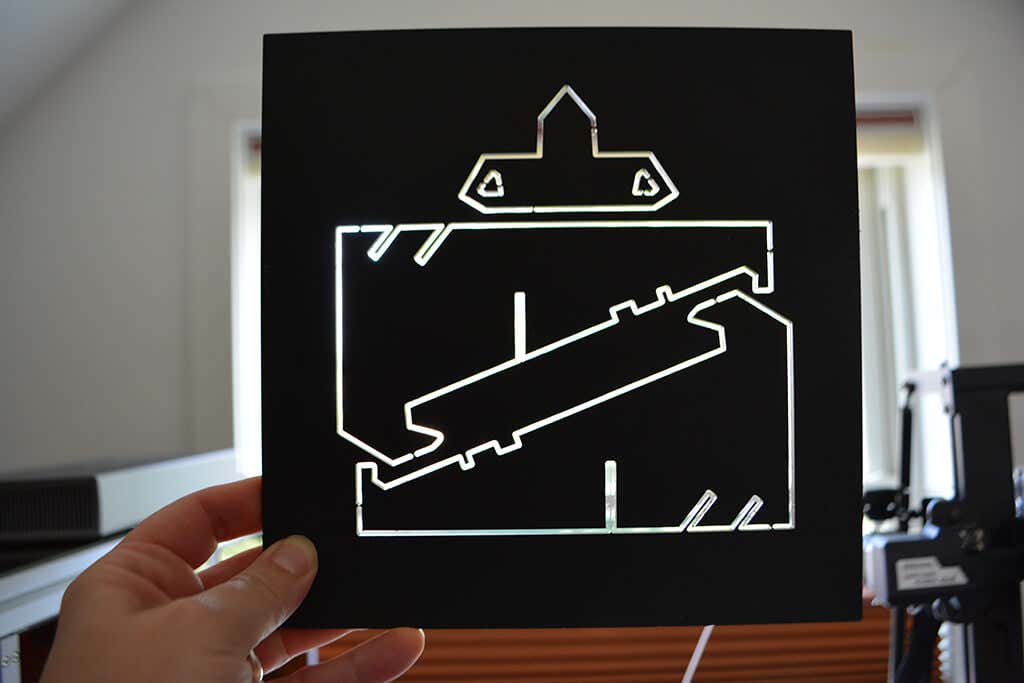
It seemed crazy to be able to use CNC machining to cut a piece of acrylic with such precision in our living room, but the Snapmaker makes it look easy. Using the Luben software, we prepared a sample file for a cell phone stand.
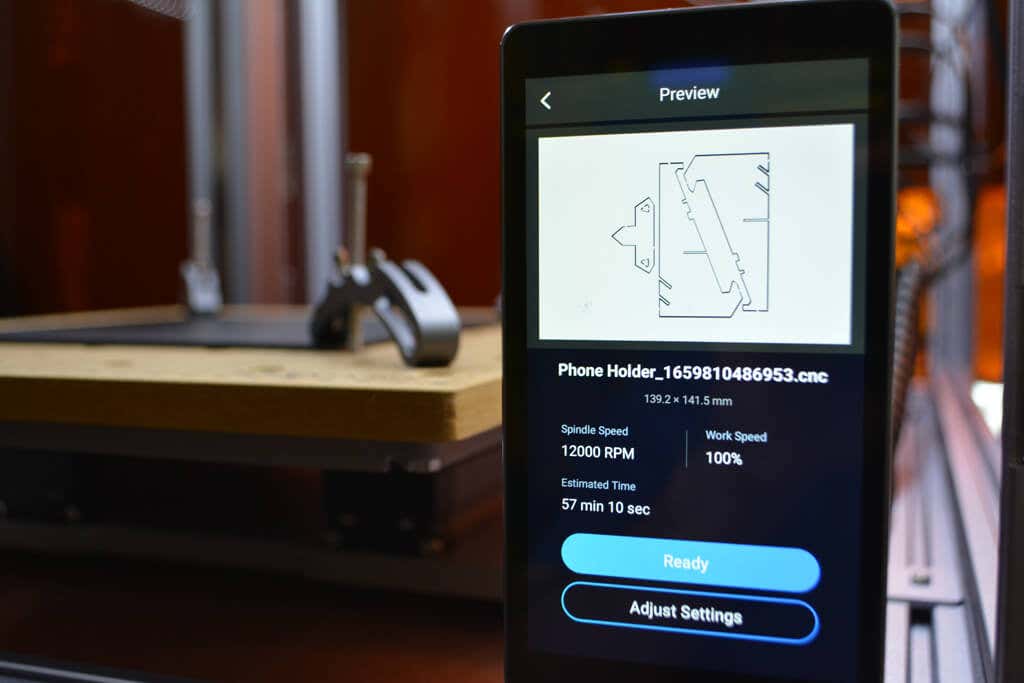
An hour later, we had a non-transparent acrylic product that looked store-bought.
The CNC module supports a shank diameter of 0.5 mm to 6.3 mm making it compatible with a wide variety of bits. It is capable of spindle speeds between 6,000-12,000 RPM.
Cut to the Chase
We had a preconception that the modules would work together. That’s not really the case. Instead, the Snapmaker is three different machines that can be used one at a time. Even still, the Snapmaker brings functionality and quality to a consumer-level printer that we’ve never seen before.
Without question, it does more than any other single maker tool we’ve used, and the specs are high-quality. Since we tried the Snapmaker 2.0 All-in-One, they’ve released a new version called the Artisan , which has continued to improve upon its predecessors in myriad ways. If you can afford the Artisan ($2,799 USD pre-order), they have addressed all of our concerns about the 2.0 and added several excellent features like quick-change modules, dual extrusion, improved laser focus, a 5-axis module for the CNC router, an emergency stop button, and much more.
If, however, the Snapmaker 2.0 is closer to your budget, it’s still an incredible value for everything that you get.
*Special thanks to FormerLurker for his help with this review.
- Tribit StormBox 2: The Under $70 Portable Speaker that Stands Out
- ENGWE L20 2.0 Review: The Best Budget-Friendly Foldable E-Bike?
- TopDon TC004 – a Thermal Imaging Camera That Will Give You Predator Vision
- Newyes Portable Wireless Thermal A4 Printer Review
- Eskute Star Folding Fat Tire Electric Bike Review
ÿØÿà JFIF ÿÛ „ %!’&$!$#).;2),8,#$3F48=?BCB(1HMH@M;AB? ?$??????????????????????????????????????????????????ÿ H° ÿÄ 1 ÿÚ ö` bÃ,…¥……¤gtõ¿€ <®>Þ¯2ÒÂÒ„¤…¥ 5wµÓd ÆW›[éÒt±!R¥Å@4Æaš kÏÓ·=7 Fi( (x}G«íØ“€ kÏ<
In this 3D printer review, we’ll let you know what you get when you buy an Aquila S2, what it’s like to build it, and our first impressions about its quality and usability.
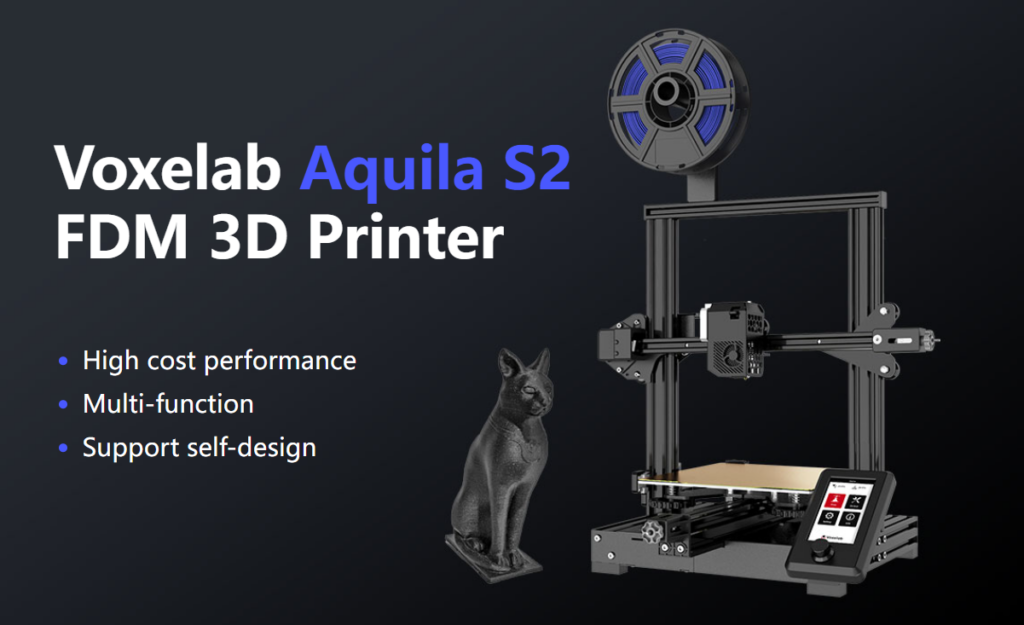
Features of the Voxelab Aquila S2 by Flashforge
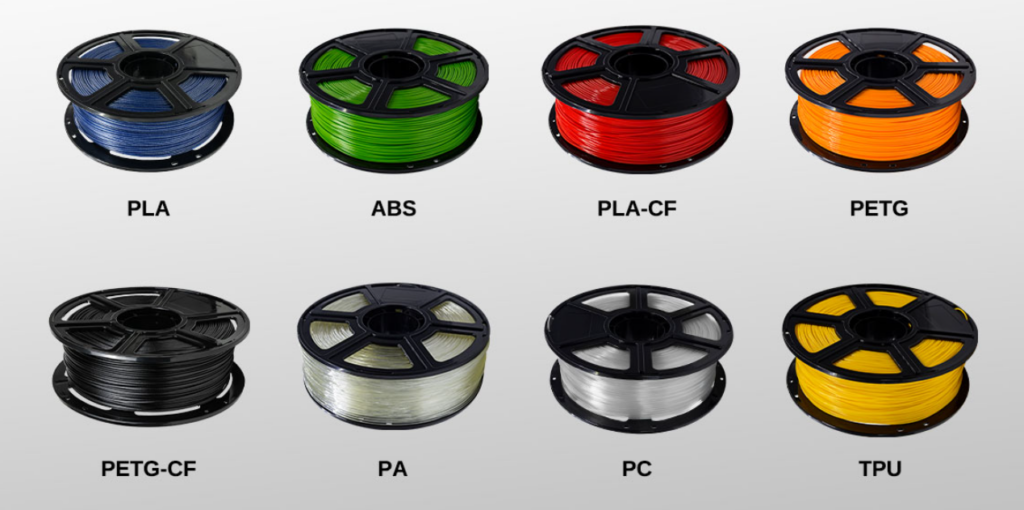
The Voxelab Aquila S2 is an FDM filament printer that will print with PLA filament as well as PETG, PETG-CF, TPU, and ABS filaments and more. FDM is an additive process, making these some of the most versatile and easy-to-use 3D printers, especially compared to resin printers , which are amazing , but are more difficult to use and can be quite messy.
The build volume is a generous 8.7 x 8.7 x 9.4 inches (220mm x 220mm x 240mm), quite similar to the print volume of the Creality Ender 3 V2. Earlier models came with glass beds coated in Carborundum, which is also similar to the Ender. Ours came with a magnetic print bed, which we loved.
We’ll discuss the magnetic bed more below, but suffice it to say, it’s one of the best features of this printer or any printer.
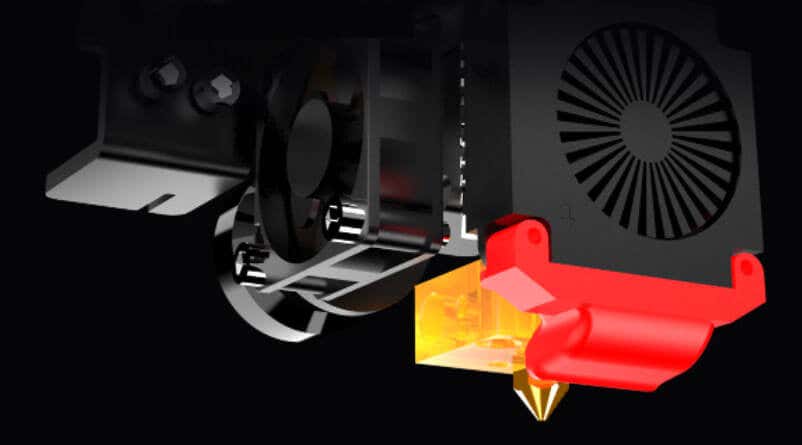
The Aquila is very quiet. The fan is the loudest part. Additionally, it has a hot end with an unusually high temperature for an entry-level printer—up to 300 degrees Celsius, allowing you to use all common filament types.
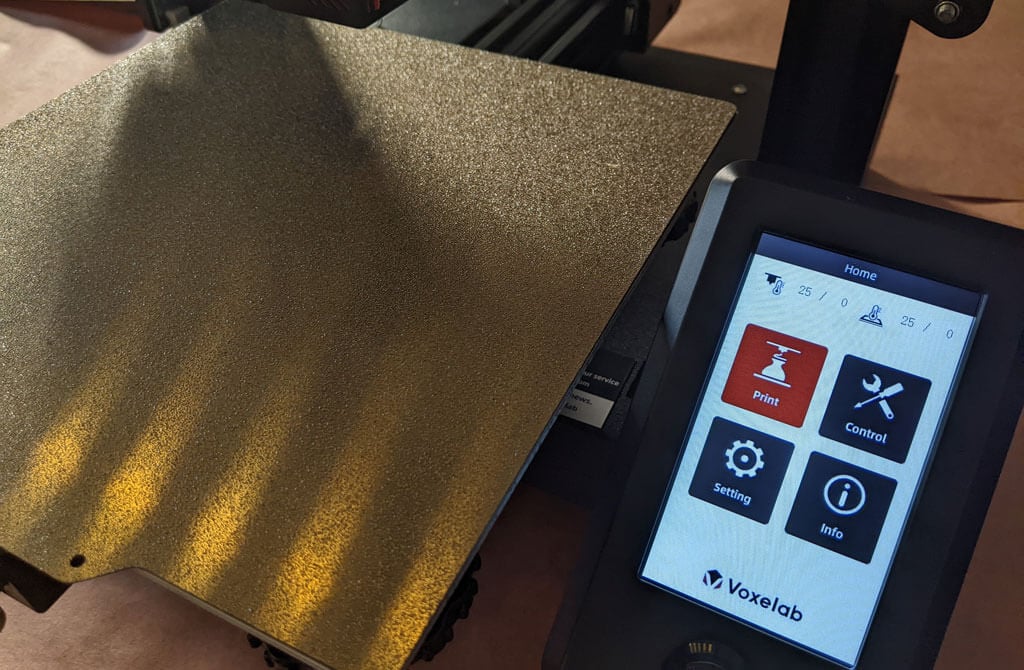
It has a fantastic LED display, quite like the display on the AnyCubic Vyper. It’s big. It’s clear and colorful. Despite the fact that it’s not a touch-screen, it’s intuitive to use. It has a rotary knob control that you push to make a selection.
A few other observations about the Aquila’s features:
- If you have frequent power outages in your area, you’ll be happy to know that the Aquila can resume printing after a power interruption.
- The Aquila runs a fork of Marlin, probably the most popular open-source 3D printing firmware available.
- You can load files to print via the MicroSD card reader or you can use a serial interface like Pronterface.
- Since most models of the Aquila include the N32 chip, that means you could run OctoPrint and all of the great OctoPrint plug-ins on this printer.
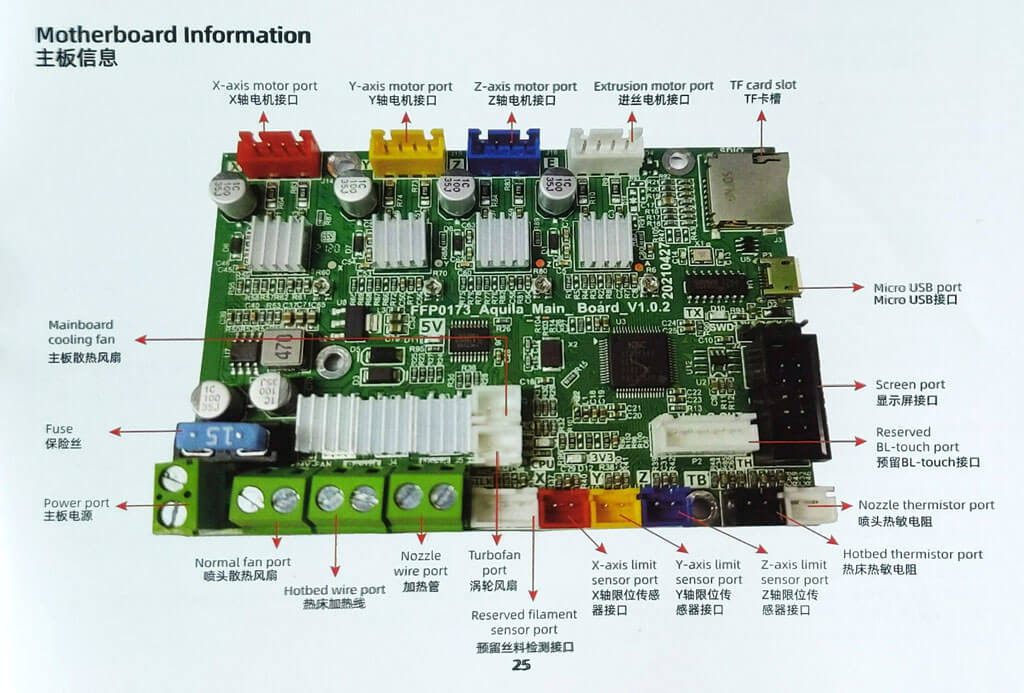
The user manual includes a full schematic of the motherboard, which will come in handy when you inevitably mod your printer.
Assembling the Voxelab Aquila S2 3D Printer
If you have any experience with 3D printing, you know to expect a certain amount of frustration when assembling your new printer.
There are a lot of typos and confusing language in the manual. We muddled through, and everything turned out fine.
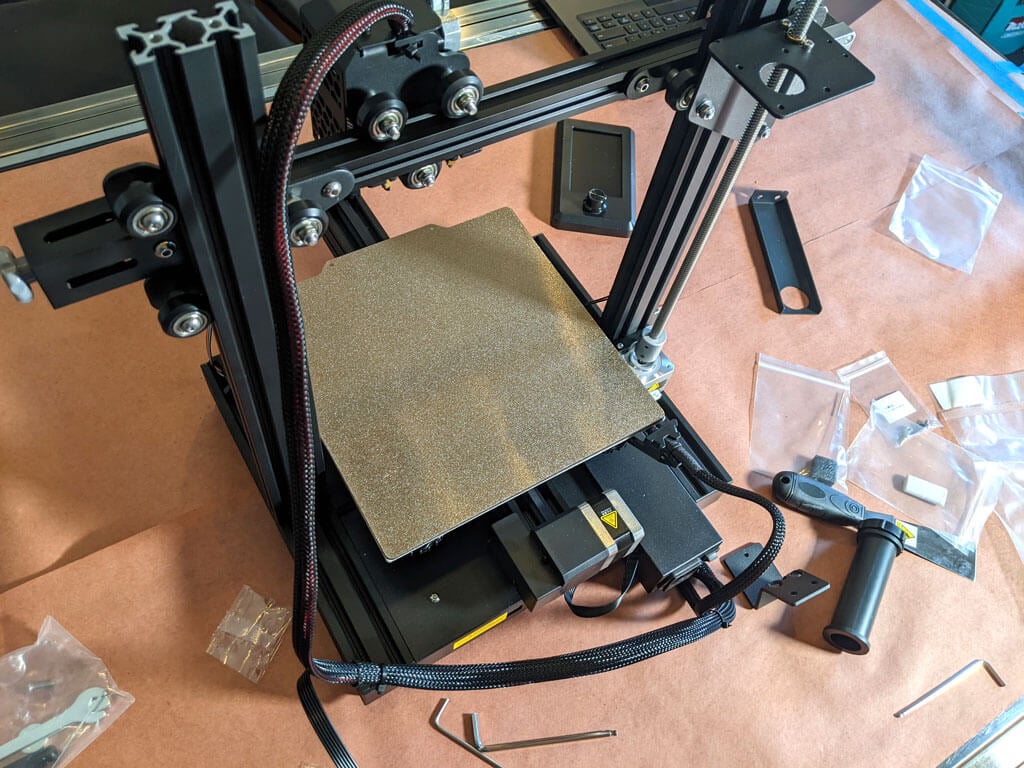
Beginners will find this printer is easier to build with two people. Also, 3D printers need maintenance. Putting it together yourself will give you the confidence you need to do that maintenance. The included tools are all good quality. You’ll want to keep the particularly good Allen wrenches.
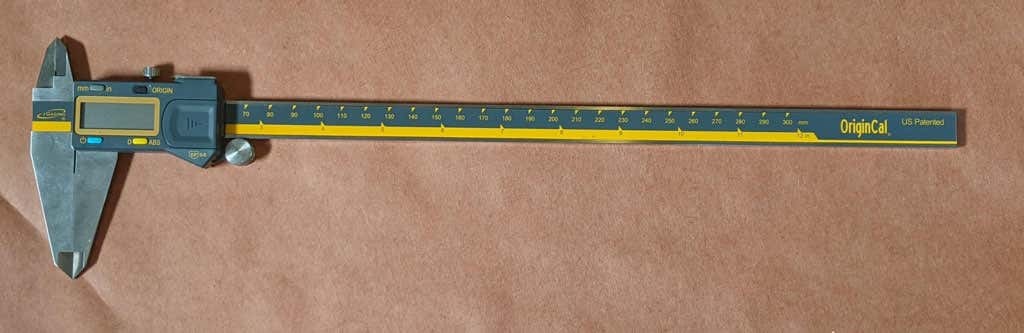
The bolts weren’t labeled, so you might want to use a pair of calipers to figure out which ones are which. It’s not difficult to figure that out, but it would have been nice if they had been labeled.
A beginner might get stuck trying to put this printer together using only the included user manual. It took about an hour to build the printer. They do have a YouTube video that will straighten out any confusion.
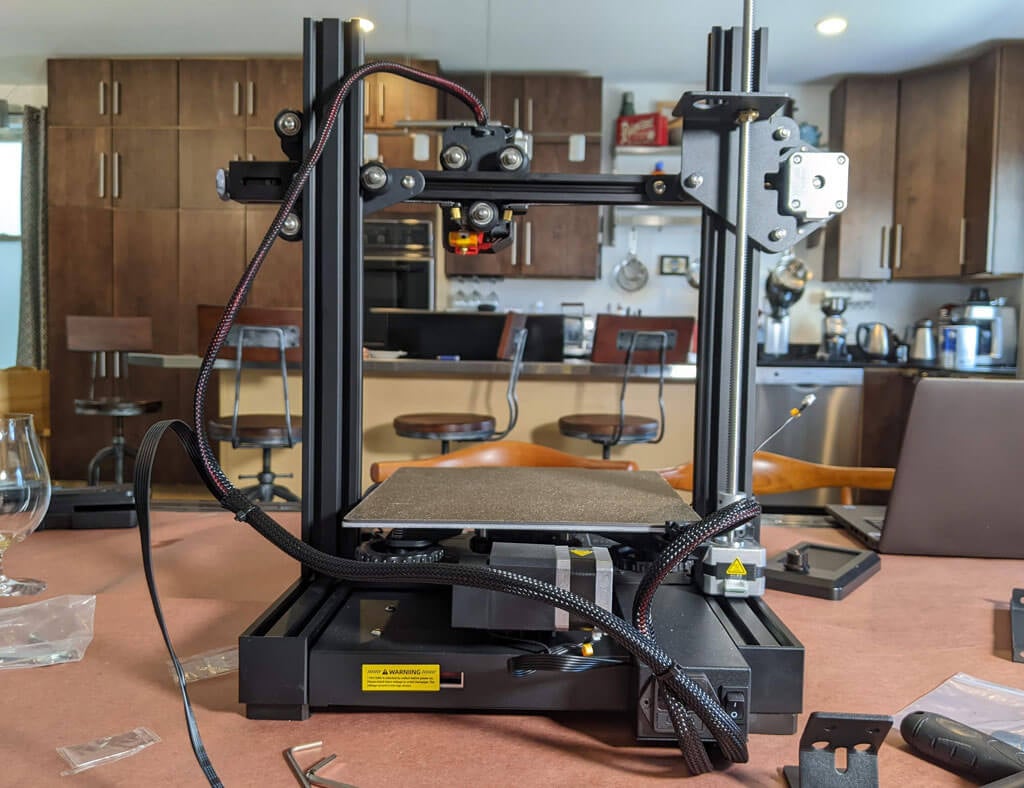
Build Quality of the Voxelab Aquila S2
This is a very well put together entry-level printer. It has a direct-drive extruder. It has aluminum extrusions for the x, y, and z axes. The only thing that makes this an entry-level printer vs. a high-end printer is the lack of auto-bed-leveling and the fact that it only has one z-axis screw.
The removable, magnetic PEI bed is something we’d never go without. It’ll save you a lot of grief, time, and scratches.
The belt-tensioners are a great feature that are often lacking in other printers—even some much more expensive printers. Belts need occasional tightening, and it’s nice to be able to do that without disassembling your printer.
The Aquila comes with a spool holder, but that’s the first thing you’ll want to replace and move. You’ll want to take the weight off the top of the printer. It’s a right of passage to print your own spool holder, and one is even included in the sample files that come on the SD card.
Calibration
All printers with manual bed-leveling have a learning curve because the threads are upside-down, so it’s easy to get confused. You could add your own auto-bed-leveling kit to it. That would be a nice project once you get the basics of 3D printing down. To be fair, leveling the bed manually only took about five minutes. If this is your first 3D printer, it might take you a little longer.
Once your bed is level, and you’ve successfully printed the test print, you’ll want to print your own models. Voxelab has a profile you can import into Cura, a free, open-source slicer that can convert STL 3D model files and other formats into instructions your printer understands (gcode). You can use any slicer you want; however, VoxelMaker slicing software is included on the SD card that comes with the printer.
First Print
We recommend starting with the included test model because it’s already calibrated for the printer. It’s on the MicroSD card, and you can access it via the LCD panel. There were no adhesion problems while it was printing, and the print popped off the build plate on its own as it cooled—exactly what you want.
The print speed of the sample file is clearly slower than the printer is capable of, which makes sense for a test print. We did not experience any stringing, and we found the print quality to be impressive given the cost of the printer.
We started printing at a .2mm layer height. The minimum layer thickness is .1mm. If you want higher resolution than that, you may want to consider a resin printer.
Cut to the Chase
This printer is very similar to the Ender 3, and:
- It’s cheaper.
- It has a removable magnetic bed.
- The LCD screen is better.
We recommend the Voxelab Aquila S2 for users who want to save some money and still get some of the features of pricier, high-end printers. We wish it had auto-bed-leveling, but at this price point, we have to say the Aquila S2 exceeded our expectations.
*Special thanks to FormerLurker for help in reviewing the Voxelab Aquila S2 3D printer from Flashforge.
- Tribit StormBox 2: The Under $70 Portable Speaker that Stands Out
- ENGWE L20 2.0 Review: The Best Budget-Friendly Foldable E-Bike?
- TopDon TC004 – a Thermal Imaging Camera That Will Give You Predator Vision
- Newyes Portable Wireless Thermal A4 Printer Review
- Eskute Star Folding Fat Tire Electric Bike Review
