The Mac’s Terminal is incredibly powerful. Not only does it let things get done faster without the GUI (graphical user interface) slowing you down, but it also allows you to perform tasks that you can’t complete any other way. However, you don’t have to be a Terminal expert—or even like using command-line interpreters—to take advantage of it.
Whether you’re totally new to the Terminal or just warming up to it, the list of 10 Mac Terminal commands below should help you improve the experience with your Mac. You can execute them in a matter of seconds.

Even if you know your way around the Terminal, you may still run into the odd command that fell under your radar all along. So do keep reading.
1. Keep Your Mac Awake
Remember the last time your Mac went to sleep and ended up pausing or canceling that download—or whatever else—it was performing? If you hate modifying the sleep settings each time you want to stop that, simply fire up Terminal and run the Mac Terminal command below:
caffeinate
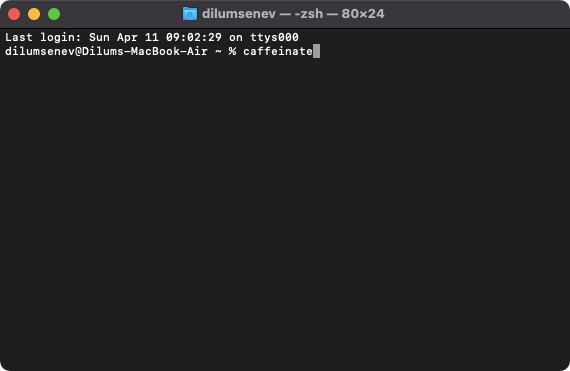
Your Mac won’t go to sleep as long as the Terminal window remains open. You can also prevent the Mac from falling asleep for a specific amount of time only by adding the -t
2. Change Screenshot Format
By default, your Mac saves your screenshots in PNG format. But you can change that to the much more lightweight JPG format with the command below:
defaults write com.apple.screencapture type JPG
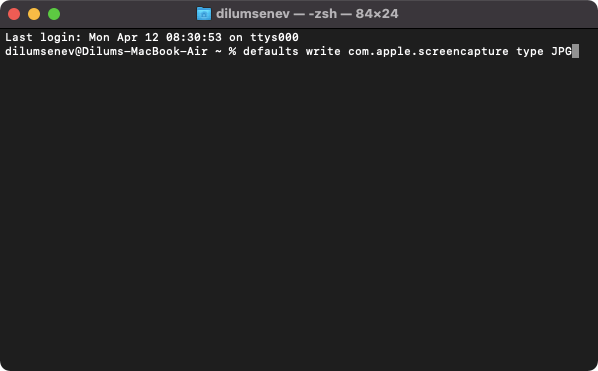
Additionally, you can use the same command to switch to alternative formats such as TIFF, BMP, and PSD. Just replace JPG (toward the end) with the image extension you want.
3. Ping Websites and Devices
If you have issues connecting to a website, you can try pinging it. Simply type the following command but replace
ping
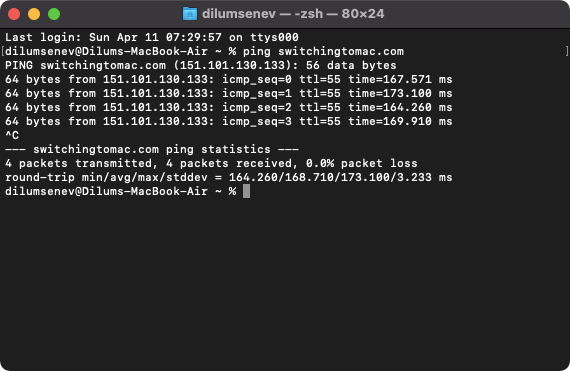
Your Mac should send packets of data repeatedly and display the response times in milliseconds. Press Control + C to stop the command.
To run the command with a set number of data packets, use the -c
4. Flush DNS Cache
Your Mac’s DNS (Domain Name System) cache consists of “resolved” domain names in IP address form. If the DNS cache gets outdated or corrupt, you may run into issues accessing or loading websites.
To clear the DNS cache on Mac, run the following command in Terminal:
sudo dscacheutil -flushcache;sudo killall -HUP mDNSResponder
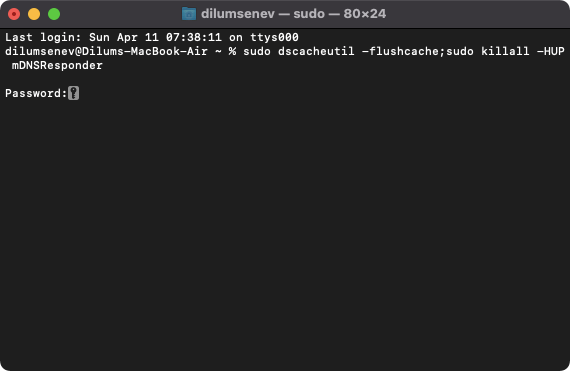
You must follow this by entering the password of your Mac user account to authorize the command.
If deleting the DNS cache doesn’t help, you must try clearing the Safari, Chrome, or Firefox browser cache.
5. Show Full File Path in Finder
When you dig deep into Finder, you can get a bead on your location with the Path Bar. You can activate it by selecting View > Show Path Bar .
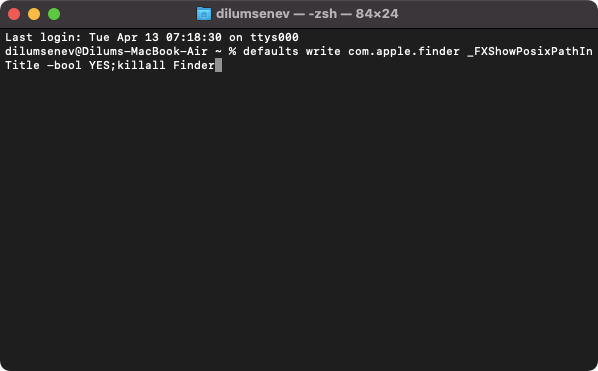
But you can also use the following command to reveal a traditional file path on Finder’s title bar. To do that, just run the command below:
defaults write com.apple.finder _FXShowPosixPathInTitle -bool YES;killall Finder
If you want to disable the full file path in Finder at a later time, use the following command:
defaults write com.apple.finder _FXShowPosixPathInTitle -bool NO;killall Finder
Here are other ways to reveal the path of a file on macOS .
6. Download Files
Did you know that you could download files directly via the Terminal itself? If you have trouble performing a download with your web browser, type the command below into Terminal, replacing
curl -O
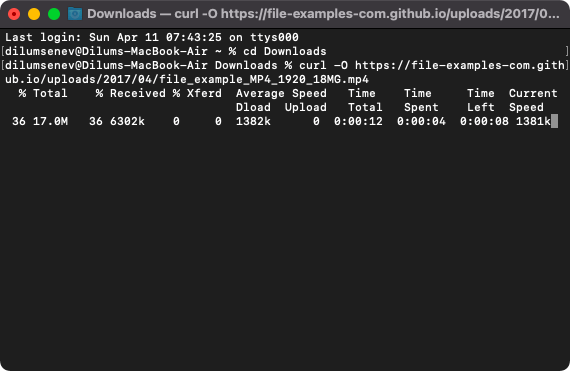
The file should begin downloading right away, along with information such as download speed and data received.
By default, the command downloads files to the root of your Mac user account. You can change that beforehand (to the Mac’s Downloads directory, for example) with the Change Directory— cd —command
cd ~/Downloads/
7. Compress and Password-Protect Folders
When compressing a sensitive folder, you should apply password protection to prevent others from accessing its contents without permission. For that, you need Terminal.
Start by changing the Terminal directory to the folder that contains the folder you want to compress. For example, if it’s located on the desktop, type the following:
cd ~/Desktop/
Then, follow up with the command below:
zip -er
Replace
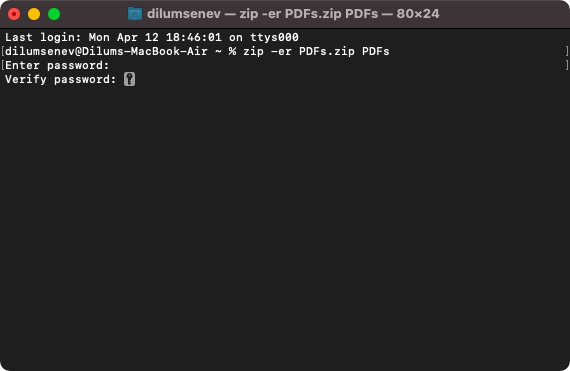
For example, if you want to compress a folder labeled PDFs and label the resulting ZIP file with the same name, type zip -er PDFs.zip PDFs . Then, enter and verify the password you want to add to the ZIP file.
8. Create Symbolic Links
Symbolic links are folder shortcuts that point to different locations on the Mac. They are convenient and allow you to do all sorts of things. For example, you can change the default backup destination for iPhone backups or sync folders to iCloud without shifting things around. The Mac Terminal command to create a symlink is as follows:
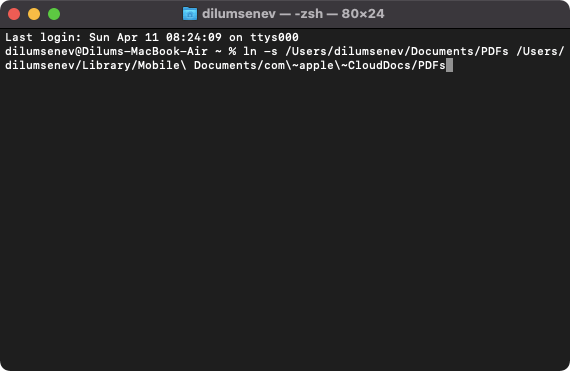
ln -s </path/to/original> </path/to/link>
Replace </path/to/original> with the target directory, and </path/to/link> with the location that should contain the symlink.
The screenshot below displays a command instructing Terminal to create a symlink in iCloud Drive pointing to a folder labeled PDFs within Mac’s Documents folder.
Here’s an in-depth explainer of how symbolic links work on the Mac .
9. Schedule Shutdown or Restart
You can schedule your Mac to shut down after a specified amount of time. Type the following command, replacing
$ sudo shutdown -h
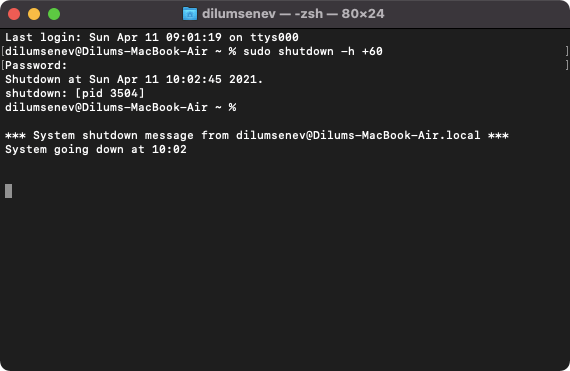
Alternatively, you can prompt your Mac to restart by replacing -h with the -r argument—e.g., $ sudo shutdown -r 60 .
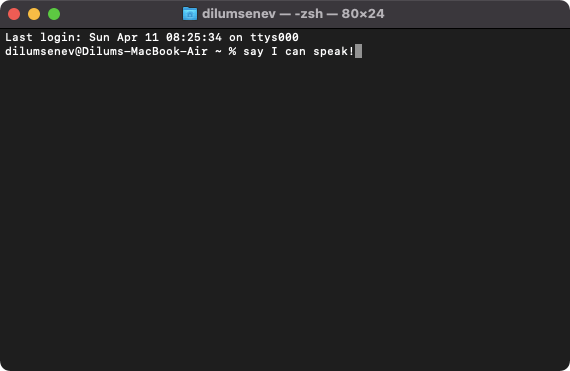
10. Talking Mac
This is a fun command:
say
Replace
You can also make the Mac speak in different voices. A couple of examples include:
say -v fred
say -v samantha
Tip: Type say -v ? and press Enter to reveal additional voices.
15 Additional Terminal Commands for Mac
Can’t get enough of the Terminal? Here are 15 additional commands that you should know.
Terminal Whiz
- How to Connect Xbox Controllers to Your Mac
- How to Chromecast From Mac to Your TV
- How to Install and Run Linux on Mac
- How to Turn Off or Delete Siri Suggestions (iPhone and Mac)
- How to Take Pictures on Mac
