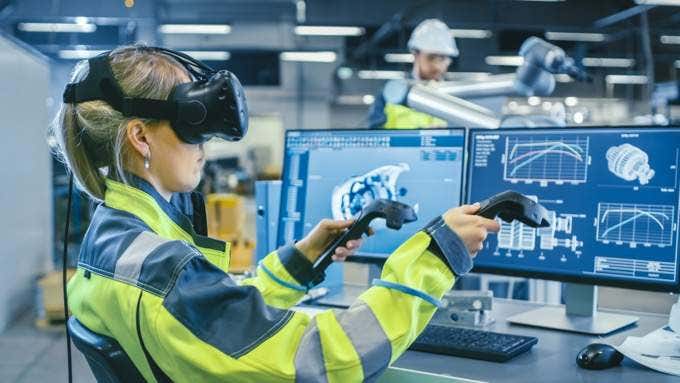
Virtual reality is cropping up in the technology world’s conversations more and more these days. While a lot of attention goes to the fancy VR gaming scene or VR experiences, there’s actually a pretty good case to be made for VR as a productivity tool. The best example of this is a VR desktop application.
We set out to answer the question “can you actually work with a VR desktop?” using two popular apps. The short answer is “yes”, but there are some serious tradeoffs involved.
What Is A VR Desktop?
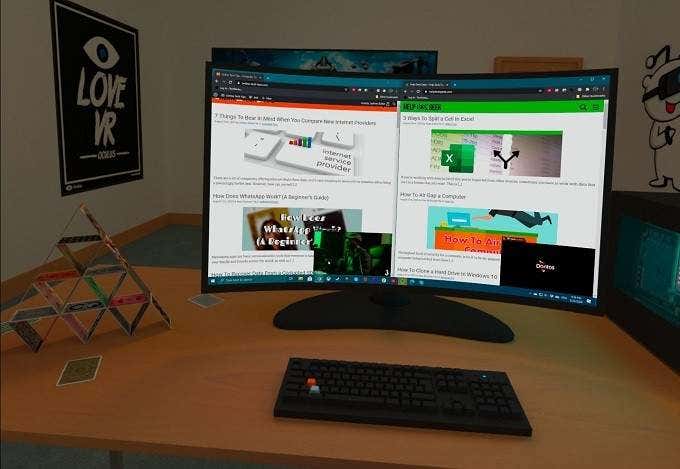
Before going any further. Let’s clear up exactly what a “VR desktop” is. Essentially, it’s a virtual environment that offers a projection of your own computer’s screen.
In other words, you’ll see a virtual screen displaying exactly the same information you would see on your physical screen. But instead of it being on your desk in a room or office somewhere, it’s in a virtual space.
What Do I Need To Run A VR Desktop?
You might have heard that to use virtual reality with your computer it has to have massive specifications. This is true when it comes to high-end VR video games that need mid-range or better gaming-grade components. When it comes to a VR desktop application however that’s not true at all.
The exact minimum specifications will vary from application to application, but if you have a recent quad-core laptop with an Iris Plus or similar GPU, it will probably work just fine. In our case we are using an Oculus Quest for virtual desktop duty. So the system requirements of the computer itself aren’t that important.
The VR environment is rendered by the Quest’s internal GPU, not the computer. If you’d like to know more, check out our Oculus Quest Review article . Another nice advantage of using virtual desktop apps on a Quest is the wireless transmission feature. Although your network hardware needs to be up to it.
So, to summarize, you need three things to run a VR desktop:
- A desktop computer that meets the minimum specifications
- A VR desktop application
- A VR headset that’s compatible with the app in question
So now you know what these apps are and what you need to use one, but why would you want to? Let’s look at the advantages a VR desktop brings to the table.
What Are The Advantages Of Using A VR Desktop?
There are a few main advantages to using a virtual desktop solution. The first is that you can have as much space as you like with monitor configurations that would be impractical in real life. Most people can’t afford or accommodate a six-monitor setup, but in a VR desktop program that supports the feature you can.
The second big advantage is that you can create an environment where you can work in a focused way without being distracted. Combine your VR headset with a good pair of noise cancelling headphones and you’ll be working in total tranquility.

Another big draw of this VR desktop setup is its portability. If you’re someone who travels and often has to sit and work in hotel rooms or other spaces where you can only use a laptop, it’s not that hard to bring your VR headset along and have as large a screen setup as you need in VR. Not to mention that you can use it as your own personal cinema or big-screen video game setup!
If you use a standing-desk setup, a virtual desktop is ideal. Since you can position the virtual monitors however you like in terms of ergonomics.

Finally, it’s a fantastic privacy measure. If you switch off your monitor, then only you can see what’s currently on-screen. That’s a feature plenty of people will like.
There are surely more reasons to go the VR desktop route than this, but we think these are the three primary use cases. Now that we’ve covered the theoretical stuff, let’s look at two of the best virtual desktop applications you can get today.
Virtual Desktop(Oculus Rift – $13.99 & Oculus Quest – $20)
This is probably the best known virtual desktop app and it certainly got first dibs on the name that describes the genre! This app is only available as paid software, but it’s been around for a few years and the developers have ploughed that money back into making the program polished and stable.
Virtual Desktop on the Quest works wirelessly. We had our Windows computer connected to the router via Ethernet and the headset connected via 5Ghz wireless AC . Whether working or playing video games, we experience no lag whatsoever. The screen was perfectly clear, apart from the “chicken wire” pixel grid effect that most VR headsets have at the moment. Which is no fault of these apps at all.
Virtual desktop is very streamlined, it’s easy to move and resize screens. Virtual Desktop supports multiple physical monitors, but as far as we can tell it does not support spawning virtual monitors that you don’t actually have in the physical world.
The program is incredibly stable and polished. It was dead simple to use and it has decent integration of the Oculus Quest’s new hand-tracking feature. Which for the most part means you don’t need to use the touch controllers.
Apart from the lack of virtual monitors (and a lack of environment variety) the main drawback is that there’s no free version of the app. Nonetheless, it’s worth every penny for anyone looking for a polished, reliable personal VR work environment. It’s worth noting however that the MacOS version of the app is still in development, so this is a Windows-only option for now.
Immersed VR(Oculus Quest – Free/14.99/$29.99)
Immersed VR is a newer entrant to the virtual desktop world, but it’s already making some waves. The good news is that there is a “Free Forever” tier to this Oculus Quest and Oculus Go application. The company plans to extend to other platforms in the future.
Immersed supports one virtual monitor on the free plan and up to five on the paid monthly tier. It also offers more varied environments. You get public (free tier) and private (paid tier) collaboration in the virtual space with others. There’s a neat virtual webcam and advanced features such as hand tracking are coming. Best of all, this works on Windows, Mac and Linux!
While Immersed doesn’t feel quite as polished as Virtual Desktop, this is one to watch and since it’s free, one to try!
Can You Actually Work In VR?
We spent many hours in VR doing the normal everyday things we would do using a monitor. While there was an adjustment period, it soon became pretty natural to work in the VR space instead of the real world. The virtual monitors rendered by the Quest looked pretty good, though not as sharp as they would in real life. This is however made up for by their large apparent size and, in the case of Immersed, the ability to spawn multiple virtual monitors.
Writers who have to look at the keyboard to type will of course struggle, but if you can work your keyboard and mouse without needing to see them and have a headset that’s comfortable enough, a virtual desktop can be an amazing place to work!
- WhatGeek x 3inuS Kebohub EE01 Mechanical Keyboard Review
- Mobile Pixels Duex Max Portable Monitor Review
- Trifo Lucy: The AI Robot Vacuum and Mop
- Review of Anycubic Kobra Max 3D Printer
- The OBSBOT Tiny 4K: an Impressive Webcam for PC & Mac
Sydney Butler is a social scientist and technology fanatic who tries to understand how people and technology coexist. He has two decades of experience as a freelance computer technician and more than a decade as a technologies researcher and instructor. Sydney has been a professional technology writer for more than five years and covers topics such as VR, Gaming, Cyber security and Transhumanism. Read Sydney’s Full Bio
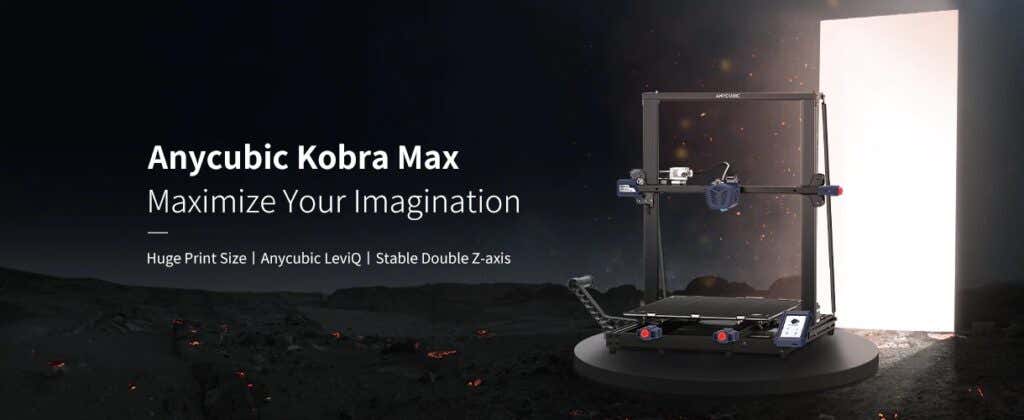
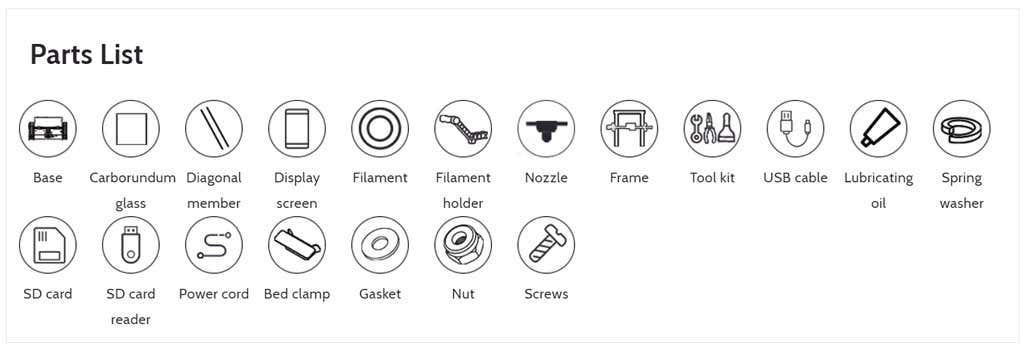
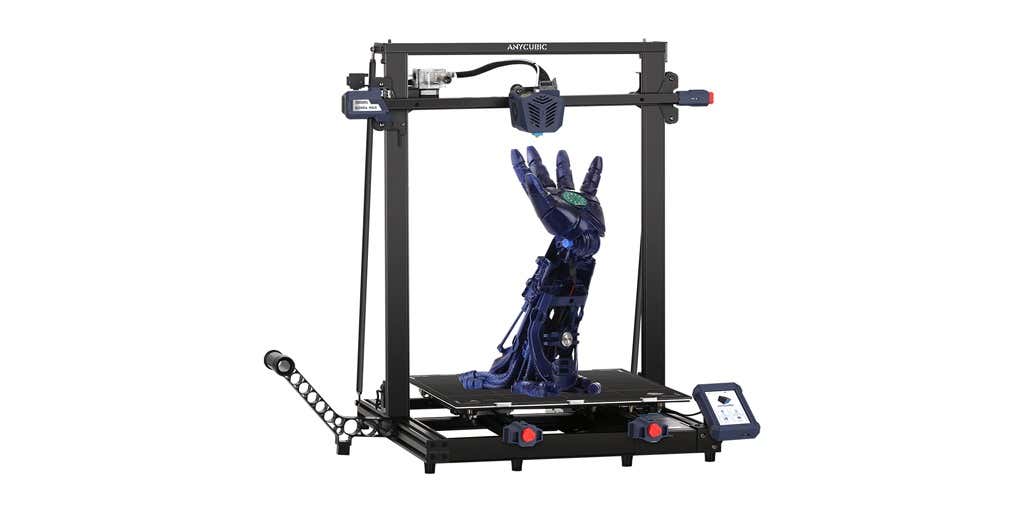
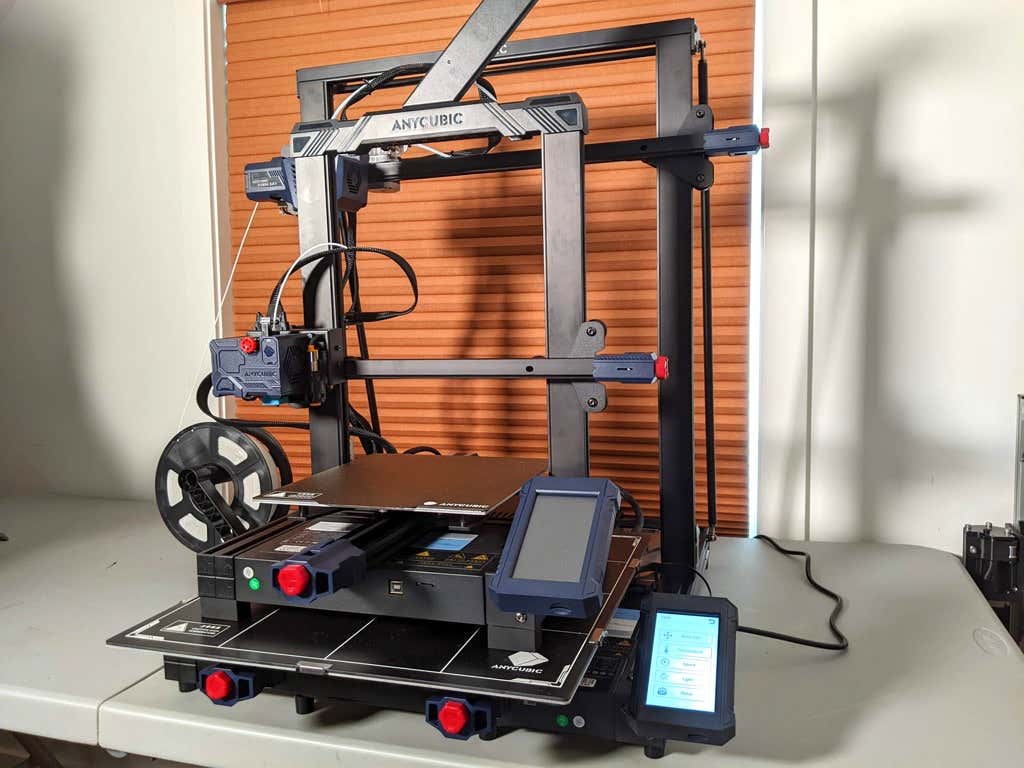
3D printer manufacturer, Anycubic, recently released two new printers—the Anycubic Kobra and its bigger, badder uncle, the Anycubic Kobra Max. We were interested in testing both products in our hunt for the best entry-level 3D printers. We’re looking for ease-of-use and affordability, as well as build and print quality.
We’ve published a number of 3D printer reviews from Anycubic—for both FDM printers like the Anycubic Vyper that print with spools of filament and SLA resin 3D printers like the Anycubic Photon Mono X 6K that use a liquid resin as its raw material—and we can say that the Kobra Max has quickly become one of our favorites.
Features of the Anycubic Kobra Max 3D Printer
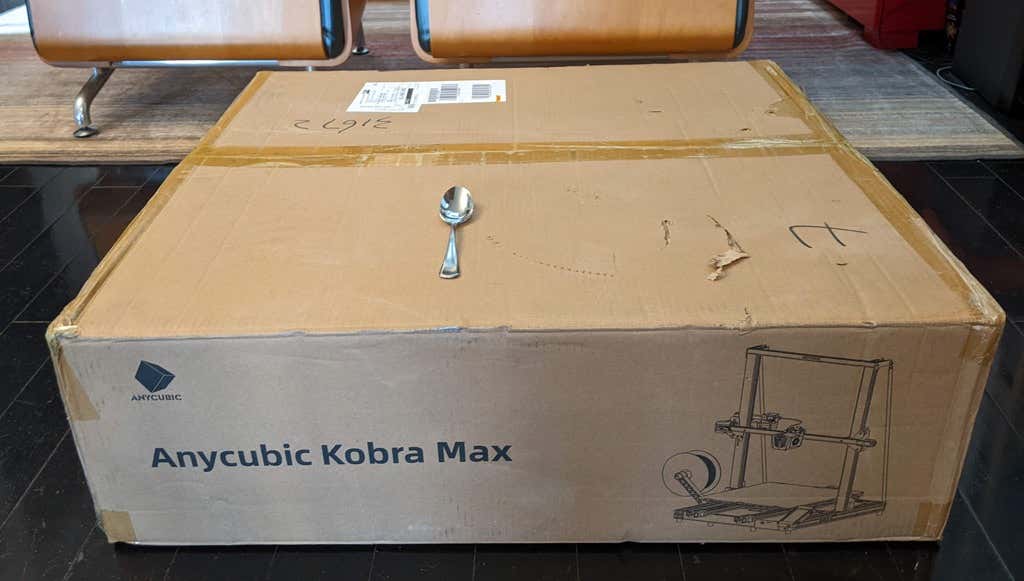
The most obvious feature of this printer is its size. It is absolutely massive. That means you can print huge items in a single piece. Think of a full helmet or an entire ukulele—these are things you couldn’t print in one piece on a normal-sized 3D printer. Truly, the word “Max” doesn’t sufficiently capture just how big this printer is. Good luck fitting the packaging into your trash or recycling bins!
We were skeptical that a Cartesian printer of this size (which relies on a moveable print bed) would perform well since it has a lot of weight to move around. Admittedly, it’s not the speediest printer out there because of those design tradeoffs, but it works great.
The Kobra Max has an impressive list of technical specifications:
- Leveling: Automatic, 25 points leveling using the Anycubic Leviq technology
- Panel area: 7.95 in² / 51.3 cm²
- Filament run-out detection: support
- Printing material: PLA / ABS / PETG & TPU
- Nozzle size: ø 0.4 mm (replaceable)
- Nozzle temperature: ≤ 500 °F / 260 °C
- Hot bed temperature: ≤ 194 °F / 90 °C
- Average speed: 3.1 – 3.9 in./s (80mm/s – 100m/s)
- Control panel: 4.3 inch LCD touch screen
- Z-axis: double threaded rod
- Print size: 17.7 x 15.7 x 15.7 in. / 45 x 40 x 40 cm (HWD)
- Build volume: 19.02 gal. / 72.0 L
- Machine dimensions: 72 x 71.5 x 66.5cm
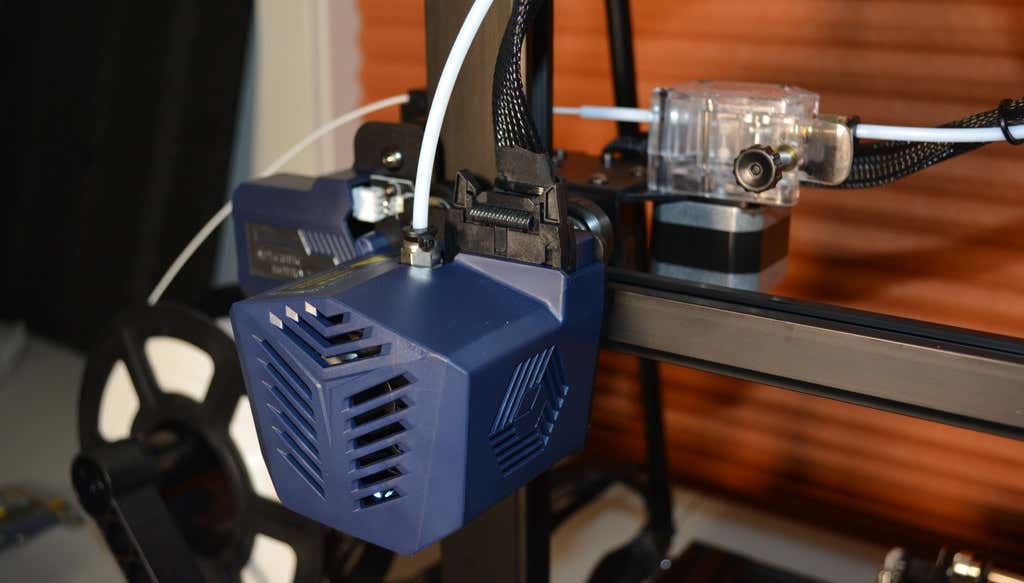
As far as we can tell, the extruder is identical to the extruder and print head on the Anycubic Vyper. Furthermore, the Kobra Max has the same automatic bed-leveling system as the Vyper. The system uses a pressure sensor instead of an inductive sensor.
The bed-leveling sensor is right on the nozzle itself, ensuring that it can probe every printable part of the bed. And since the sensor is pressure-based, you could replace the glass bed with any other material and the bed-leveling system will still work. (Inductive sensors require metal to work, so you won’t find them on printers with glass beds.)
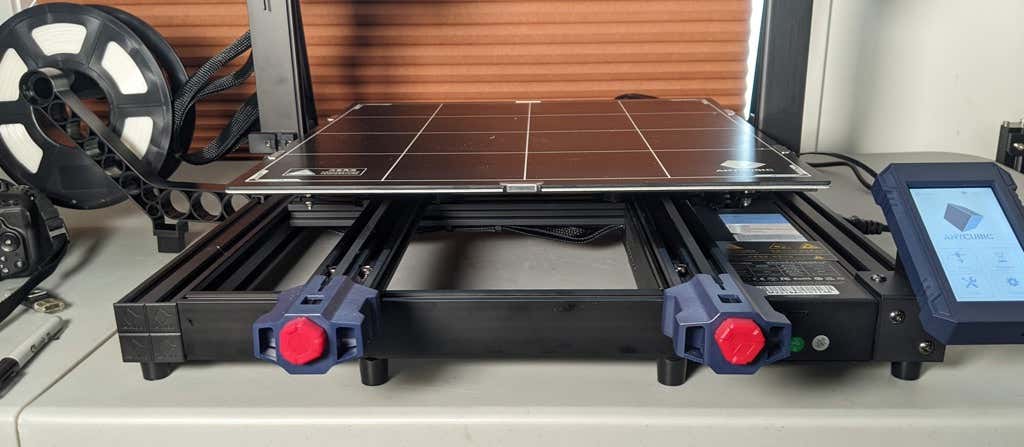
Since the Kobra Max’s printing platform is a rigid glass sheet, you can’t remove and flex it to pop your prints off. We prefer removable spring steel build plates, but glass is still a nice printing surface. If your printer doesn’t have a removable bed, glass is ideal because you can use metal scrapers to remove your prints without worrying about scratching the surface.
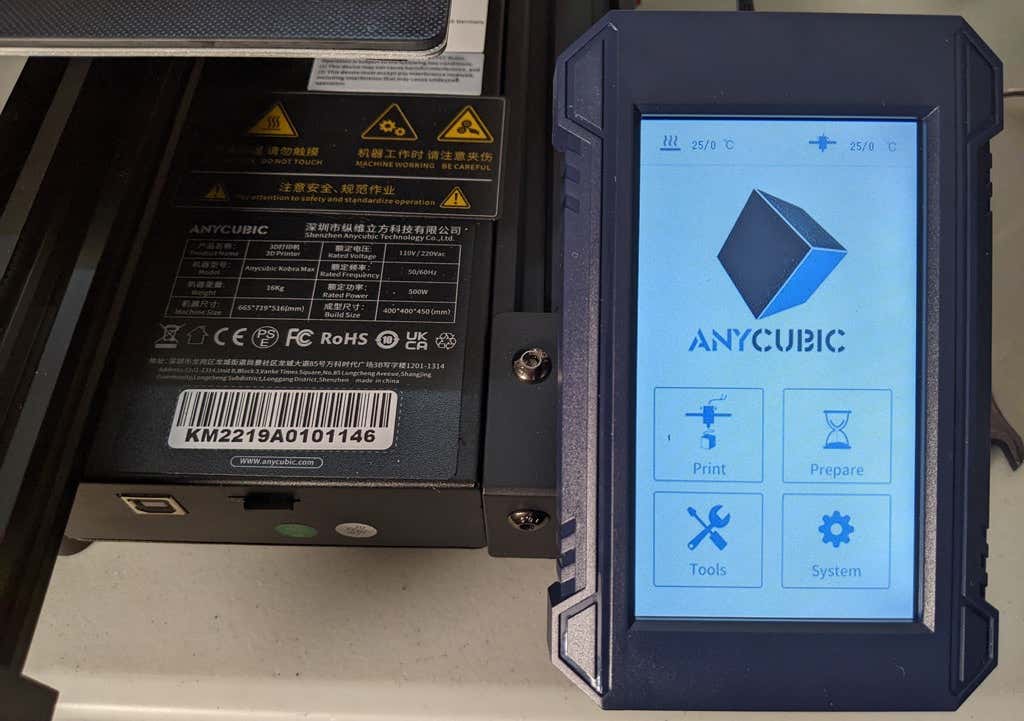
The LCD touchscreen is identical to the screens used on many other Anycubic printers. As usual, it’s responsive and easy to use.
A note about filament types: the Kobra Max will print with PLA, PETG, TPU, and ABS. However, if you really want to print with ABS and get the best possible results, the printer should be inside an enclosure. Given its size, it may be challenging to build a suitable enclosure for the Kobra Max.
Assembling the Kobra Max 3D Printer
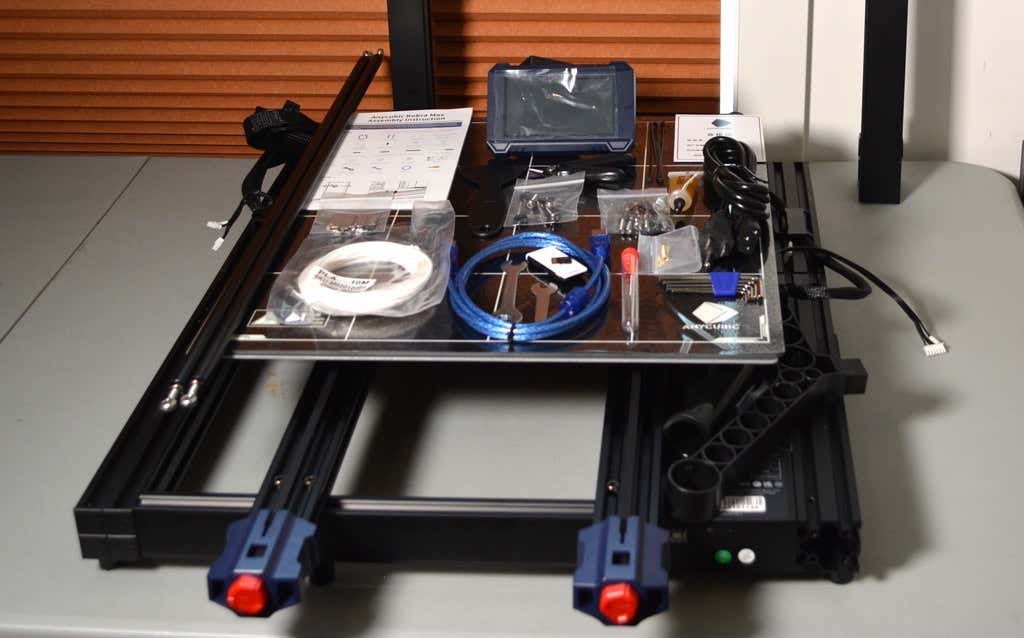
When assembling the new Kobra Max, make sure you have sufficient working space. Since the bed moves forward and backward, you need more space than you’d think. We put it on a 30” folding table, and when it’s printing, it needs about 36 inches, front to back.
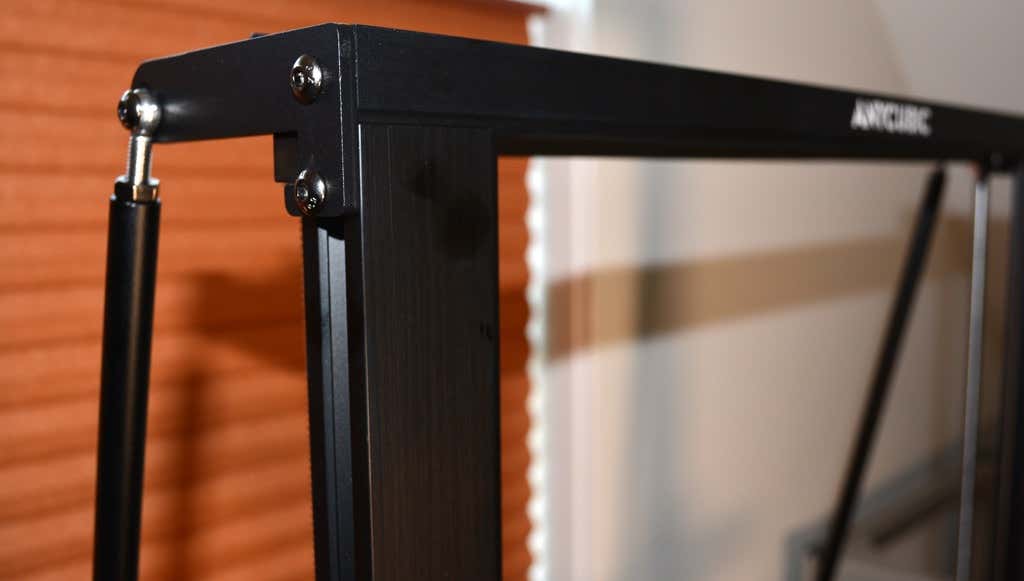
Assembly of the Kobra Max is no more difficult than assembling the Kobra or Vyper. The only additional items are the diagonal braces which add stiffness to the frame, reducing mechanical vibration.
It took two people about 15 minutes to assemble. Double-check that you’ve cut all the zip ties used to stabilize the printer during shipping. There are a lot of them.
Calibration
The auto-bed-leveling system is easy to use. Anycubic recommends that you check the x- and the y-axes to make sure they don’t wobble. If they do, you can adjust the eccentric nuts until the wobbling stops. There was no wobble on our printer, so we didn’t have to do anything.
Additionally, the x- and y-axes have belt tensioners. We needed to slightly tighten the x-axis on ours. The tensioners are easy to use and are features a lot of other printers lack. Who wants to take apart the extruder assembly just to tighten the belts? Not us, and probably not you.
Build Quality of the Kobra Max
Due to the addition of the diagonal braces, the frame is really stiff. The dual z-axis screws are an improvement over the smaller Kobra. They virtually eliminated sagging of the x-axis assembly.
The spool holder sits on the base of the printer, reducing wobbling when printing tall items. It’s better than having the spool on the top like on the Kobra.
This printer is built with aluminum extrusions with aesthetically-pleasing plastic covers for the hotend and the tenionsers. It’s got an optical z endstop. The x and y endstops are mechanical. The whole thing feels solid.
First Print
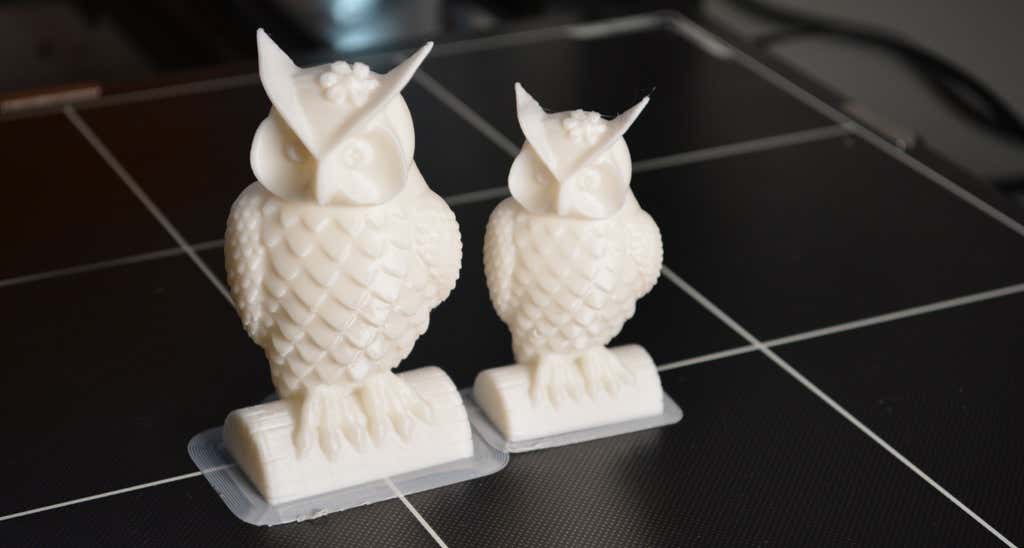
For the first print, we used the test file provided by Anycubic. Appropriately, the owl is about twice the print volume of the owl test print that comes with the smaller Kobra. Given the bowden setup (which makes sense for a printer this size), we were surprised that the ears on the owl turned out so well.
The ears look better than they did on the owl printed on the Kobra which has a direct drive extruder system. We suspect that’s due to the slower print speed. Many times, retractions on bowden extruders will create artifacts, but we didn’t notice any blobs or stringing. It approaches the quality you’d expect from a direct-drive.
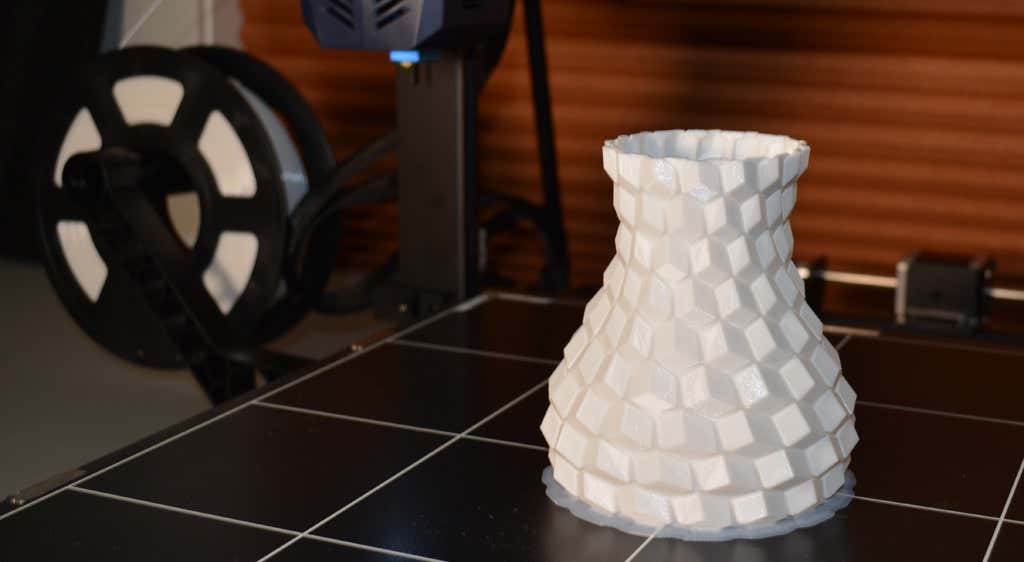
Next, we printed a vase with a large, flat base with a 0.2mm layer height. Removing prints from the glass bed is certainly not as easy as removing prints from smaller, flexible beds, but it’s not a deal-breaker either. We didn’t have any adhesion problems. The prints didn’t release when the glass bed cooled, which is what we expected and hoped for.
Curious what the power requirements would be for a printer this size, we were worried we wouldn’t be able to run multiple printers on the same circuit. We measured the power usage while the Kobra Max was printing, and, as expected, power usage is highest while the printer is warming up. Ours topped out at 473 watts. While printing, it was a more manageable 200-300 watts. We thought it would be more than that. You could probably run three of these printers on a 20 amp circuit.
Cut to the Chase
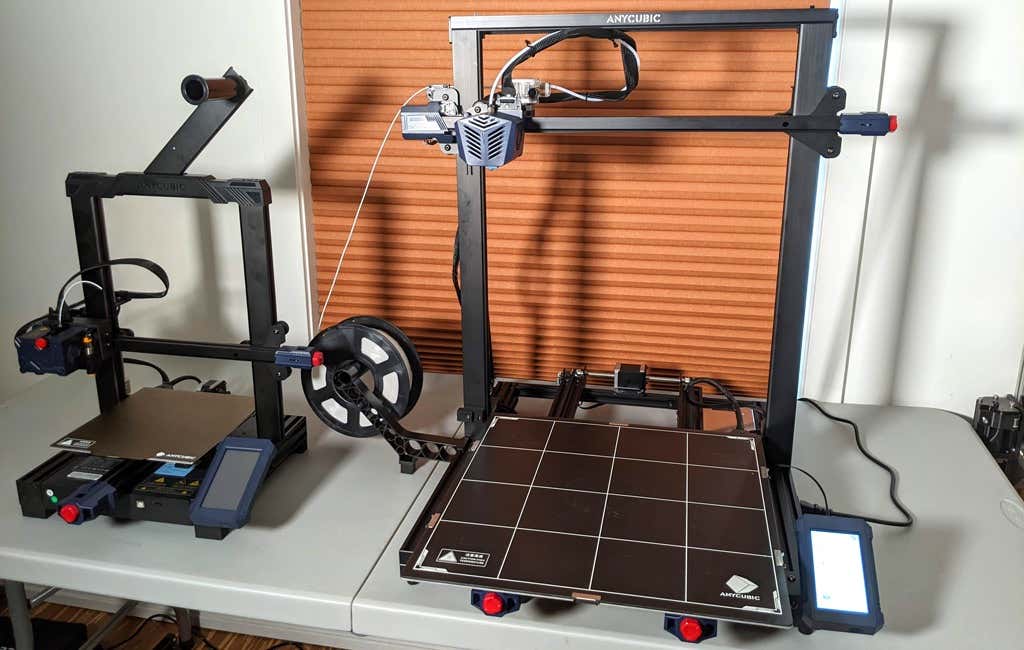
To drive home just how big the Kobra Max is, we put the Kobra on the bed of the Kobra Max. Insane. (We do not recommend you try this.)
A small printer is limiting, so if you find yourself printing large objects in small pieces and assembling them, consider buying a Kobra Max. If you’re new to 3D printing, keep in mind that it takes a long time to print big objects—potentially days and days. Typically, we’d recommend a smaller printer to beginners, but at the price point of $569.00 if you purchase on the Anycubic site, it’s worth considering as an entry-level printer.
One downside is that smaller prints will take a little longer than they would on a smaller, faster printer. That’s just physics. Bigger printers have more inertia to overcome and take longer to move. For example, the print time for our vase was thirteen hours. On our Prusa MK 2.5 with similar settings, it would have taken about twelve hours—not a huge difference.
*Special thanks to FormerLurker for help in reviewing AnyCubic’s Kobra Max 3D printer.
- WhatGeek x 3inuS Kebohub EE01 Mechanical Keyboard Review
- Mobile Pixels Duex Max Portable Monitor Review
- Trifo Lucy: The AI Robot Vacuum and Mop
- The OBSBOT Tiny 4K: an Impressive Webcam for PC & Mac
- Review of Anycubic’s Kobra 3D Printer
Maggie Marystone is a freelance technology writer, human rights worker, and storyteller based in Chicago. Read Maggie’s Full Bio
