That means you’ll find embedded family controls and the ability to create individual accounts for your children. You can closely manage and monitor those accounts so that your kids are only seeing age-appropriate content, and only for the total screen time that you’ve allowed per day.
To create new accounts on the device for your children, tap to open the Settings app.

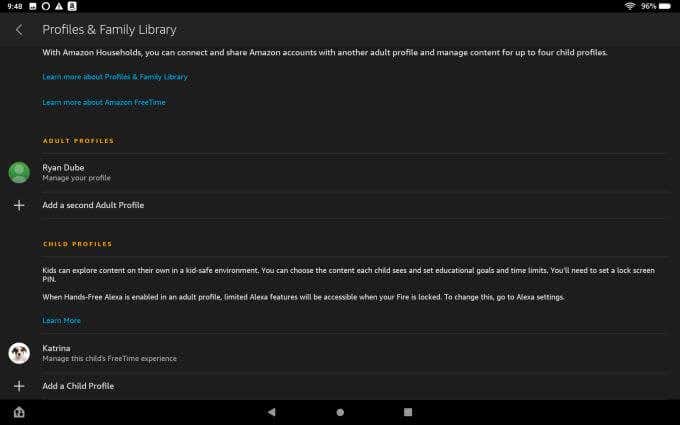
In this list there are a couple of menus you’ll need to become familiar with to manage your child’s use of the device. To get started though, tap Profiles & Family Library so you can create your child’s user account.
Under the Child Profiles section, tap Add a Child Profile .
On the Child Profile page, type your child’s name (first name only), their birthday, and the age appropriate theme.
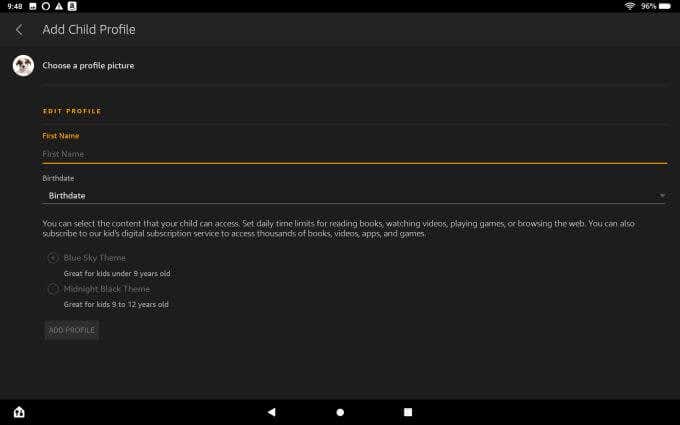
Tap Add Profile when you’re done.
Back on the Profile & Family Library page, tap your child’s new profile to start managing it. You’ll see options here to adjust:
- Daily goals (like viewing at least a certain number of minutes of educational videos)
- Manage your child’s use of the tablet’s storage space
- Adjust your child’s age filters (this is useful as they get older)
- Add or remove specific web pages or videos they can or can’t see
- Web settings
- Camera settings
- Allow your child to access the lock screen
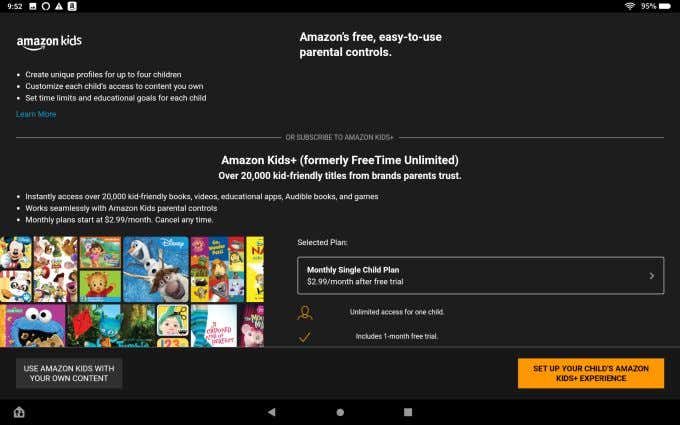
- Enable an Amazon Kids+ subscription
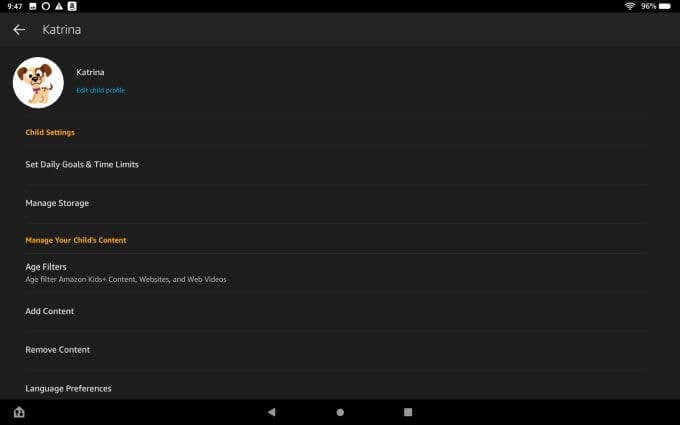
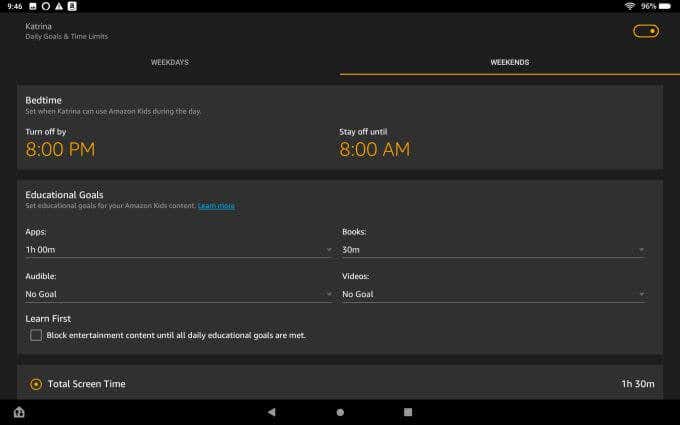
The most powerful setting on this profile page is the ability to Set Daily Goals & Time Limits .
You can also give them educational goals you’d like them to reach each day. You can give them a certain amount of time each day you’d like them to:
- Use educational apps
- Read educational books
- Listen to educational Audible audiobooks
- Watch educational videos.
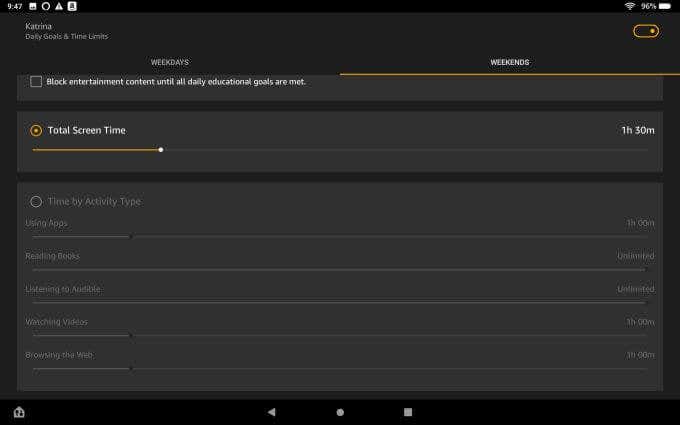
You also have the option to limit Time by Activity Type instead. This gives you more fine-tune controls over:
- Using apps
- Reading books
- Listening to Audible
- Watching videos
- Browsing the web
Obviously some activities are more productive and educational, so it makes sense to reduce limitations on the activities that serve to improve your child’s development.
Back on the profile page, if you tap Manage Storage, you can also keep an eye on what your child is saving to the tablet. Just tap View Contents to see what they’re saving to the device.
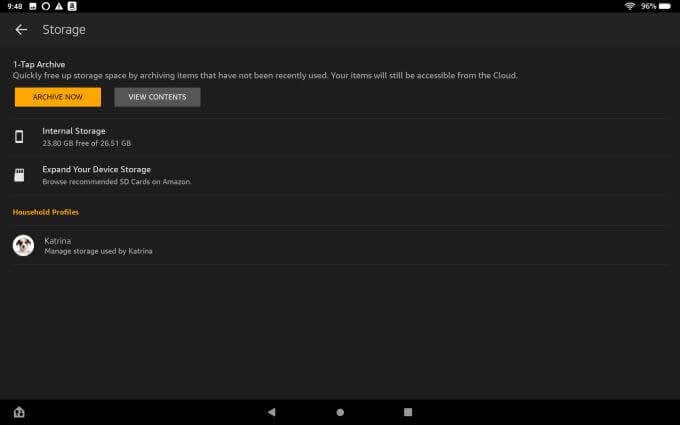
If they use too much storage, just tap Archive Now to clean things up and clear out memory.
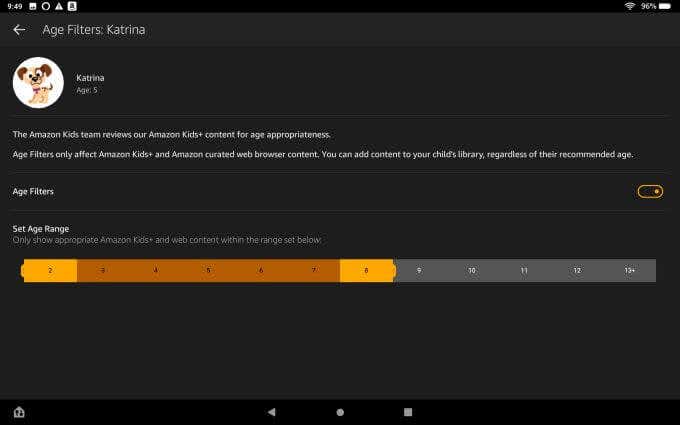
Toggle Age Filters to On, and adjust the slider to the appropriate age. It should be set to the age you entered into their original profile. However, some parents are okay with their children seeing content that’s appropriate for children that are a few years older. It depends on the maturity of your child – only you know what’s appropriate for them to see.
Since your child can’t install apps without the Parental Controls password, you don’t have to worry about them installing some other browser to get around these controls.
Tap Add Content on their profile page to add specific websites or videos that you’re fine with them viewing, even if their age filter would normally block it.
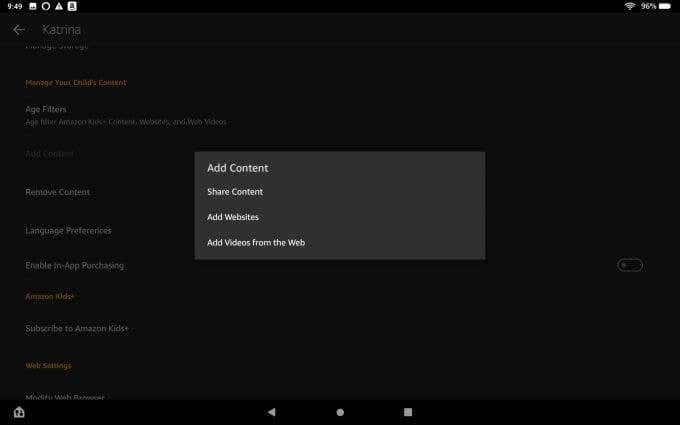
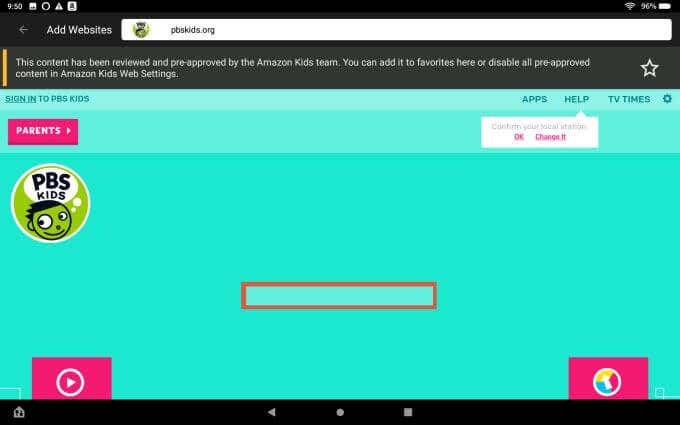
Tap Add Websites , and use the search field to find the website and add it as approved content.
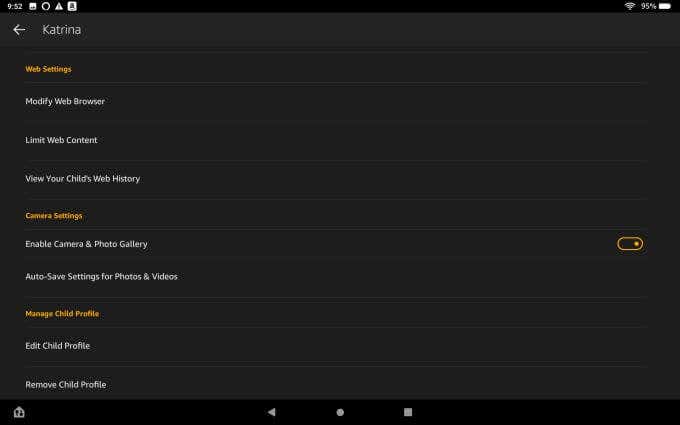
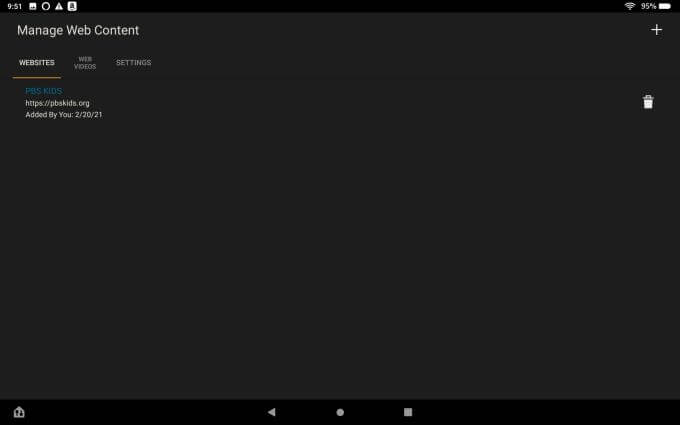
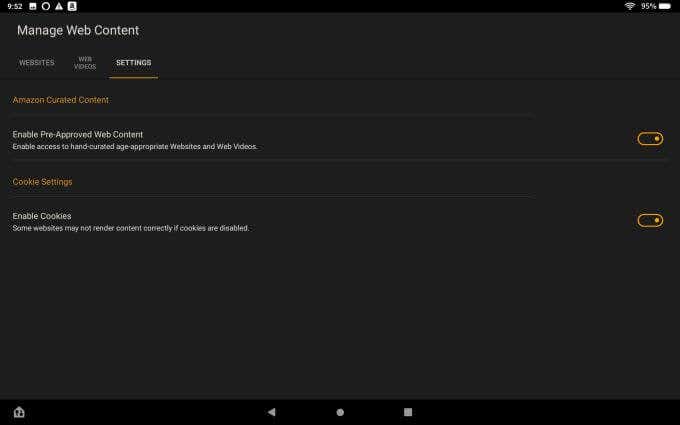
Another place to fine-tune web content controls is by scrolling down your child’s profile page and tapping Limit Web Content .
This will open a window where you can view and edit the sites or videos you’ve added.
You can also disable whether your child can visit websites that store cookies.
Note : Disabling cookies could severely limit the functionality of websites so limit your use of this feature unless it’s absolutely necessary.
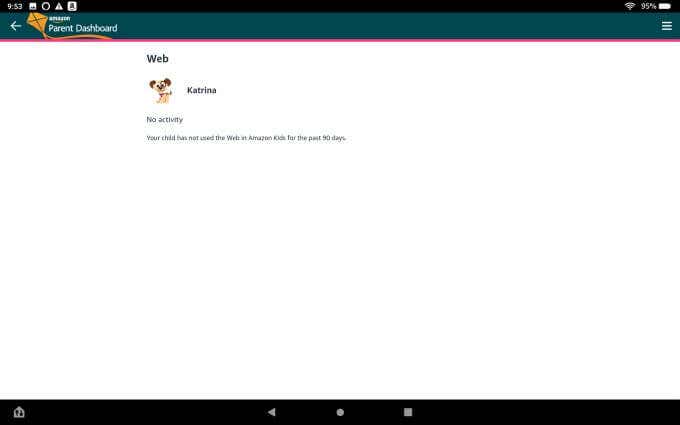
Under the Web Settings section of your child’s profile, just tap View Your Child’s Web History to see the Parent Dashboard where you can review any sites or content your child has visited in the past 90 days.
Setting and Adjusting Parental Controls
Back on the Settings menu, select Parental Controls to adjust the devices Parental Controls settings and the password.
The first time you visit this section of the Settings menu, you’ll need to set up your new password.
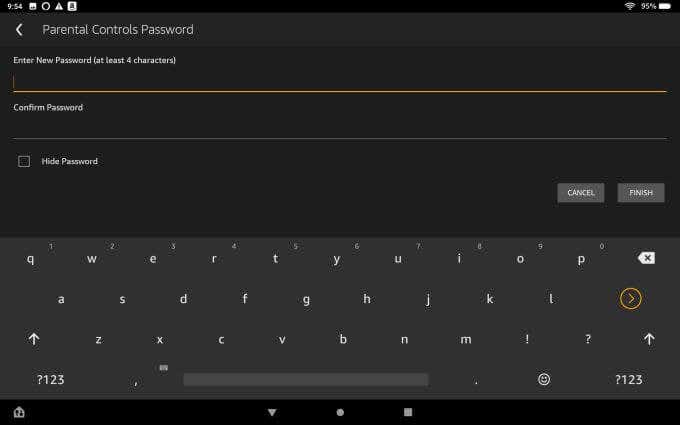
It’s important to do this before letting your child use the device for the first time. This password will block installing new apps or changing any device settings without using the Parental Controls password.
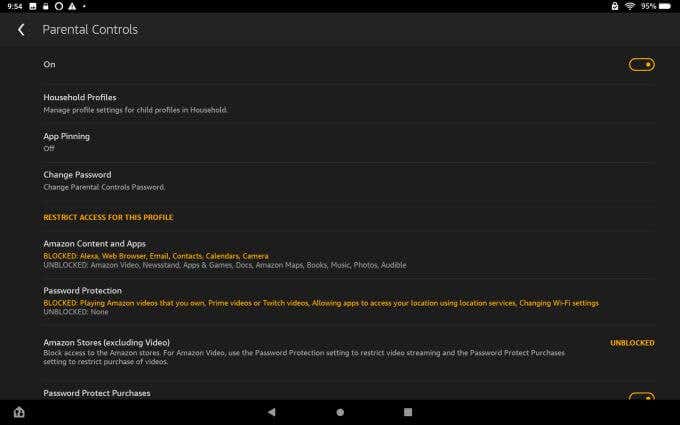
The Parental Controls menu is where you can:
- Manage all of your children’s profiles on the device
- Allow or disable whether your children can pin apps to the home screen (some parents block this in order to avoid clutter)
- Restrict access to specific apps on the device
- Password protect certain activities like using location services, changing settings, and more
- Block access to the Amazon store and making purchases
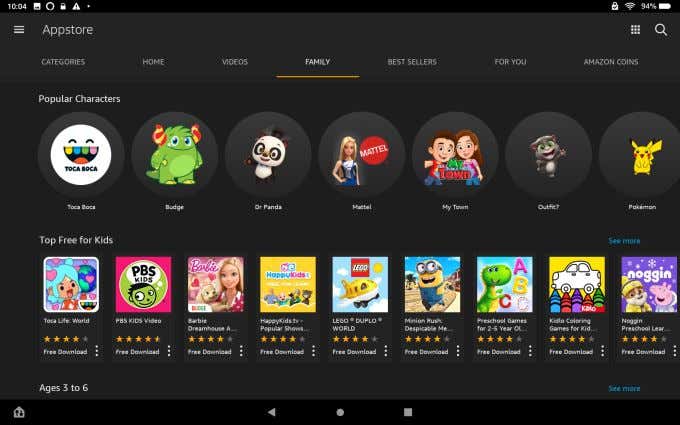
Now that you’ve got the tablet all configured and secured so your child can use it safely and responsibly, what will they be able to do with it?
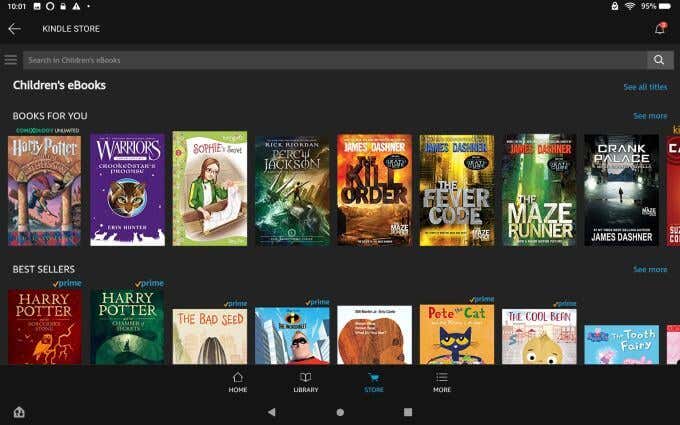
What can kids access on the tablet? For starters, there’s the Children’s eBooks section of the Kindle Store, with age-appropriate children’s books that’ll keep your child’s imagination soaring.
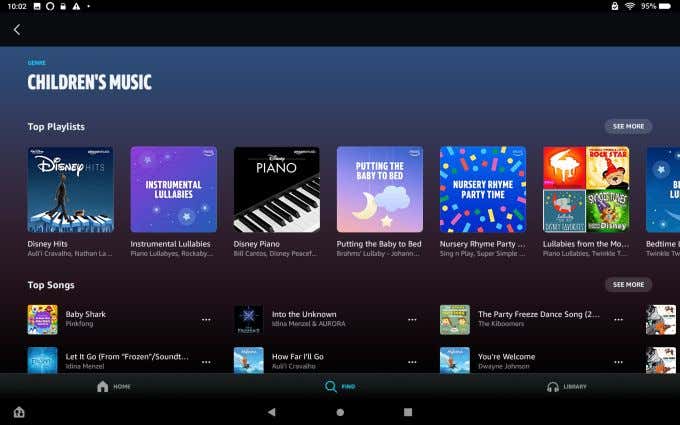
Whether they’re just having a sleepover with friends, or relaxing after school, access to age appropriate music is a great way to introduce your child to music appreciation.
With Android and iOS devices, or even Windows and Mac computers, you need to install parental control software that’s not always easy to set up and configure.
- WhatGeek x 3inuS Kebohub EE01 Mechanical Keyboard Review
- Mobile Pixels Duex Max Portable Monitor Review
- Trifo Lucy: The AI Robot Vacuum and Mop
- Review of Anycubic Kobra Max 3D Printer
- The OBSBOT Tiny 4K: an Impressive Webcam for PC & Mac
Ryan has been writing how-to and other technology-based articles online since 2007. He has a BSc degree in Electrical Engineering and he’s worked 13 years in automation engineering, 5 years in IT, and now is an Apps Engineer. Read Ryan’s Full Bio
3D printer manufacturer, Anycubic, recently released two new printers—the Anycubic Kobra and its bigger, badder uncle, the Anycubic Kobra Max. We were interested in testing both products in our hunt for the best entry-level 3D printers. We’re looking for ease-of-use and affordability, as well as build and print quality.
We’ve published a number of 3D printer reviews from Anycubic—for both FDM printers like the Anycubic Vyper that print with spools of filament and SLA resin 3D printers like the Anycubic Photon Mono X 6K that use a liquid resin as its raw material—and we can say that the Kobra Max has quickly become one of our favorites.
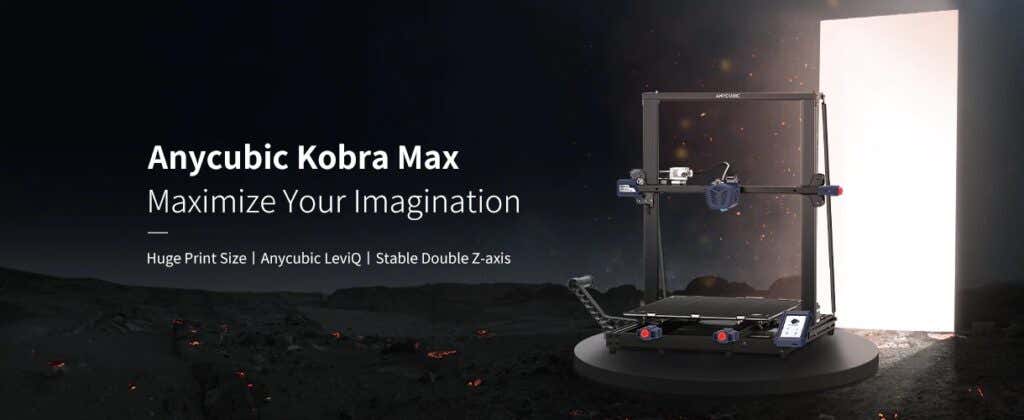
Features of the Anycubic Kobra Max 3D Printer
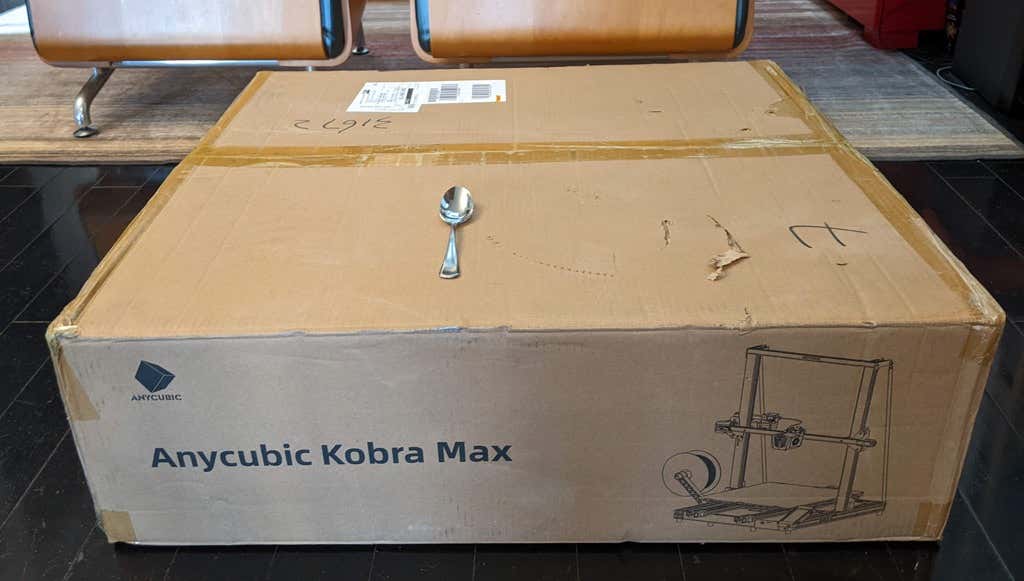
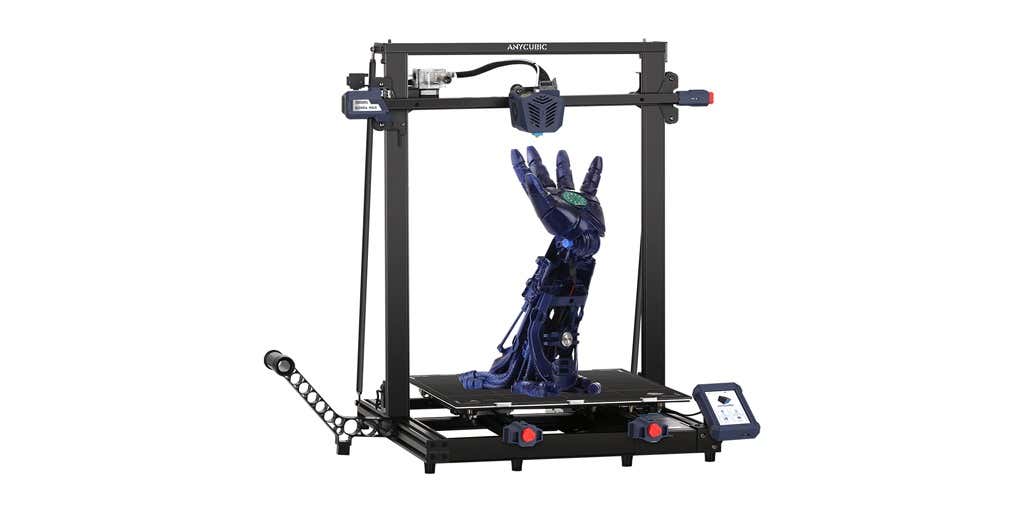
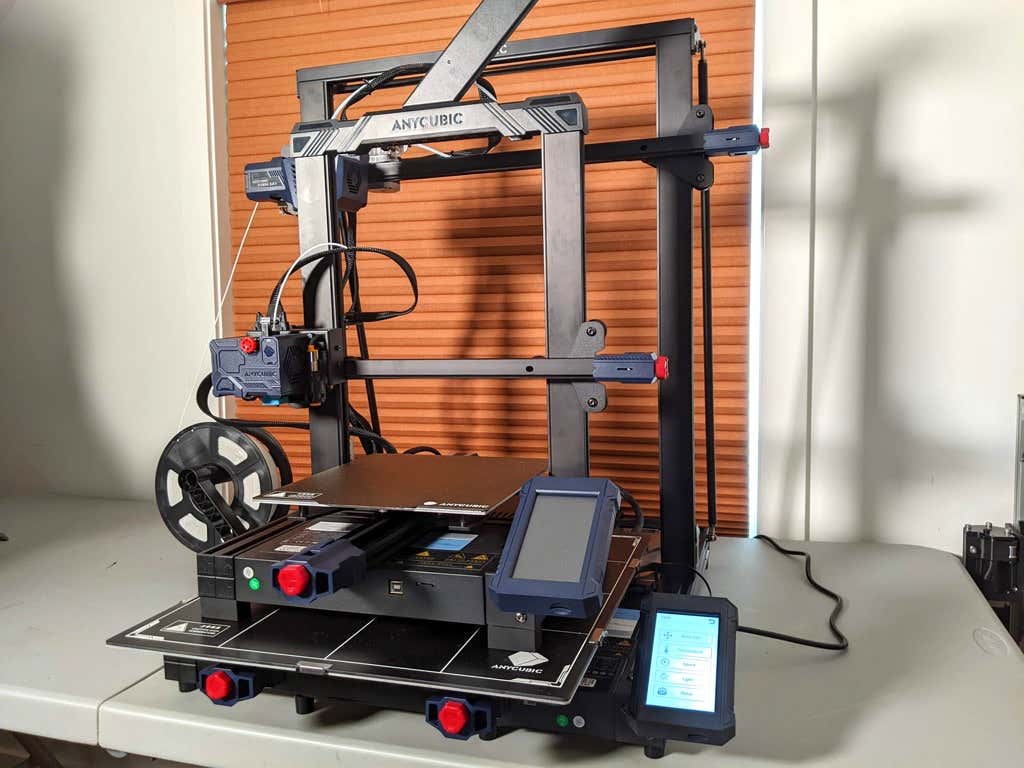
The most obvious feature of this printer is its size. It is absolutely massive. That means you can print huge items in a single piece. Think of a full helmet or an entire ukulele—these are things you couldn’t print in one piece on a normal-sized 3D printer. Truly, the word “Max” doesn’t sufficiently capture just how big this printer is. Good luck fitting the packaging into your trash or recycling bins!
We were skeptical that a Cartesian printer of this size (which relies on a moveable print bed) would perform well since it has a lot of weight to move around. Admittedly, it’s not the speediest printer out there because of those design tradeoffs, but it works great.
The Kobra Max has an impressive list of technical specifications:
- Leveling: Automatic, 25 points leveling using the Anycubic Leviq technology
- Panel area: 7.95 in² / 51.3 cm²
- Filament run-out detection: support
- Printing material: PLA / ABS / PETG & TPU
- Nozzle size: ø 0.4 mm (replaceable)
- Nozzle temperature: ≤ 500 °F / 260 °C
- Hot bed temperature: ≤ 194 °F / 90 °C
- Average speed: 3.1 – 3.9 in./s (80mm/s – 100m/s)
- Control panel: 4.3 inch LCD touch screen
- Z-axis: double threaded rod
- Print size: 17.7 x 15.7 x 15.7 in. / 45 x 40 x 40 cm (HWD)
- Build volume: 19.02 gal. / 72.0 L
- Machine dimensions: 72 x 71.5 x 66.5cm
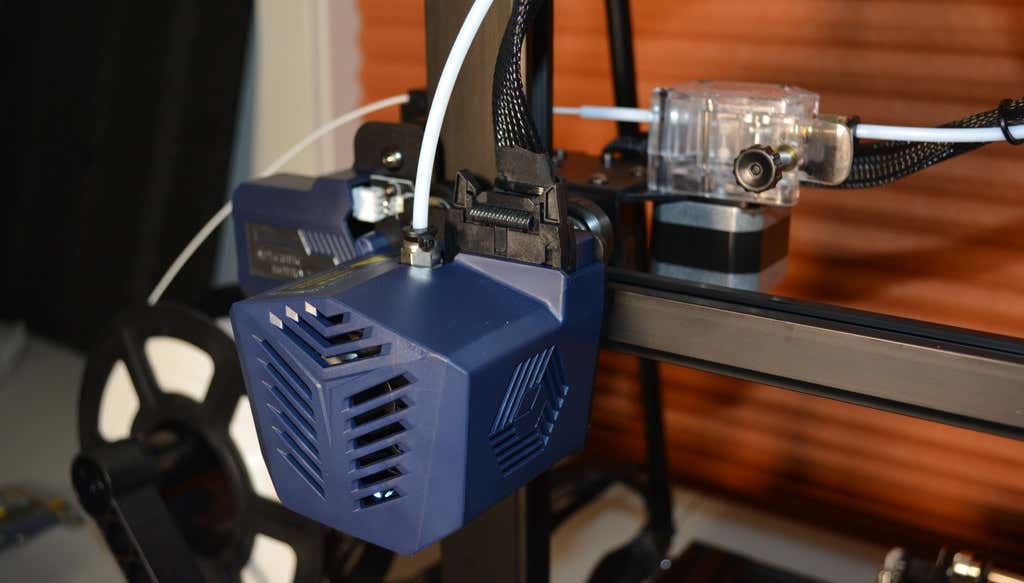
As far as we can tell, the extruder is identical to the extruder and print head on the Anycubic Vyper. Furthermore, the Kobra Max has the same automatic bed-leveling system as the Vyper. The system uses a pressure sensor instead of an inductive sensor.
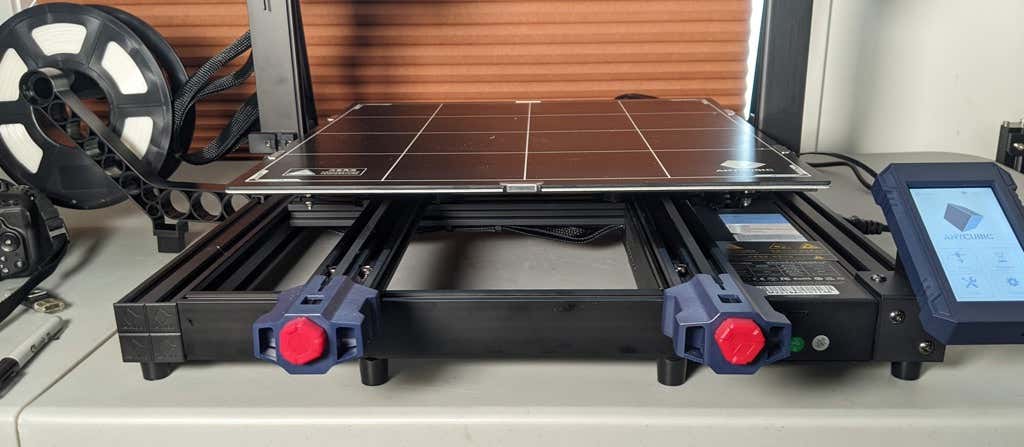
The bed-leveling sensor is right on the nozzle itself, ensuring that it can probe every printable part of the bed. And since the sensor is pressure-based, you could replace the glass bed with any other material and the bed-leveling system will still work. (Inductive sensors require metal to work, so you won’t find them on printers with glass beds.)
Since the Kobra Max’s printing platform is a rigid glass sheet, you can’t remove and flex it to pop your prints off. We prefer removable spring steel build plates, but glass is still a nice printing surface. If your printer doesn’t have a removable bed, glass is ideal because you can use metal scrapers to remove your prints without worrying about scratching the surface.
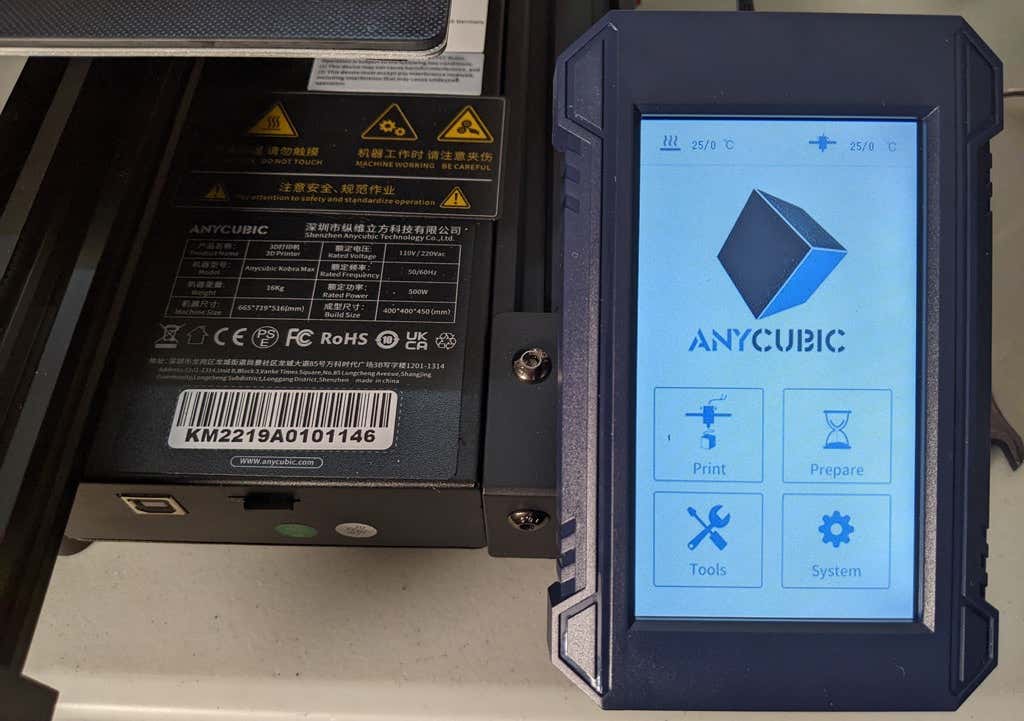
The LCD touchscreen is identical to the screens used on many other Anycubic printers. As usual, it’s responsive and easy to use.
A note about filament types: the Kobra Max will print with PLA, PETG, TPU, and ABS. However, if you really want to print with ABS and get the best possible results, the printer should be inside an enclosure. Given its size, it may be challenging to build a suitable enclosure for the Kobra Max.
Assembling the Kobra Max 3D Printer
When assembling the new Kobra Max, make sure you have sufficient working space. Since the bed moves forward and backward, you need more space than you’d think. We put it on a 30” folding table, and when it’s printing, it needs about 36 inches, front to back.
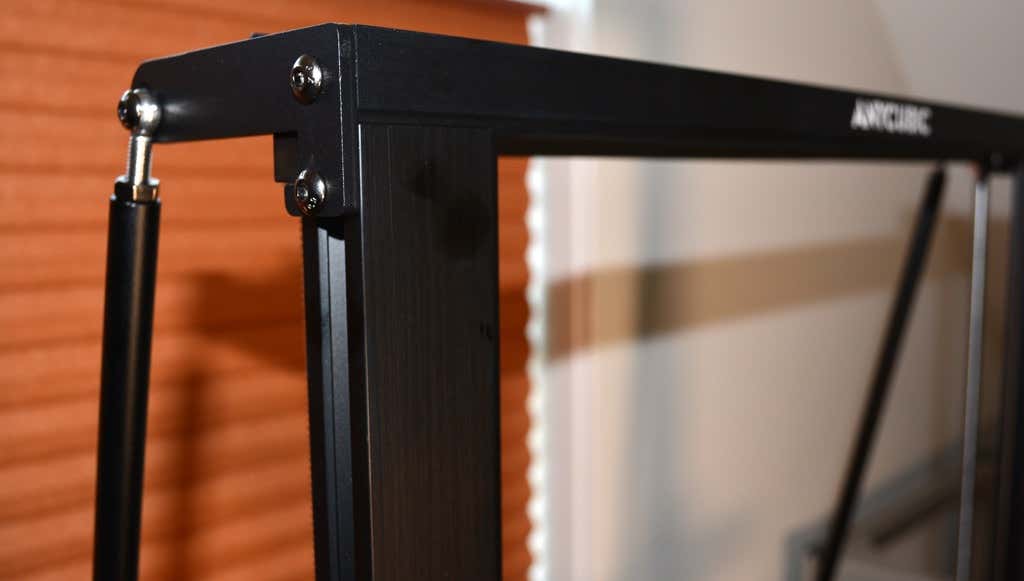
Assembly of the Kobra Max is no more difficult than assembling the Kobra or Vyper. The only additional items are the diagonal braces which add stiffness to the frame, reducing mechanical vibration.
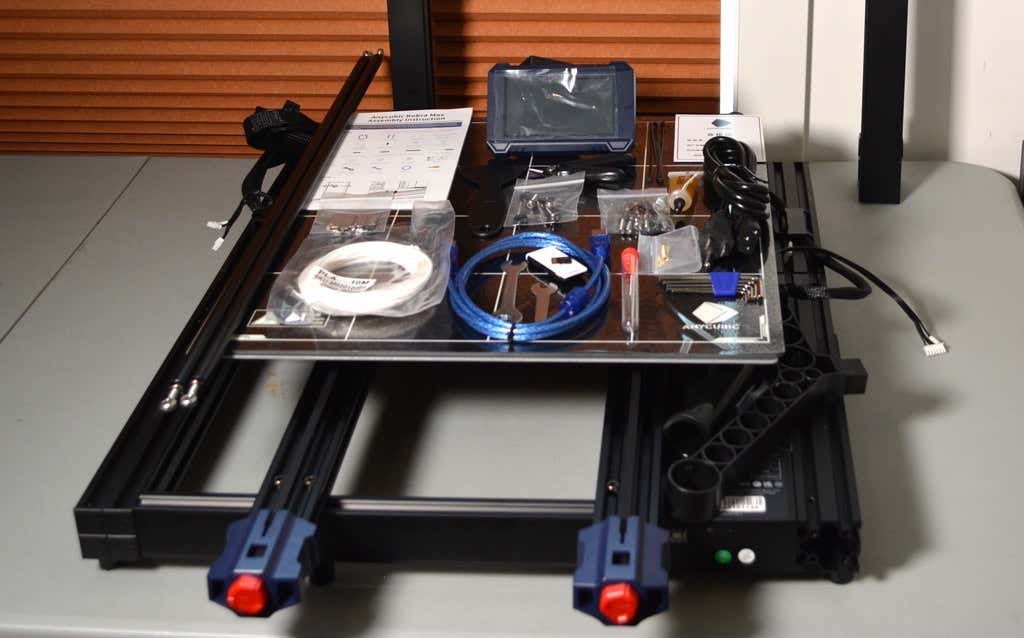
It took two people about 15 minutes to assemble. Double-check that you’ve cut all the zip ties used to stabilize the printer during shipping. There are a lot of them.
Calibration
The auto-bed-leveling system is easy to use. Anycubic recommends that you check the x- and the y-axes to make sure they don’t wobble. If they do, you can adjust the eccentric nuts until the wobbling stops. There was no wobble on our printer, so we didn’t have to do anything.
Additionally, the x- and y-axes have belt tensioners. We needed to slightly tighten the x-axis on ours. The tensioners are easy to use and are features a lot of other printers lack. Who wants to take apart the extruder assembly just to tighten the belts? Not us, and probably not you.
Build Quality of the Kobra Max
Due to the addition of the diagonal braces, the frame is really stiff. The dual z-axis screws are an improvement over the smaller Kobra. They virtually eliminated sagging of the x-axis assembly.
The spool holder sits on the base of the printer, reducing wobbling when printing tall items. It’s better than having the spool on the top like on the Kobra.
This printer is built with aluminum extrusions with aesthetically-pleasing plastic covers for the hotend and the tenionsers. It’s got an optical z endstop. The x and y endstops are mechanical. The whole thing feels solid.
First Print
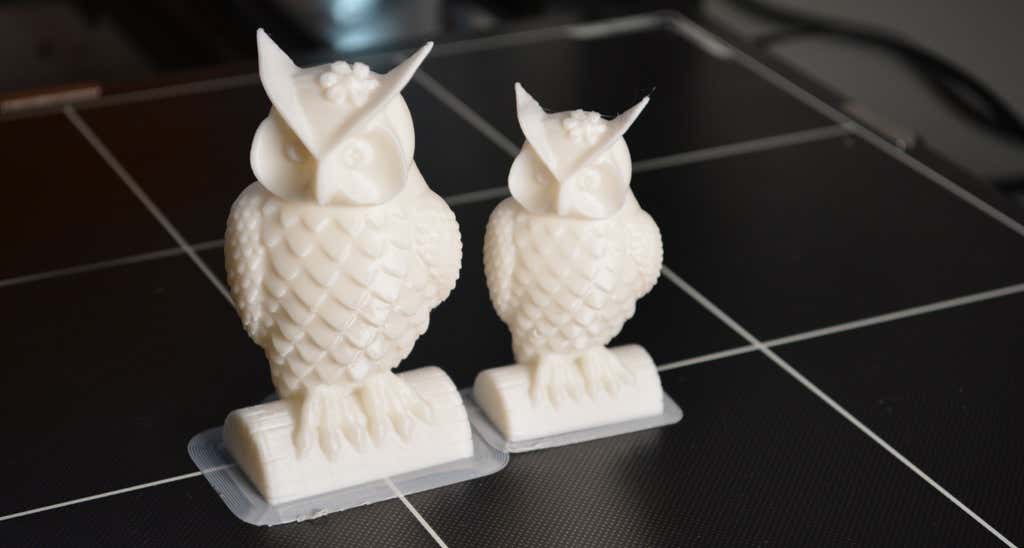
For the first print, we used the test file provided by Anycubic. Appropriately, the owl is about twice the print volume of the owl test print that comes with the smaller Kobra. Given the bowden setup (which makes sense for a printer this size), we were surprised that the ears on the owl turned out so well.
The ears look better than they did on the owl printed on the Kobra which has a direct drive extruder system. We suspect that’s due to the slower print speed. Many times, retractions on bowden extruders will create artifacts, but we didn’t notice any blobs or stringing. It approaches the quality you’d expect from a direct-drive.
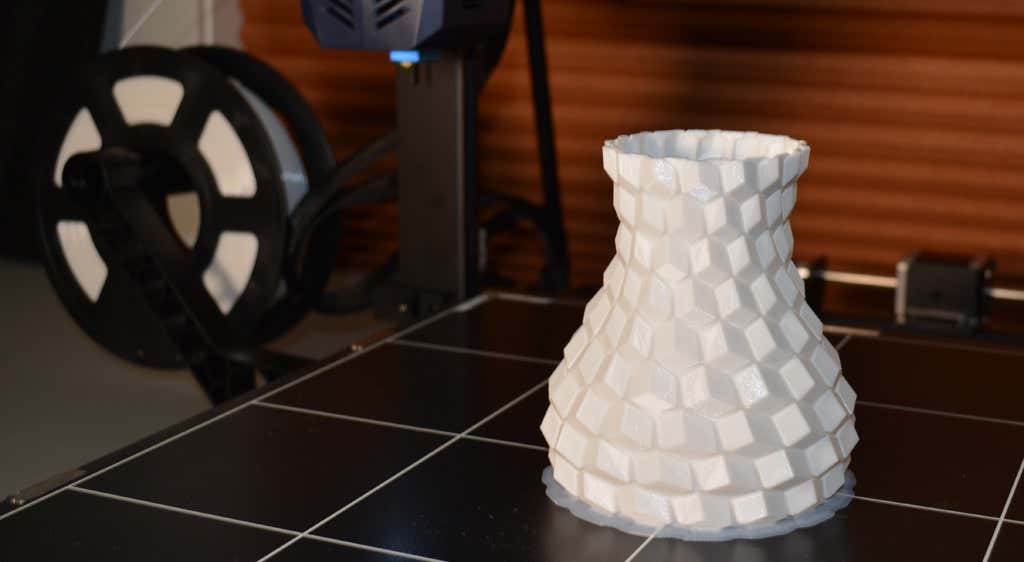
Next, we printed a vase with a large, flat base with a 0.2mm layer height. Removing prints from the glass bed is certainly not as easy as removing prints from smaller, flexible beds, but it’s not a deal-breaker either. We didn’t have any adhesion problems. The prints didn’t release when the glass bed cooled, which is what we expected and hoped for.
Curious what the power requirements would be for a printer this size, we were worried we wouldn’t be able to run multiple printers on the same circuit. We measured the power usage while the Kobra Max was printing, and, as expected, power usage is highest while the printer is warming up. Ours topped out at 473 watts. While printing, it was a more manageable 200-300 watts. We thought it would be more than that. You could probably run three of these printers on a 20 amp circuit.
Cut to the Chase
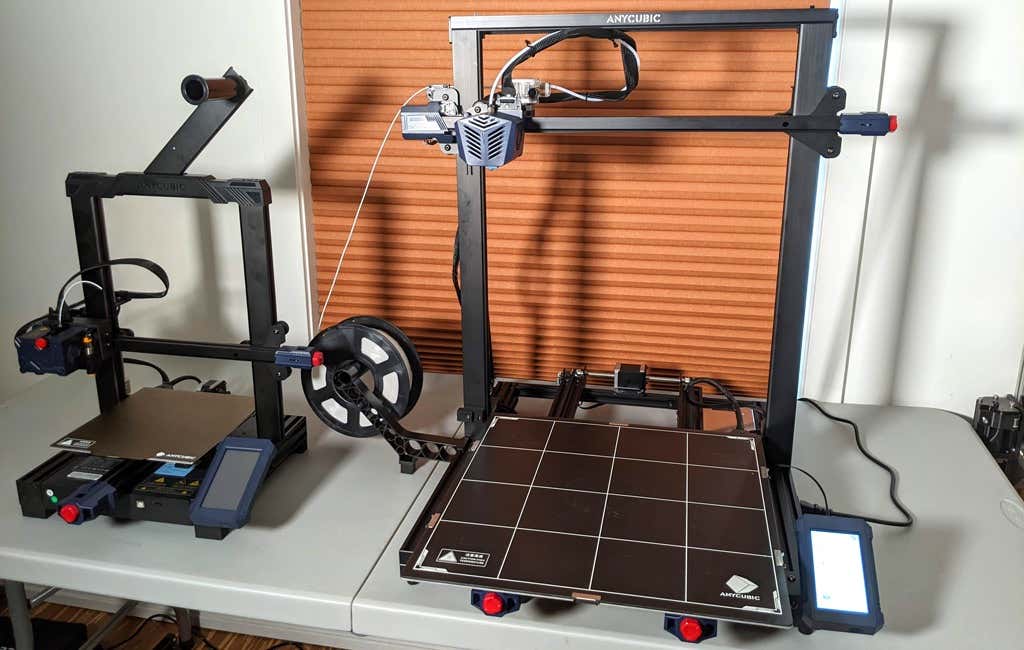
To drive home just how big the Kobra Max is, we put the Kobra on the bed of the Kobra Max. Insane. (We do not recommend you try this.)
A small printer is limiting, so if you find yourself printing large objects in small pieces and assembling them, consider buying a Kobra Max. If you’re new to 3D printing, keep in mind that it takes a long time to print big objects—potentially days and days. Typically, we’d recommend a smaller printer to beginners, but at the price point of $569.00 if you purchase on the Anycubic site, it’s worth considering as an entry-level printer.
One downside is that smaller prints will take a little longer than they would on a smaller, faster printer. That’s just physics. Bigger printers have more inertia to overcome and take longer to move. For example, the print time for our vase was thirteen hours. On our Prusa MK 2.5 with similar settings, it would have taken about twelve hours—not a huge difference.
*Special thanks to FormerLurker for help in reviewing AnyCubic’s Kobra Max 3D printer.
- WhatGeek x 3inuS Kebohub EE01 Mechanical Keyboard Review
- Mobile Pixels Duex Max Portable Monitor Review
- Trifo Lucy: The AI Robot Vacuum and Mop
- The OBSBOT Tiny 4K: an Impressive Webcam for PC & Mac
- Review of Anycubic’s Kobra 3D Printer
Maggie Marystone is a freelance technology writer, human rights worker, and storyteller based in Chicago. Read Maggie’s Full Bio
